Introduction
There comes a moment, somewhere in the middle of a first Brazilian embroidery flower, when the rayon stops behaving like thread and starts behaving like something else entirely.
It catches the light along a folded edge. It stands up off the linen as though it had been pressed into shape. It looks, briefly, as if a real petal had been persuaded to lie down on the cloth.
That is the whole promise of this craft, and it is delivered by a small set of stitches rather than by any great secret.
This guide covers where the technique came from, what it asks of your materials, the six stitches that do most of the work, and a first flower you can finish slowly across a weekend.
What Brazilian Embroidery Actually Is
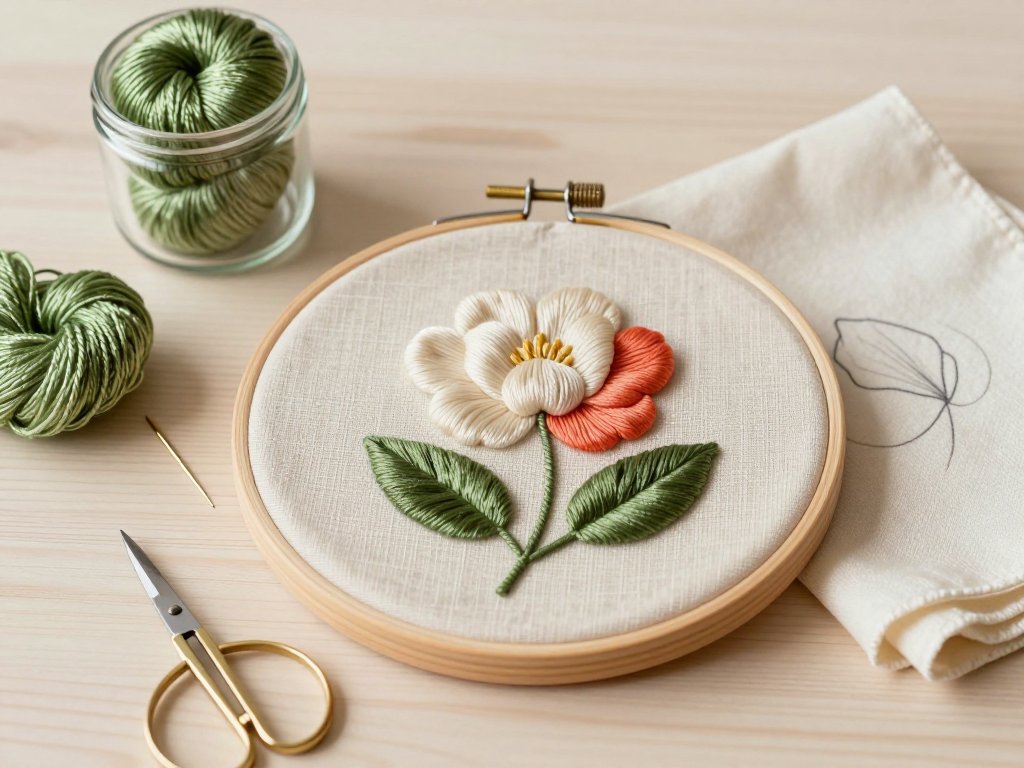
Brazilian embroidery is dimensional needlework worked in lustrous rayon floss. The stitches are built up and layered until they lift away from the surface of the fabric.
That is the first thing that sets it apart. Ordinary surface embroidery decorates the cloth. This work sculpts above it, and the shadow under each petal becomes part of the design.
The second difference is the thread itself. Rayon has a sheen that cotton cannot approach and a springiness that wool lacks, and it holds a crease where silk floss would simply slump.
Turn a petal one way and it reads pale. Turn the next loop slightly and the same colour deepens, because you are seeing the fibre at a different angle to the light.
The third difference surprises nearly everyone who tries it. The work is done from the back of the fabric.
The design is traced on the reverse. You hold the hoop with the back facing you and build the wraps and loops on that side.
What arrives on the front is the smooth upper curve of each loop. No knots, no wrap texture, no travelling threads, no needle dragging across the rayon that will be seen.
That is the logic of it. Everything untidy happens on the side you are looking at, so the side you will frame stays clean by default rather than by carefulness.
Expect to flip the hoop a few times in the first hour. Your hands will reach for the front out of habit. The habit passes, and then the method feels like the obvious one.
A Short History
The technique grew out of Brazilian handwork traditions, where lustrous rayon had long been worked into raised floral motifs on household linens and clothing. Rayon was the affordable shine of its day.
In the mid twentieth century, North American needlework publishers and kit clubs carried the style north. Kits arrived with printed fabric and sorted rayon, and the flowers spread through church halls and kitchen tables.
The trade called it dimensional embroidery, or Brazilian dimensional embroidery, and the longer name stuck. Both are accurate descriptions of the same method.
The name matters less than the technique. What travelled was not a national style so much as a set of stitches uniquely suited to a shiny, springy, slightly difficult thread.
Materials That Behave Themselves
Rayon is the point of this craft and also its difficulty. It is beautiful, slippery, and lightly inclined to fray, so the tools around it need to be chosen with that in mind.
- Rayon floss. Sold in skeins, softly twisted, with a shine that survives washing. Buy a little more than you think you need, because dye lots vary.
- Firm, closely woven fabric. Cotton sateen is the friendliest choice, and a firm medium-weight linen runs it close. Loose weaves let the stitches sink.
- Milliner needles. Long-shafted with a large eye, so a bullion can hold many wraps without crowding.
- Chenille needles. Sharp, with a big eye and a sturdier shaft, good for dense looped work through closely woven cloth.
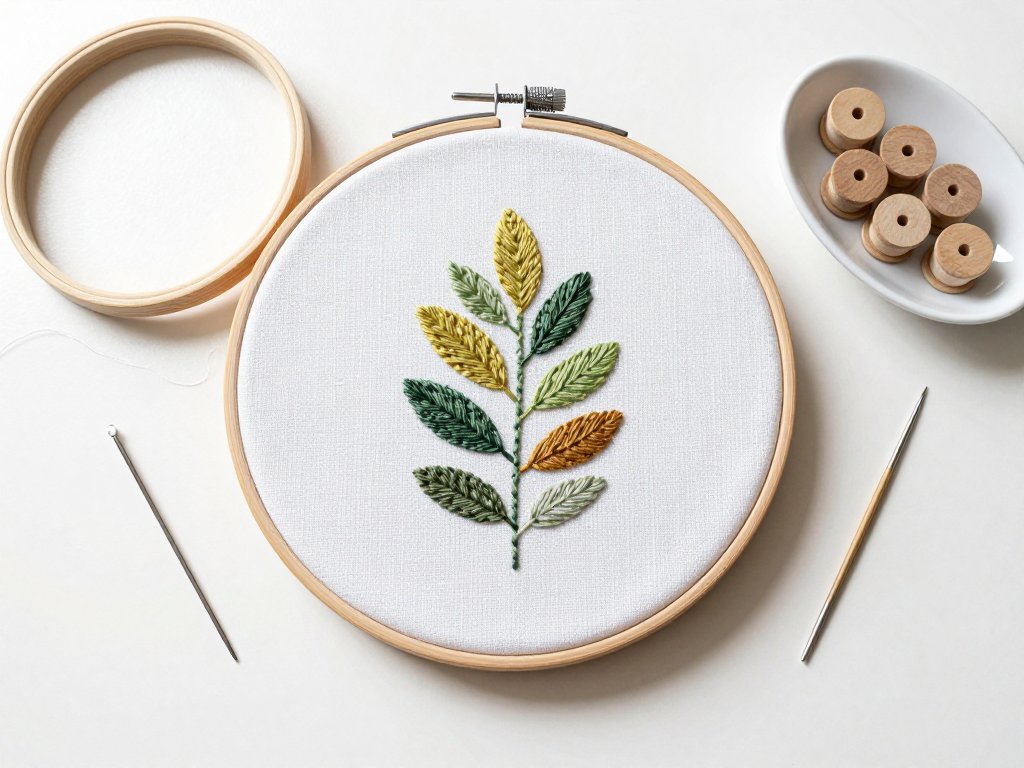
- A hoop or small frame. Something that holds the fabric drum-tight and keeps holding it for an hour at a time.
- Small sharp scissors. Curved tips help you snip close on the back without nicking a neighbouring stitch.
- A fine crochet hook or a tapestry needle. Useful for persuading bullion wraps into place and for tidying the reverse.
Two things about rayon are worth saying plainly. It is weaker than cotton or silk, and it does not enjoy being handled.
Every pass through the fabric abrades the fibre a little. Work it too long, tug it too often, and it will fuzz, then shred, then break at the eye of the needle.
So treat it gently. Keep your hands clean and dry, because oils dull the sheen permanently. Never lick the end to thread it.
Cut short lengths. An arm's length is the working maximum, roughly forty to forty-five centimetres, and shorter still for bullion work.
Strip one strand at a time from the skein rather than pulling several at once, and let the thread hang free every few stitches so it can untwist itself.
The Six Stitches That Do The Work
Almost every Brazilian flower is built from a handful of stitches. Learn these and the patterns stop looking like diagrams and start looking like instructions.
Bullion Knot
Bring the needle up at one end of the intended knot and take it down at the other, but do not pull it through. Bring the tip back up beside the starting point.
Now wrap the working thread around the exposed needle shaft, turn after turn, keeping the wraps side by side and even. The count depends on the length of the knot.
Hold the wraps firmly with your thumb. Pull the needle through the wraps, then ease the little tube down onto the fabric and lay it flat before anchoring it.
Bullions make the tight rolled centres of the smaller flowers, and they make the curved outline of a rose. They are the most satisfying stitch here and the least forgiving.
Cast-On Stitch
This is the workhorse of dimensional petals, and it is worth practising on a scrap before it goes anywhere near a design.
Lay a second needle or a fine pin across the fabric at the top of the petal, pointing toward you. Bring the working needle up at the petal's base.
Carry the thread over the pin and under the working needle, making a loop. Repeat, side by side, until the loops span the width of the petal.
Then pull the working needle through all the loops, slide the loops off the pin, and anchor the fan at the base with a small firm stitch. The petal springs up.
Loops worked close together give a dense, rounded petal. Loops spaced wider give an open, airier one. That single choice sets the character of the flower.
Drizzle Stitch
A stack of small loose loops, each anchored at its base by a tiny stitch. Worked in a cluster, it makes the fuzzy heart of a berry or the ruff of a small bud.
Keep each loop the same size and let it stand upright. Drizzle adds height wherever a flower needs a soft, slightly unkempt centre.
French Knot
Wrap the thread once or twice around the needle, hold the wraps near the fabric, and pull the needle through. The knot sits where the needle went down.
In this craft the French knot is a filler, not a star. Its job is to dot the spaces between the large petals with small tight beads of colour.
Stem Stitch
Work left to right along a traced line, each stitch coming up halfway back through the previous one so the thread overlaps into a rope.
Keep the stitches short on a curve and slightly longer on a straight run. Two strands give a fine stem; three give a bolder one.
Detached Buttonhole
Work a row of straight foundation stitches across the leaf shape, then buttonhole back over them, looping the thread around each bar in turn.
The result is a dense, corded leaf that stands proud of the cloth and holds its edge. Work from the tip back toward the stem so the loops lie in the direction of growth.
Your First Flower, Step By Step
Choose a simple design: one open flower, a bud, two leaves, a curving stem. Anything more elaborate will still be waiting when you are ready for it.
- Transfer the design to the back. Tape the pattern to a bright window, lay the fabric over it, and trace with a fine pencil or a water-soluble pen. Remember you are tracing a mirror image.
- Dress the hoop. Centre the motif, tighten until the fabric gives a low drum note, and check that the weave is still square rather than pulled into a spiral.
- Work the stems first. Use stem stitch in two strands, beginning at the flower and working down toward the leaf. Short overlapping stitches follow a curve without faceting it.
- Add the leaves. Detached buttonhole over the traced shape, starting at the tip. Leave the central vein as a narrow gap of bare fabric, which reads as a fold.
- Build the large petals. Cast-on stitch, one petal at a time, working from the outer edge inward. Keep the tallest loops nearest the centre of the flower.
- Make the centre. Bullion knots worked in a tight spiral from the outside in, each one nudged against its neighbour so no fabric shows through.
- Fill the gaps. Small French knots and a drizzle cluster between the main blooms, placed to suggest buds rather than to fill space evenly.
- Finish the back. Run each tail under two or three existing stitches and trim. No knots, ever, because knots leave hard lumps that shadow through to the front.
- Press it face down. Lay the work on a folded towel, hover a steam iron a few centimetres above the back, and let the steam relax it. Never press the rayon flat.
Work in sittings of an hour rather than an afternoon. Rayon takes a set from the hoop, and a piece left stretched for days will keep the memory of it.
Tension, Kinks And A Tidy Back
Hoop tension does most of the quiet work in this craft. The fabric should be taut enough to resist the needle and to spring back when you release it.
Too slack, and every stitch pulls the weave tighter than its neighbour until the surface ripples. Too tight, and the weave distorts and never quite recovers.
Re-tension as you go. Fabric relaxes under a warm hand, and a hoop that was firm at nine in the morning will be soft by eleven.
Kinking is the other persistent annoyance. Rayon twists on itself as it comes off the skein, and a kinked strand makes a kinked stitch.
The cure is patience rather than force. Let the needle hang free every few stitches and the thread will spin out its own twist. Stroke it flat with a fingertip; never pull it straight.
And resist the urge to pull bullion wraps tight. A bullion is meant to be a soft, even tube, not a hard wire.
Tightened wraps lose their roundness, sit thin against the fabric, and will not hold the curve you asked of them. Snug is the target, and snug is a good deal looser than it feels.
A tidy back is not vanity. It is structural. Bulk in one place makes the front bulge and the frame sit unevenly.
So carry your thread no more than a few stitches behind the work, avoid laying floats across open areas, and never let two thick anchorings share the same hole.
Hold the piece up to a window when you think you have finished. The light tells you what the eye cannot: where the bulk is, and where a stray thread is waiting to show.
Colour And Placement
Rayon changes colour as it turns. The same skein will read cream in one loop and a warm shadow in the next, which is either the craft's great gift or its great confusion.
Use it deliberately. Work the petals so their loops follow the direction of growth, and the light will travel along the flower the way it travels along a real one.
A limited palette reads far better than a generous one. Three or four flower colours, one green in two depths, and a neutral for the small fillers will carry a whole design.
Choose one deep and one pale version of each hue. The pale builds the outer petal, the deep sits at the centre, and the eye supplies the shading in between.
Placement matters as much as colour. Put the tallest stitches toward the centre of the design and let them shorten as they move outward.
The whole motif then domes gently, the way a real bouquet does, and the edges stay low enough to sit quietly under a frame or inside a cushion seam.
Small flowers belong at the perimeter. A heavy bloom at the edge pulls the eye out of the picture and makes everything else look like an afterthought.
When Something Goes Wrong
Bullion knots that collapse or worm. Usually too few wraps spread over too long a distance, or wraps that were pulled hard and then relaxed. Work a shorter knot with more wraps, and anchor both ends firmly.
Rayon shredding at the eye. The eye is too small, the length too long, or the fibre has simply been dragged through too many times. Change to a chenille needle, cut a fresh shorter length, and check the eye for a rough edge.
Petals that sag. The loops were cast too few or too wide, or the fabric beneath was slack. Lay a couple of straight padding stitches under the petal first, then cast the loops closer together.
Puckered fabric. Tension is the usual culprit, either slack in the hoop or too tight in the stitch. Tighten the hoop, shorten the stitches, and spread the anchoring bulk across several holes rather than one.
None of these are failures of talent. They are the ordinary friction of a slippery thread meeting a firm cloth, and each one teaches you something the instructions cannot.
Five Projects Worth The Time
- A framed floral panel. One bloom, two buds, three leaves on cream sateen, laced over a board and set in a simple frame. The classic first finished piece.
- A cushion cover. A spray of flowers across one corner of a linen cushion, backed in plain cotton. Useful, washable, and touched every day.
- A linen table runner. A repeating motif down each end, worked lightly so the cloth still falls flat. Keep the stitches shorter here for practical wear.
- A needle book cover. A brooch-sized flower on the front of a wool or felt book. Small enough to finish in two evenings and endlessly useful afterward.
- A framed miniature. One flower, no larger than a coin, mounted in a tiny frame. The most demanding and the most rewarding of the five.
A Slow Craft, And A Lasting One
Brazilian embroidery rewards the stitcher who is willing to go slowly. The thread demands it, and the results justify it.
The first flower will take longer than you expect. The second will take half the time, because your hands will have learned what the rayon wants.
There is a particular pleasure in a technique that builds outward from the cloth rather than lying flat upon it. It changes how you look at every embroidered thing afterward.
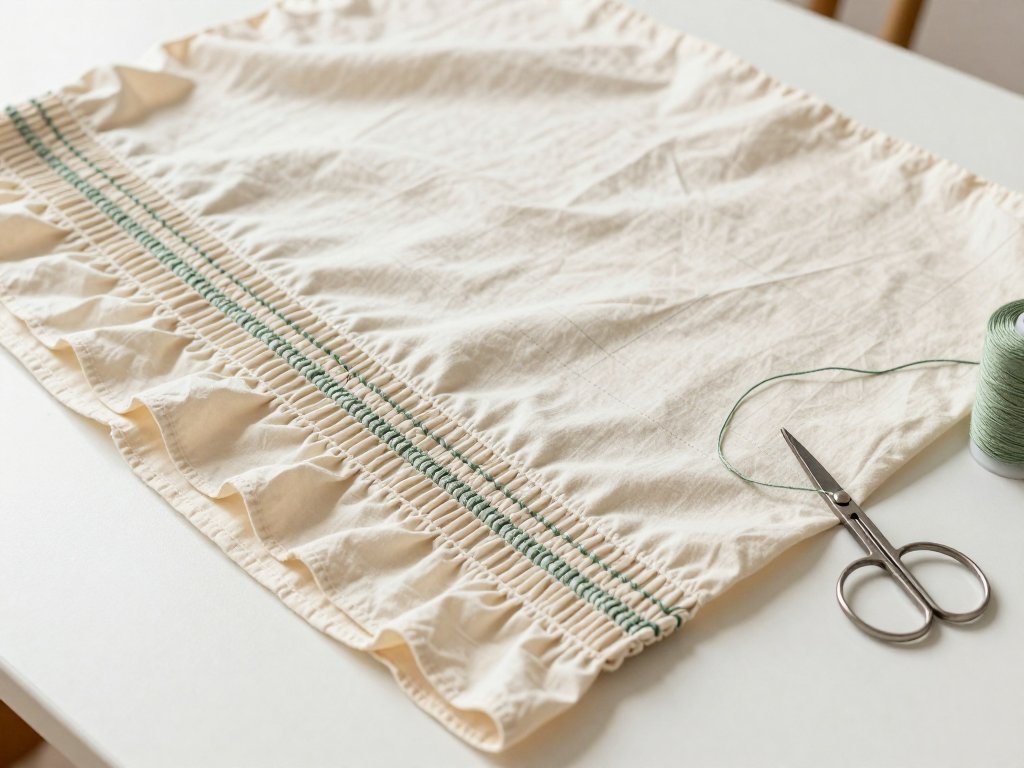
If texture is what draws you here, there is another hand technique worth exploring next: smocking for beginners, which gathers and shapes cloth in much the same spirit of building dimension from the surface up.
Either way, begin with one flower. Thread the needle, cast the first loops, and let the rest arrive in its own time.