Introduction
You downloaded the app. You opened a blank white canvas. Then you saw the sidebar.
Brushes, blend modes, symmetry guides, a colour panel with four different sliders, and a pressure curve you did not recognise. Somewhere in there was a layer menu with eleven options.
You closed it. Maybe you told yourself you would come back on a quieter evening, when the house was asleep and you had an hour to figure it out.
That evening never quite arrives, does it? Not because you lack talent. Because nobody told you which six settings actually matter and which eighty you can ignore for a year.
This is that list. One evening of setup, done in the right order, and tomorrow you are drawing a mug instead of watching tutorials about drawing a mug.
I am going to make the decisions for you where I can. Where a choice depends on your budget or your family, I will tell you plainly which way I would go and why.
The Hardware Decision, Made For You
There are three honest ways into digital drawing, and they differ by hundreds of pounds. Here is who each one is actually for.
My rule for all three: buy the cheapest thing that lets you draw this week. Upgrade in three months, once you know you will keep going.
A Screenless Pen Tablet (about $50 to $80)
This is a flat pad with no display. You draw on the desk and the line appears on your computer monitor. It looks like a mouse pad with a pen.
It is the cheapest way in by a wide margin, and it will last you years. The catch is the hand-eye disconnect: your hand moves in one place, the line appears in another.
For the first week it feels wrong. Genuinely wrong, like writing with your eyes closed. Then somewhere around day five it becomes invisible and you stop thinking about it at all.
Buy this if you are unsure whether you will stick with it, if money is tight, or if you already draw on paper and want to keep the same seated posture.
A Standalone Tablet With a Screen (about $300 and up)
You draw directly on the surface, and it runs the drawing app itself — no computer needed. It feels closest to paper, because it is.
Buy this if you have drawn for a while, if you know you will use it weekly, or if you want to sketch on the sofa rather than at a desk.
What it will not do is improve your lines. A screen does not add skill. It removes friction, which is a different and smaller thing.
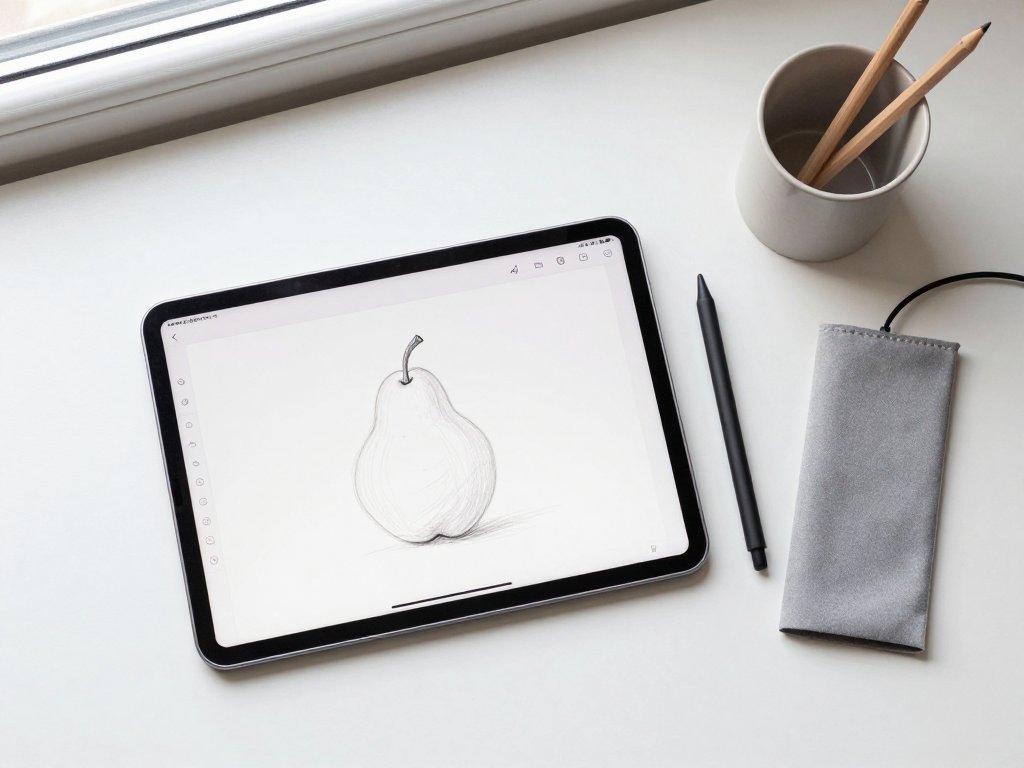
An iPad Plus a Stylus (about $350 and up, stylus extra)
Buy this if you also want it for everything else — video calls, school forms, a child's homework, something to watch while you fold laundry.
When a tablet earns its keep four other ways, the drawing app becomes a bonus rather than an expensive gamble. That takes the pressure off, which is good for beginners.
Do not buy it if you only want to sketch and you already own a working laptop. You would be paying twice for the same job.
Who Should Not Buy the Expensive One First
If you have never drawn digitally, do not start with the largest screen you can afford. The biggest surface is heavy, expensive, and awkward on a kitchen table.
Do not buy the largest model, either. Most people who own one end up working on a mid-size canvas anyway, because that is what fits in a bag and on a lap.
And skip the bundle with twelve accessories. You need a tablet, a stylus, and a cable. The rest is a drawer full of things you will never open.
What You Do Not Need
This section will save you more money than any buying guide. Here is what to skip, with no hedging.
- The biggest tablet. Screen size does not affect line quality. A mid-size surface does everything a beginner needs.
- Four different apps. Pick one and give it thirty days. Switching apps is the most popular way to avoid drawing.
- A thirty-hour course before your first sketch. Skip it entirely. Your first ten sketches will teach you more than ten hours of video.
- A paper-textured screen protector. It changes how the stylus feels, not what you produce. If you dislike glass, add one later.
- Brush packs. A basic pencil brush, a clean inking brush, and a soft round will carry you through your first year.
- A subscription you do not need. Most apps have a one-time option. Check before you commit to a monthly charge.
- Perfect hardware before you start. There is no such thing, and waiting for it is just nerves wearing a shopping hat.
One more thing to skip: comparing your work to time-lapse videos. You are watching someone's four hundredth drawing at eight times speed. It is not a fair comparison and it never was.
One Evening of App Setup
Open the app and ignore most of it. These five decisions are the whole setup, and they take about forty minutes with a cup of tea.
New Canvas: Pixels and Resolution
A new canvas asks for two numbers: pixels and dpi. Pixels set the real size of your image. Dpi is a note to a printer about how tightly to pack them.
For screen-only work, 1500 by 2000 pixels is a perfectly good start. It is sharp on a phone, roomy enough for a mug, and small enough that your tablet stays fast.
If there is any chance you will print the finished piece, work at 300 dpi instead. At 300 dpi, an 8 by 10 inch print needs roughly 2400 by 3000 pixels.
Here is the rule that matters: you can always crop down, but you cannot add detail that was never captured. When in doubt, start a little larger.
Colour Profile, in One Paragraph
Choose sRGB. It is the colour space that phones, laptops, and browsers all understand, so what you see is roughly what everyone else sees. Adobe RGB and CMYK are for print shops that specifically ask for them. If you are unsure, sRGB is never the wrong answer.
Brush Size and Opacity
Two sliders do most of the work. Size sets the width of the mark. Opacity sets how much of what is underneath shows through.
Learn where both live before you learn anything else. A light sketch is just a small brush at low opacity, and a confident line is the same brush at full opacity.
Set your brush size to a gesture or a key if the app allows it. Reaching into a menu to change size will break your rhythm every thirty seconds.
Pressure Curve Calibration
Most apps include a pressure curve: a small graph that decides how hard you press versus how thick the line gets. It is worth two minutes.
Draw a slow line while pressing gradually from feather-light to firm. If the line stays hairline and then jumps straight to fat, the curve is too steep.
Flatten it until the change feels smooth. Too sensitive and every resting hand gives you a blob; too flat and every line comes out the same width, which looks dead.
Layers, Without the Jargon
A layer is a sheet of clear film. Paint on the top sheet and it hides the sheet below. Erase on one sheet and nothing underneath is harmed.
That is genuinely all a layer is. You do not need blend modes, clipping masks, or groups for your first month. Four layers will do everything in this article.
The four, bottom to top: a white background, a colour layer, a line layer, and a sketch layer. Colour sits under the line so your clean edges stay on top.
Name them if your app makes it easy. Untitled layers multiply, and finding the one with the shadow on it at midnight is a small misery you can avoid.
Five Controls Worth Learning This Week
Ignore the rest of the interface. These five will cover ninety percent of what you actually do.
- Pinch to zoom. Zoom out to judge the whole drawing and in to fix a wobbly edge, because mistakes hide at both distances.
- Rotate the canvas. Twist it until the curve you are drawing is the one your wrist naturally makes, then twist it back.
- Two-finger tap to undo. Undo is your eraser for the first month, so learn this shortcut before you learn any brush.
- The quick colour picker. Usually a press-and-hold on the canvas, it lifts a colour you already used so shadows and edges match exactly.
- Layer lock, or alpha lock. It freezes a layer's empty space so you can shade or tint what is already there without spilling outside the shape.
Practise each one for two minutes on a scrap canvas. Five shortcuts you can use without looking beat fifty you have to hunt for.
Your First Sketch: One Mug From Life
One object, drawn from life, no reference photo. A mug is ideal because it has a curve, a straight edge, and a shadow, and it does not move.
Set it on the table with a window or lamp to one side. Side light gives you a clear shadow, and the shadow is half of what makes a drawing read.
- Put the mug down and sit so you can see it without twisting your neck. Look at it for a full minute before you touch the screen.
- Make a new canvas at 1500 by 2000 pixels and fill the background layer with white.
- Add a sketch layer. Choose a small brush at about thirty percent opacity — light enough that wrong lines cost you nothing.
- Block the mug in with four shapes: an oval for the rim, two curves for the sides, an oval for the base, and a rough blob for the cast shadow.
- Check the proportions before you go further. Flip the canvas horizontally, or step back from the screen, and see what has drifted.
- Drop the sketch layer to about twenty percent opacity. Add a clean layer above it for your line pass.
- Draw the real edges with a firmer brush at full opacity. Long strokes from the elbow, not short scratches from the fingers.
- Hide the sketch layer for a moment and look at the line alone. If it still reads as a mug, the drawing is sound.
- Add a colour layer beneath the line layer. Fill the mug with one flat mid-tone — no blending, no gradients, just one honest colour.
- Add a second, darker tone on the shadow side and leave the lit side alone. Two tones are enough for a first sketch.
- Put the cast shadow on its own layer below everything, using the colour picker to pull a slightly darker version of the table.
- Save the native file with its layers, then export a flat PNG. Close the app. Do not spend another hour fixing it.
Your mug will lean, and the rim will be more oval than it should be. That is not a failure, it is data. You now know exactly what to look at next time.
If the handle defeats you, draw it as two curves and a gap rather than one outline. Handles are the part everyone gets wrong first.
Where to Sit, and How Long to Draw
Screen at eye level, or as close as you can get. Prop the tablet on a stand, a stack of books, or a cushion. An hour of looking down at a flat screen is an hour of neck pain.
Keep your forearm supported and your wrist roughly straight. Hold the stylus like a pencil, not like a knife, and loosen your grip every few minutes.
Draw in twenty-minute sessions. Set a timer. Three short sessions across a week will move you further than one heroic Sunday afternoon.
And finish small, ugly sketches on purpose. A completed bad mug teaches you more than an abandoned masterpiece, because finishing is its own skill and it needs practice too.
Saving, Naming, and Backing Up
Two files come out of every session, and they do different jobs. The native file is your master. The export is what you show people.
Save the native file always, because it keeps the layers. That is the version you can reopen, move a shadow, and fix without starting over.
Export a flat PNG or JPG for sharing. PNG keeps crisp edges and transparency; JPG makes a smaller file for photos and email.
Name your files with the date, the subject, and a version: 2026-11-11-mug-sketch-v2. Dashes instead of spaces, no vague names like final-final.
Back up to two places — a cloud folder and the machine itself. A tablet is a single point of failure, and one dropped bag should not cost you a year of drawings.
Keep a finished folder and a practice folder. When you want to see progress in a month, you will want them separated.
One Month In: What Actually Changes
Two things improve fast. The first is line confidence: your strokes get longer and fewer, because you stop hedging every curve with five attempts.
The second is undo economy. You learn to leave a nearly-good line alone instead of redrawing it twelve times and losing the energy of the first one.
Two things stay hard, and I would rather tell you now than let you think you are behind. Values are hard — judging how dark the dark should be takes years.
Colour is the other. Mixing a believable skin tone or a grey that is not muddy is a long apprenticeship, and one month will not finish it.
Here is a weekly plan that fits around school runs and laundry, in order of importance.
- Monday, 15 minutes: one object from your desk, line only, no colour.
- Wednesday, 20 minutes: the same object again, with two flat tones.
- Friday, 10 minutes: copy one shape you like — a handle, a leaf, a fold of fabric.
- Weekend, 30 minutes: finish one small piece and export it, even if you are not proud of it.
At the end of the month, open your first mug sketch next to the newest one. Keep both. That comparison is worth more than any course.
When Something Feels Wrong
Most beginner frustration comes from five small technical problems, not from a lack of ability. Here is how to tell them apart.
- Lines feel laggy. Too many layers or a very large canvas will slow any tablet. Merge finished layers, close other apps, and try a smaller canvas.
- Pressure is not registering. Check that pressure is switched on for that specific brush, then recalibrate the curve. Some styluses need the app's own driver setting enabled.
- Your drawing drifts when you look at the screen. That is the hand-eye gap, not a fault. Slow down, watch the canvas rather than your hand, and keep the monitor directly behind the tablet.
- Colours look different when exported. Work in sRGB and export in sRGB, then compare on a second device. Phone screens often oversaturate, and night mode shifts everything warm.
- The canvas is too small when you zoom in. You set the pixel dimensions too low for the detail you want. Start larger next time, and accept a little softness if you enlarge this one.
One bonus fix: if your palm leaves stray marks, turn on palm rejection or wear a thin drawing glove. It is a two-dollar problem with a two-dollar solution.
Your Skills Already Transfer
Everything you know about seeing transfers completely. Proportion, the angle of an edge, where the light comes from, which shadow is darkest — none of that changes when the pencil becomes a stylus.
The tablet changes the tool, not the eye. If you can draw a decent mug on paper, you can draw a decent mug on glass; you just need a week for your hand to trust the new surface.
If measuring proportion is your weak spot, the grid method works exactly as it does on paper — and on a tablet you can put the grid on its own layer and switch it off when the drawing is done.
So here is the whole promise, kept short. One evening of setup: canvas, colour profile, two sliders, a pressure curve, four layers.
Then one mug, twenty minutes, drawn from life and finished badly on purpose. Save it, export it, and put the tablet away.
Tomorrow it will be easier. Not because you learned a trick, but because you stopped being afraid of the sidebar. A tablet is just a different pencil, and you already know how to hold one.