Introduction
Somewhere between the school run, the grocery list, and the endless laundry, most of us forget to look up.
We walk the same path every day without noticing the oak leaves turning, the robin building her nest, or the way the light catches the dandelions at the edge of the lawn.
Field sketching is an invitation to slow down and look. It is not about making museum-quality art.
It is about noticing the world, recording what you see, and leaving a small, hand-made record of the season.
And yes, you can absolutely do it with a watercolor set that fits in your coat pocket.
I spent fifteen years teaching elementary school art, and the children taught me something important: everyone can draw what they see when no one is grading it.
This guide is written in that same spirit. No talent required. No fancy supplies required.
Just a few quiet minutes and the willingness to begin.
By the end of this article, you will know exactly what to pack, how to warm up in five minutes, and which simple subjects will give you the fastest wins. Your first nature journal page is closer than you think.
Why Field Sketching Fits Into a Busy Life
Field sketching is one of the few hobbies that asks almost nothing of your schedule. A session can be ten minutes long. You do not need to block out an afternoon, drive somewhere scenic, or set up a studio.
Here is what makes it so forgiving:
- It happens where you already are. Your backyard, the park on the way to school, even a potted plant on the kitchen windowsill.
- It has a natural stopping point. A page is a page. When the page is done, you are done.
- It welcomes interruption. A child calls, the kettle boils, the dog needs out. Your sketch will wait patiently.
- It gets better with repetition. Every page teaches you something, so there is no way to fail, only ways to learn.
For busy moms especially, this is the rare creative practice that fits between the cracks of the day rather than demanding a giant slice of it.
You can sketch while the kids play in the yard. You can sketch while dinner simmers.
You can even sketch in the car at a red light if you are parked safely and waiting for pickup.
Think of it less as a hobby with homework and more as a way of seeing the ordinary world as extraordinary.
The Tiny Kit: What You Actually Need
Here is the honest truth: you need four things, and you probably own three of them already.
- A sketchbook. Any sketchbook will do for your first one, but look for paper labeled watercolor or mixed media so it can handle a little water without buckling.
- A watercolor set. A small pan set with a dozen colors is plenty. You do not need professional-grade paint to begin.
- A brush. One round brush, size 6 or 8, will carry you through almost every field sketching task. A water brush with a refillable barrel is a wonderful option because it holds water inside the handle.
- Water and a cloth. A small bottle of clean water and an old cotton rag or paper towel for wiping your brush.
That is the whole kit. It fits in a lunchbox, a pencil case, or a tote bag pocket. Tuck in a pencil or a fine-line pen too, if you like, because graphite and ink make lovely companions to watercolor.
One gentle warning: do not buy a giant, expensive kit before your first session. Start small, see what you actually use, and let your kit grow with your practice. A tiny kit that comes with you will always beat a grand one that stays home.
Choosing a Sketchbook and Watercolor Set
If you are the sort of person who likes a little guidance before buying, here is what to look for.
Paper. The most important feature of your sketchbook is the paper weight. Look for at least 140 lb (300 gsm) watercolor paper, or a mixed-media paper designed for wet media.
Lighter paper will wrinkle and pill when it meets water, which is frustrating for a beginner.
Hot-press watercolor paper has a smooth surface that is lovely for fine detail; cold-press has a gentle texture that holds washes beautifully.
Either is a fine choice for field sketching.
Size. A journal around five by eight inches is the sweet spot. It is small enough to slip into a bag and large enough to give your hand room to move. Pocket-size journals are charming but can feel cramped when you are learning brush control.
Paint. Student-grade pan sets are affordable and perfectly good for learning. Look for a set that includes a warm red, a cool blue, a yellow, and a green, plus a few extras like burnt sienna and ultramarine.
Those two earthy colors alone can mix almost every brown, gray, and shadow you will ever need outdoors.
Brands worth mentioning. Canson and Strathmore both make reliable watercolor sketchbooks that will not break the bank. Winsor & Newton Cotman and Reeves make good student pan sets. I mention these only as starting points, not requirements. The best kit is the one you will actually carry.
Finding Your Spot: Start in Your Own Backyard
You do not need a mountain view or a botanical garden. Some of the most beautiful field sketches in history were made in ordinary places.
The artist John Muir Laws, who wrote beautifully about nature journaling, sketches in parking lots, city parks, and roadside ditches, because that is where life actually happens.
Your first sketching spot could be:
- A patch of clover in the backyard
- A window box of herbs or flowers
- A favorite tree on your daily walk
- A park bench near a pond or fountain
- Even the kitchen windowsill with a houseplant
When you are choosing a spot, look for something with a little variety: a leaf with an interesting shape, a flower in different stages of bloom, a branch with peeling bark. Variety gives you choices when your hand needs a break from one subject.
Sit somewhere comfortable, or stand if you prefer. Prop your journal on your knee or a small board. The goal is a position you can hold for ten minutes without your neck complaining.
And here is a secret: the best time to sketch is often the least glamorous. Mid-morning, when the light is bright but not harsh, or late afternoon, when shadows get long and interesting. Rainy days are wonderful too, because colors look deeper and leaves glisten.
The Five-Minute Warm-Up
Every artist, beginner or seasoned, benefits from a warm-up. It loosens your hand, wakes up your eye, and takes the pressure off the page. Nobody judges a warm-up page, which makes it the safest place to make mistakes.
Try this simple sequence before your first sketch:
- Draw circles and loops. Fill a corner of the page with spirals, overlapping circles, and lazy figure-eights. Let your wrist relax.
- Practice lines. Draw a row of short straight lines, then a row of long sweeping curves. Notice how your hand gains confidence with each pass.
- Make a value scale. With your pencil, fill a small rectangle with light shading at one end and dark shading at the other, with soft steps between. This trains your eye to see light and dark.
- Try a watercolor wash. Wet a small area of paper and drop in a little color. Watch how the pigment spreads. This is not a painting; it is a conversation with your materials.
Five minutes of warm-up is plenty. If you only have ten minutes total, spend two on the warm-up and eight on your sketch. The warm-up is not wasted time, it is what makes the sketch possible.
I promise the page will thank you. Warm-up pages also become lovely records of their own, little windows into how your hand felt on that particular day.
Simple Subjects to Start With
Some subjects are naturals for beginners because they sit still, have clear shapes, and forgive a wobbly line. Choose from this list for your first few pages:
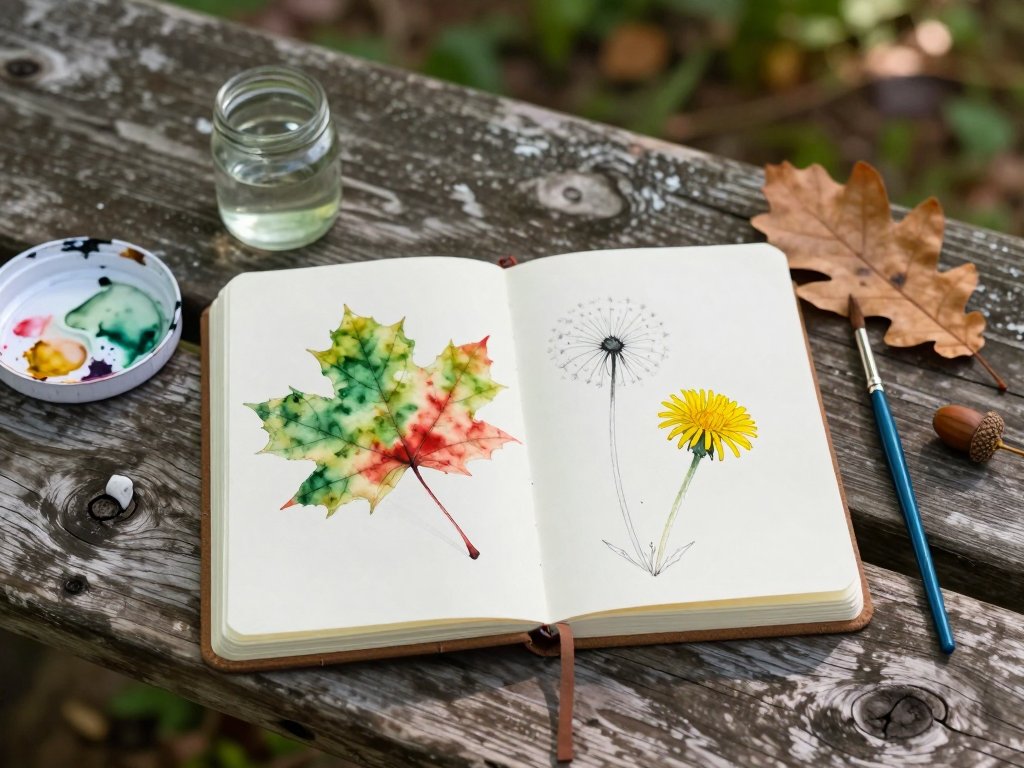
- Leaves. A single leaf is a perfect first subject. It lies flat, has a clear outline, and its veins give you an instant drawing prompt.
- Flowers and weeds. Dandelions, clover, and daisies are everywhere and full of personality. Sketch the whole plant or just one bloom.
- Stones and pebbles. They do not move, they do not wilt, and their shapes are endlessly varied. A small pile of stones makes a lovely still life.
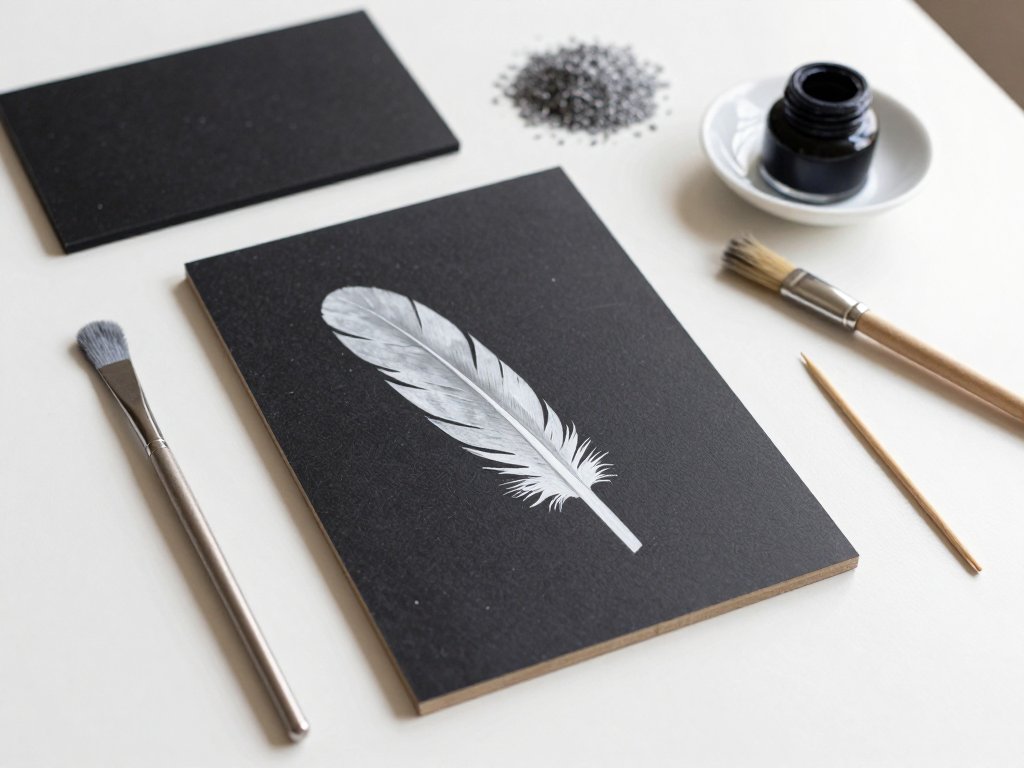
- Feathers and seed pods. These have beautiful textures and make you slow down to look at detail.
- Birds at a distance. Start with simple silhouettes rather than feathers. A robin on a fence post is just a rounded body, a tail, and a beak.
- Trees. Begin with the overall shape of the canopy and trunk, not every branch. Trees are forgiving because every one of them is slightly lopsided.
Pick one subject and give it a whole page. Resist the urge to fill the page with ten tiny sketches. A single leaf, drawn large and slowly, will teach you more than a page of rushed thumbnails.
If a subject feels too hard, choose a smaller piece of it. Cannot draw the whole bird? Draw its beak. Cannot draw the whole tree? Draw one branch. Small victories build momentum.
See Shapes First: A Gentle Sketching Method
Here is the method I taught to five-year-olds, and it works just as well for adults: do not draw the thing, draw the shapes the thing is made of.
Start by squinting at your subject. Squinting blurs details and reveals the big shapes, the way a camera lens softens when you pull focus. Ask yourself three questions:
- Is this subject tall or wide?
- Is it made of circles, triangles, or ovals?
- Where is the light, and where is the shadow?
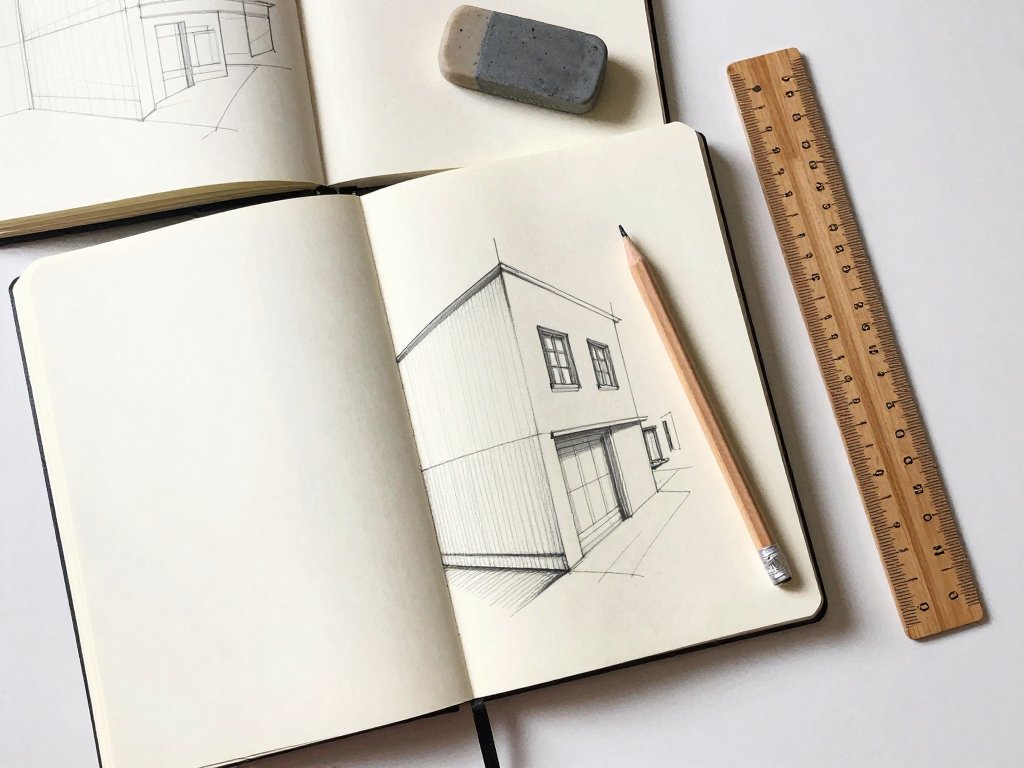
Then sketch those shapes lightly with your pencil, using soft, searching lines. Do not press hard. You are not committing to anything yet; you are just exploring the page.
Once the big shapes feel right, add the details that matter most: the curve of a vein, the notch in a leaf edge, the way a petal overlaps its neighbor. Then darken the lines you want to keep and let the rest stay faint.
Two small techniques will instantly improve your sketches:
- Blind contour drawing. Pick a point on your subject, put your pen on the paper, and draw its outline slowly without looking at your page. The result will be wobbly and wonderful, and it will teach your hand to follow your eye.
- Negative space. Instead of drawing the leaf, draw the space around the leaf. The shape of the background is often easier to see than the shape of the subject.
Remember the golden rule of field sketching: the goal is not a perfect picture, it is a record of looking. Every page is a success if you saw something new.
Watercolor in the Field: Three Easy Techniques
Watercolor can feel intimidating, but in the field you only need three techniques. Master these and you can paint almost anything in nature.
1. Wet-on-dry. Paint color onto dry paper. This gives you crisp edges and control, perfect for leaves, petals, and small details. It is the safest technique for beginners because the paint stays where you put it.
2. Wet-on-wet. Wet the paper first with clean water, then touch in color and watch it bloom and bleed. This is how you paint soft skies, misty backgrounds, and the gentle shadow under a leaf. It is less predictable, which is exactly what makes it exciting.
3. Dry brush. Wipe most of the water from your brush, then drag it across the paper. This leaves a rough, textured stroke that is wonderful for bark, grass, and fur. It also uses very little paint, which is perfect for tiny travel sets.
Here is a simple color recipe for field sketching: mix ultramarine and burnt sienna for almost any shadow, from the dark side of a tree trunk to the gray of a distant hillside. These two colors are worth their weight in gold.
A few gentle tips:
- Use less water than you think you need. You can always add more, but you cannot un-wet the page.
- Let each layer dry before adding the next, or the colors will muddy.
- Keep a clean corner of your cloth for drying the brush between colors.
- If a wash goes wrong, let it dry and paint over it. Watercolor forgives nearly everything.
The painterly secret of field sketching is looseness. You are not trying to fill every outline perfectly. Let the color wander a little outside the pencil lines, the way it does in the illustrations of a lovely children's book, and your pages will feel alive.
Writing It Down: Notes, Labels, and Little Questions
A nature journal is more than a sketchbook. The words you add turn a drawing into a record, and the record is what makes the journal precious years from now.
After your sketch, add a few simple notes:
- The date, time, and weather. Five words, forever useful.
- The name of your subject. Common names are fine; botanical names are a fun bonus if you know them.
- Where you found it. "Under the big maple by the mailbox" is perfect.
- One observation. "The petals were already curling by noon" or "The bees would not leave this clover alone."
- One question. "Why is this leaf red when its neighbor is green?" Questions turn your journal into a living conversation with the world, and they give you a reason to come back tomorrow.
You do not need neat handwriting or full sentences. Fragments, arrows, and little maps are all welcome. Some of my favorite journal pages are mostly notes with a tiny sketch in the corner.
Try adding a small color swatch next to your notes: a dab of the actual color of the flower or leaf you observed. Months later, that swatch will remind you of the exact pink of a summer phlox in a way words cannot.
Making It a Habit (Even on Rainy Days)
The hardest part of any new practice is not the first page, it is the thirtieth. Here is how to make field sketching a habit that actually sticks.
Keep your kit visible. Leave your sketchbook and paints on the kitchen counter or by your favorite chair. A kit that lives in a drawer gets forgotten; a kit that lives in sight gets used.
Attach the habit to something you already do. Sketch while the kids are at soccer practice. Sketch during your morning coffee. Sketch while dinner simmers. The habit sticks when it rides on the back of an existing routine.
Make a tiny promise. One page a week is a perfectly respectable goal. You can always do more, but the small promise is the one you keep.
Embrace rainy days. Rain is not an obstacle, it is a gift. Plants look jewel-bright after a shower, puddles make mirror-like reflections, and you can sketch from a window seat or a covered porch in perfect comfort.
Invite your family. Children are natural nature journalers. Give them their own cheap sketchbook and let them scribble, splash, and glue in found treasures. You will be modeling something wonderful without saying a word about it.
Forget perfection. The pages you consider failures are often the ones you will love most later, because they capture a moment exactly as you saw it, wobbles and all.
Conclusion: Your Journal Is Waiting
Field sketching with watercolor is not another thing on your to-do list. It is permission to sit down, look closely, and let the world slow to your pace for a few minutes.
Start smaller than you think you should. One leaf. One dandelion. One page. Pack your tiny kit, choose your spot, and give yourself five minutes to warm up and eight to draw. Let the color bleed outside the lines and write down whatever catches your eye.
The season will not wait. The maple will drop its leaves, the phlox will fade, the robin will raise her young and move on. But your journal will hold a little piece of each of them, hand-painted and true, for as long as you keep it.
So pick up your brush. The backyard is blooming, and your first page is waiting.