Introduction
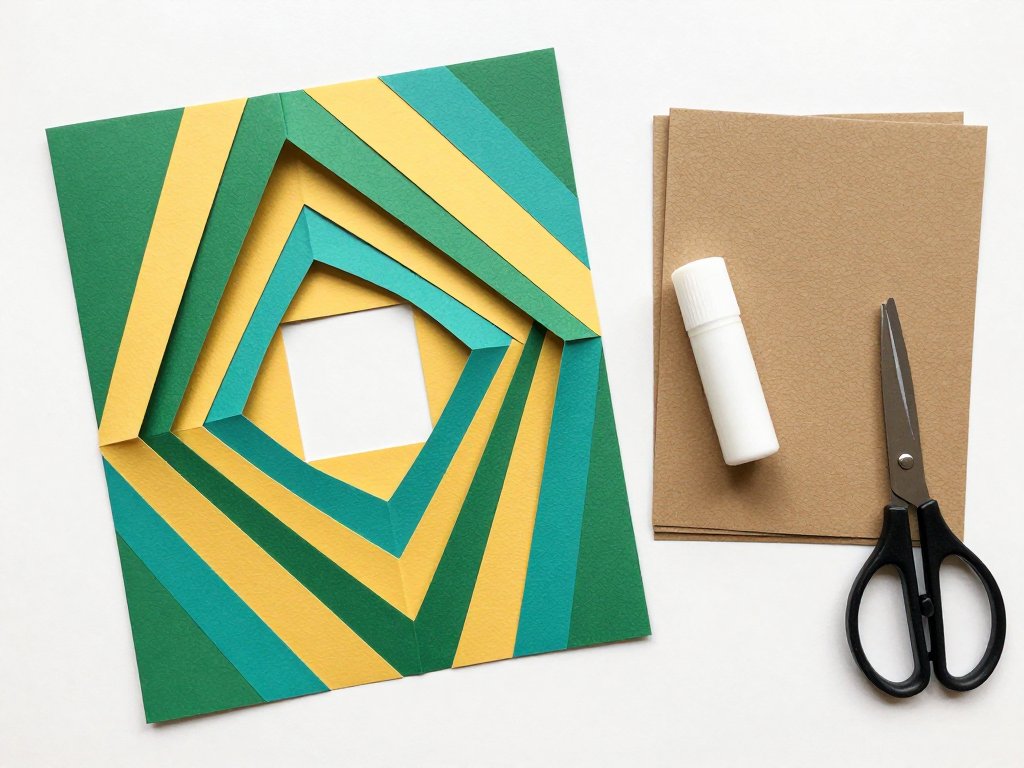
Iris folding is one of those paper crafts that looks far harder than it is. The finished card shows a tight spiral of coloured strips, all turning inward toward a small opening.
The supplies are modest. Paper scraps, a card blank, tape, a craft knife and a printed template will get you through a first card in about an hour.
You do not need to draw anything. You do not need neat lettering or an expensive set of punches. You follow numbers on a template and place strips in a set order.
This guide covers what the craft is, which supplies to buy, how a template directs your hands, and what to do when a strip lands crooked. It ends with a plan for making a matching set.
If you have a drawer of paper offcuts and an afternoon, you already have most of what this project asks for.
What Iris Folding Is
Iris folding builds a picture from strips of paper instead of paint. You cut a shaped opening in a panel of card, then lay folded strips across the back of that opening, one at a time.
Each strip overlaps the one before it. The strips are all placed at an angle, so the overlapping edges form a spiral that winds toward the centre of the shape.
The pattern resembles the iris diaphragm inside a camera lens, where overlapping metal blades open and close around a central point. That likeness gave the craft its name.
The technique is usually described as a Dutch paper craft. It became popular in the Netherlands in the later twentieth century and spread through craft magazines and card-making groups.
Traditional Dutch cards often used a small square or circle opening and a restrained palette. The version most makers use today is much the same, with better tape.
The appeal is practical. Strips are narrow, so the craft consumes scraps rather than whole sheets. A 2 cm offcut from another project is useful here.
Cards are the standard project, but the same method covers gift tags, bookmarks, journal covers and small framed panels.
What You Need
Gather everything before you start. Iris folding is a stop-and-start process, and hunting for tape in the middle of a strip sequence breaks your rhythm.
- Paper strips: 120–160 gsm, cut 1.5–2 cm wide. Scrapbook paper, magazine pages, washi paper and old book pages all work.
- Card blank: 200–250 gsm, around 13 x 13 cm. A folded blank with a smooth surface takes glue cleanly.
- Frame panel: a second piece of card in the same weight, cut to fit the front of the blank.
- Craft knife and cutting mat: a fresh blade matters more than a fancy handle.
- Double-sided tape: 3 mm or 6 mm wide. Narrow tape is easier to place inside small sections.
- Glue stick: for mounting the finished panel, not for the strips.
- Bone folder: for sharp, flat folds along every strip.
- Printed template: one with numbered sections and a marked aperture.
- Aperture shape: square, circle or heart, typically 4–6 cm across.
- Ruler, pencil, tweezers and a scrap card for practising the first two strips.
Paper weight is the detail beginners most often get wrong. Strips that are too thick will not crease flat, and the layers build into a lump under the frame.
Ordinary printer paper at 80 gsm is too floppy. Thin wrapping paper tears at the fold. Something in the 120–160 gsm range holds a crease and still lies flat.
The card blank needs to be heavier than the strips. At 200–250 gsm it will not bow when the layered back dries and pulls slightly.
A 13 x 13 cm blank is a good starting size. It is large enough for a 5 cm aperture and small enough that three or four strips cover each section.
Skip the scoring board if you do not own one. A bone folder and a ruler edge will score a fold line on a card blank just as well.
How a Template Works
A template is a line drawing of your aperture with concentric bands around it. Each band is a section, and each section carries a number.
The numbers are not decorative. They tell you the order of placement, and the order is what creates the spiral.
You always work from the highest number down to 1. If the template runs to 12, you place strip 12 first and strip 1 last.
That sequence matters because each new strip overlaps the previous one. Working downward means the strips you add later sit on top of the ones you already placed.
If you started at 1, every subsequent strip would cover the one beneath it in the wrong direction and the spiral would close on itself.
The other rule is the fold. Each strip is folded in half lengthwise before it goes down, and the folded edge faces the aperture.
So the strip is not laid flat across the section. It is folded, taped at both ends on the back, and the crease sits right against the inner edge of the opening.
Templates usually show a dashed line at the aperture edge. That line marks where the fold should land. A strip placed a millimetre short leaves a white gap that is very hard to fix later.
Print templates at 100 percent, with no page scaling. Most include a small measured bar; check it with a ruler before you cut anything.
If the shape is new to you, photocopy the template once and use the copy. The original stays clean for the next card.
Making Your First Card
Set aside an hour and clear a flat surface. The steps below assume a square aperture and a 13 cm blank, which is the most forgiving combination.
- Print and check the template. Confirm the scale bar measures correctly. Cut the template out roughly, leaving a margin around the aperture outline.
- Cut the aperture. Place the frame panel on the cutting mat. Cut the opening with a sharp knife against a metal ruler, turning the panel rather than the blade at each corner. Keep the cut-out square.
- Attach the template to the back. Line the template opening up with the cut aperture and tape it down with low-tack tape at two opposite edges. The printed numbers should face you, on the back of the panel.
- Prepare the strips. Cut strips 1.5–2 cm wide and about 8–10 cm long; longer for a large shape. Cut more than you think you need, then fold each in half lengthwise and press the crease with a bone folder.
- Place the highest-numbered strip. Find the top number on the template; on a standard square it is 12. Lay that strip across its section with the fold against the aperture edge, then tape both ends to the back of the panel.
- Work down through the numbers. Place 11, then 10, and so on. Check the front after every few strips. The spiral should turn consistently in one direction.
- Finish at 1. The last strip sits closest to the centre opening and covers the raw ends of everything beneath it. Press it flat and tape both ends.
- Trim and mount. Cut the loose strip ends back to within 5 mm of the panel edge and tape them flat. Remove the template, run a glue stick over the whole back, and press the panel onto the card blank front. Smooth from the centre outward.
Let the mounted card sit under a heavy book for ten minutes. The glue settles and any slight curl in the panel flattens out.
Cut the aperture in two passes if the card is heavy. A light first score, then a firm cut, gives a cleaner edge than one hard press with a dull blade.
Write your message on the inside panel before you glue, or use a blank insert. Once the frame is down, the back of the card is sealed.
One square aperture card usually takes eight to fourteen strips. If yours takes many more, the strips are probably too narrow for the section width.
Why the Fold Matters
The fold is not just a way to make the strip shorter. It does three jobs at once, and all three show in the finished card.
First, the crease gives a crisp straight line at the aperture. A cut edge placed there looks slightly ragged under close inspection, and the eye finds it.
Second, folding hides the raw edge of the paper. That matters with printed paper, where a cut edge exposes the white core and a sliver of the reverse side.
Third, the doubled paper has more body. A single layer of 120 gsm paper sags into the opening; two layers hold their line.
Folding also solves the print problem. If the back of your scrapbook paper is white or lightly patterned, the fold keeps that side hidden and shows only the face you chose.
Press every crease with a bone folder. A fold made by finger is soft, and soft folds read as wobbly bands in the spiral.
Line the strip up so the fold is parallel to the aperture edge. A strip laid at a slight angle throws the whole spiral off by the time you reach strip 2.
Choosing Papers That Work
Paper choice decides whether the finished card reads as a spiral or as a muddle. The spiral only appears if the eye can separate one band from the next.
Small, tight prints work better than large florals. A pattern whose repeat is wider than the strip will look like random colour rather than a deliberate band.
Text pages from old books are a good middle ground. Small type reads as texture from a distance, though large headline type can distract.
If you want a calm card, stay within one colour family. Three or four tones of green, from pale sage to deep forest, will spiral cleanly with no effort.
If you want contrast, limit yourself to two colours plus a neutral. Emerald and mustard with cream, for example, gives movement without noise.
A common arrangement is to place the darkest strips at the outer numbers and step lighter toward the centre. The centre then reads as light spilling through the opening, which suits the camera-iris idea.
You can reverse it. Light outside and dark in the middle makes a denser, more graphic card.
Washi is thin and slightly translucent, which makes it easy to fold but hard to keep opaque over dark strips. Use it on the outer sections or double it.
Magazine pages are free and plentiful. Avoid pages with large photographs of faces; the crop lands badly across a narrow strip.
Neutral bases carry busy prints well. Cream, kraft and pale grey let a loud pattern sit next to a quiet one without the card turning into a patchwork.
Test unfamiliar paper on a scrap card first. Fold a strip, tape it down, and look at it in daylight before committing to a full panel.
When Something Goes Wrong
Most first attempts have one or two faults, and nearly all of them are fixable without starting over.
- Gaps at the aperture edge. The fold sat too far back. Slide the strip forward with the tip of a knife, or lay a narrow sliver strip over the gap and tape it behind.
- Strips slipping before the tape grabs. Hold the strip with tweezers, or press a fingernail on the fold while you tape the first end. Tape one end, check the line, then tape the other.
- The template seems to run out of room. The panels are usually too thick, not too small. Switch to 120 gsm paper, trim strips to 1.5 cm, and press every fold flat.
- A curved aperture fights the strips. Use narrower strips near the curve, and let the fold follow the arc rather than the straight section line. Snip small darts in the inner curve if the paper buckles.
- Tape shows through. Use matte tape and keep it at least 3 mm back from the fold. Glossy tape catches light through thin paper.
- The pattern faces the wrong way. Turn the panel over and check the print orientation before you tape. Directional prints are unforgiving.
Curved shapes reward patience more than skill. A heart takes longer than a square because two of its edges curve sharply and the strips must fan around them.
If a section still looks wrong after two attempts, leave it. The overlap hides a surprising amount, and a finished card with one soft band still reads well.
Keep your first attempt. It is useful later as a reference for how much overlap a section needs.
A Related Folded-Paper Technique
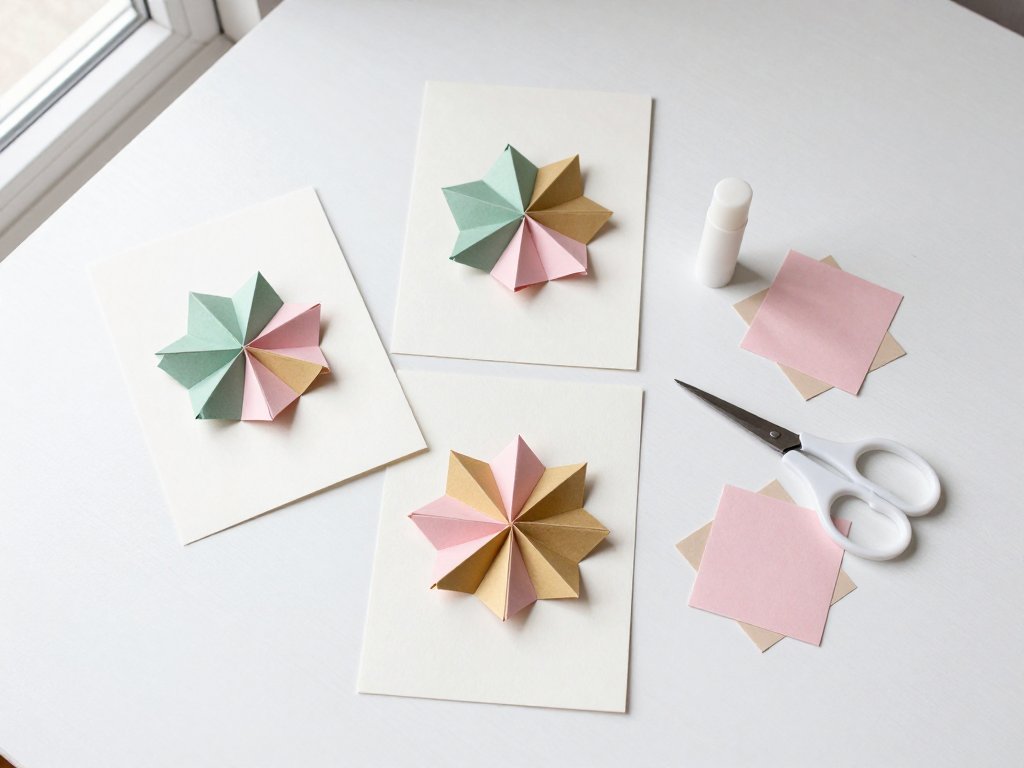
If you enjoy working with small folded paper shapes, tea bag folding is a close relative. It builds medallions from folded squares instead of strips.
Your First Card, Then a Set
Make one card first, on a scrap blank, with paper you do not mind wasting. The second one will be noticeably tidier.
Once the sequence feels familiar, batch the work. Cut apertures for six panels in one sitting, then cut and fold all the strips while the knife and mat are already out.
Assembling six panels in a row takes less time than six separate sessions. Your hands learn the overlap and stop hesitating.
A set of six matching cards, tied with twine and packed in a small box, makes a generous gift. Choose a single palette and vary the aperture shapes across the set.
Keep a note of which papers you used for each card. When someone asks for a repeat, you will know what to reach for.
Start with one square, one template and a handful of scraps. The spiral does the rest.