Introduction
Long stitch bookbinding is the binding I recommend to anyone who has never made a book. It asks for a needle, some thread, and a stack of folded paper. That is genuinely the whole list.
No press. No glue pot. No shelf of specialist equipment. No previous binding experience, either.
Most people finish their first journal in an afternoon and start writing in it that evening. The spine stays visible, so the making stays on show. Nothing is hidden under a cover.
If you have ever looked at a handmade notebook and wondered how the thread holds the pages together, this is the answer. You can learn it today, and you will have something usable at the end.
What Long Stitch Binding Actually Is
Long stitch binding sews folded sections of paper directly to the cover. The needle passes through the fold of each section and through holes punched in the spine of the cover.
There is no adhesive anywhere in the structure. The thread alone holds the paper, the cover, and the order of the pages.
The "long" in the name describes the stitches you can see. Between one section and the next, the thread travels down the outside of the spine in a long, straight run.
Inside the book, short stitches anchor each section to the one before it. That pairing is the whole mechanism, and once you have sewn two sections you will understand it in your hands rather than your head.
Because the paper is never glued into a rigid case, the finished journal opens completely flat. Every spread lies down. For a notebook you actually write in, that matters more than how the spine looks.
Why It Suits a First Book
Most binding styles hide their working. Case binding wraps the spine in board and cloth, which buries a beginner's small mistakes along with the technique.
Long stitch does the opposite. Everything is visible, so you can see exactly what your tension did and correct it on the next section.
It is also forgiving of beginner handling. A section that sits slightly crooked can usually be eased back into line with your fingers before you tie off.
And it is cheap to fail at. A ream of copy paper and a few metres of thread cost less than one hardback notebook from a stationery shop.
A messy first attempt still holds paper. You will still use it. That is a much better place to start than a project you are afraid to touch.
Long Stitch vs. Case Binding: The Honest Difference
Case binding is the traditional hardback method. Sewn sections are glued into a stiff case, and the case is covered in cloth or paper. It needs boards, glue, a press, and a fair amount of bench space.
Long stitch is the friendlier cousin. The sewing stays visible, and the cover is a single piece of card or leather rather than a constructed case with a spine hollow.
You skip the boards, the covering material, and the overnight drying time. You keep the flat opening and most of the strength, because the thread does the structural work either way.
If you later want a hardback with a covered spine, case binding is the natural next step. Learn tension here first, where you can see it.
What You Need
Here is exactly what you need, in the order you will use it.
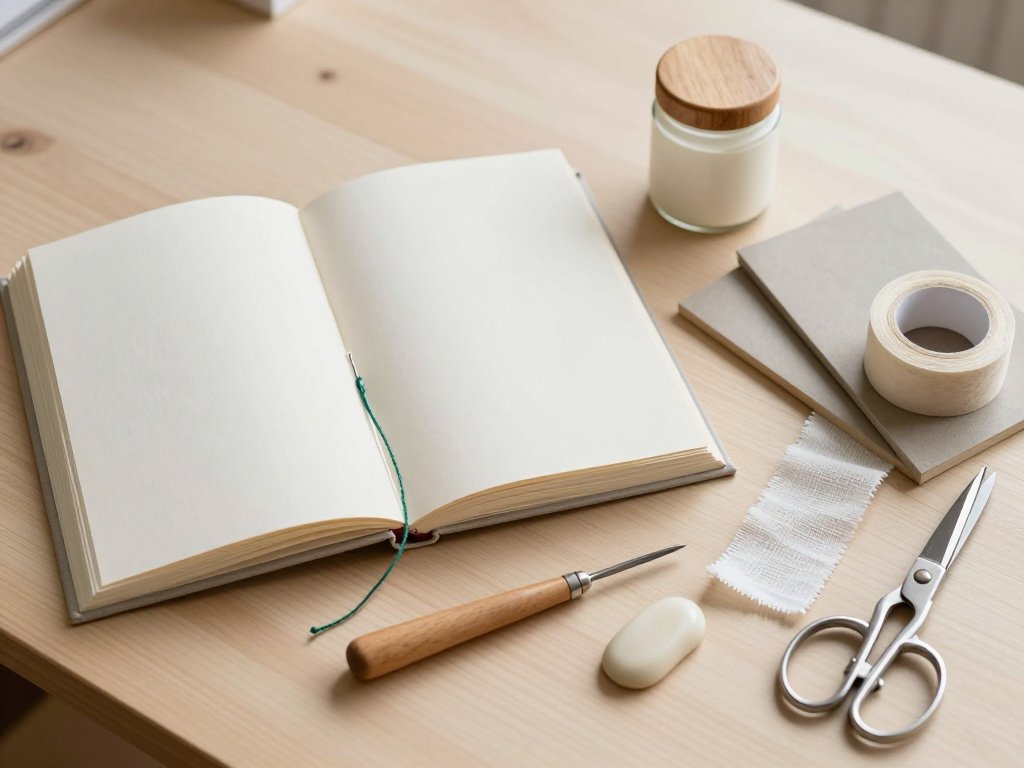
- Text paper. A ream of ordinary copy paper is fine for a first book. A smooth 90–120gsm paper feels noticeably better under a pen.
- Bone folder. The back of a metal spoon works. So does the rounded edge of a plastic ruler.
- Awl. A sturdy darning needle pushed into a cork makes a serviceable one.
- Thread. Waxed linen is standard. Heavy cotton works. Button and carpet thread is the budget option and strong enough.
- Beeswax. Only needed for unwaxed thread. Draw the thread over the block two or three times.
- Needle. A size 18 tapestry needle has a blunt tip, so it slides between paper fibres instead of stabbing your fingertip.
- Cutting mat. A self-healing mat protects the table and keeps the knife from skidding.
- Steel ruler. Plastic rulers get shaved by the blade. Steel does not.
- Craft knife. A fresh blade, not the one you used on cardboard last month.
- Two heavy books. Cookbooks or a dictionary. They become your press.
Buy one good needle and one spool of waxed linen. Everything else you probably own.
What You Can Skip on a First Attempt
Skip the beeswax if your thread is already waxed. Skip the awl if you have a darning needle and a cork. Skip bookboard and use cereal-box card for a soft cover journal.
Skip the proper book press entirely. Two cookbooks and a night on a flat shelf do the same work.
The one thing not to skip is the blunt tapestry needle. A sharp embroidery needle will catch a paper fibre and split the fold, and you will feel it happen.
Folding the Paper and Making Sections
A section, properly called a signature, is a small group of folded sheets nested inside one another. The whole journal is a stack of these, sewn one after another.
Fold each sheet on its own. Folding a whole stack at once gives you a stepped, uneven fore-edge that no amount of pressing will fix.
Fold with the grain. Bend a sheet gently: the direction that flexes easily is the grain. Fold parallel to it and the fold runs smooth, the pages lie flat, and the cover will not curl later.
Run a bone folder or spoon back along each fold to sharpen it. Press down and pull once, firmly, rather than rubbing back and forth.
How Many Sheets Per Section
Four to six sheets per section is the sweet spot for beginners. Five is a good default.
Fewer than four and the section is flimsy. It shifts while you sew, and the sewing stations tear through the fold.
More than six and the fold gets bulky. The needle has to push through a fat spine, the holes stretch, and the journal stands open in the middle instead of lying flat.
For an A5 journal, eight to ten sections of five sheets gives you a text block around 12mm thick. That is a comfortable everyday notebook.
Making the Sewing Template
Your sewing stations are the holes the thread passes through. Mark them on a strip of paper the same height as your text block, then keep that strip. It is your template for every section.
Fold the strip in half, then in quarters. Those creases give you evenly spaced marks without measuring anything.
Use an even number of stations. The thread has to come back to where it started so each section ends inside the fold, ready to join the next one.
An odd number leaves the thread outside the spine at the end of a section. You then have to cross the spine diagonally to continue, and it looks like a mistake because it is one.
Four stations is the standard for a first journal. Two stations makes a simple pamphlet notebook. Six stations gives a more elaborate ladder on a thick book.
The Foolproof Way to Match Every Section
Punch the stations through the template once, with an awl, on a cutting mat. Now the template carries the pattern.
Open a section at its middle, lay the template against the inside of the fold, and punch through paper and template together. Do this for every section with the same template.
Every section then has holes in identical positions. Line them up and the spine is straight before you have sewn a single stitch.
This is the step people skip, and it is the step that decides whether the finished book looks deliberate.
Step by Step: Sewing Your First Long Stitch Journal
Work on a flat table with good light. Keep the template and the awl within reach, and do not rush the measuring.
- Measure the text block. Square the sections on the table and measure height and width. For A5 sections folded from A4, expect roughly 210 × 148mm.
- Cut the cover. The cover should be about 6mm taller than the text block and wide enough to wrap both sides plus the spine. For this block, cut card to 216 × 314mm.
- Score the spine. Mark the spine width at the centre, score both fold lines lightly with a bone folder, then fold. A scored fold stays crisp; a bent one goes soft.
- Punch the cover holes. Centre your template on the spine, hold it firmly, and push the awl through both layers from the outside. Check the holes line up before you go on.
- Thread up. Cut a length about two and a half times the height of the book. Wax it, then thread the tapestry needle. No knot.
- Sew the first section. Open the section at the middle and start at the top station, going from inside to outside. Leave a 10cm tail inside.
- Run the long stitch. Take the thread down the outside of the spine to the next station, then back inside. Repeat to the bottom station.
- Return inside. Work back up the inside of the fold with short stitches, passing the needle behind the thread at each station so the stitches lock.
- Start the next section. Lay section two in place and begin at the top station again. Before continuing, pass the needle under the long stitch of section one. That join is what holds the sections to each other.
- Repeat for every section. Same order, same tension, joining each new section to the one above it at the top and bottom stations.
- Finish. After the last section, tie a square knot with the starting tail inside the fold. Pull it snug, trim to about 10mm, and tuck it under the paper.
The knot lives inside the last section, not on the spine. Nothing shows but the ladder of thread.
Reading the Exposed Spine Pattern
Look at a finished spine and you will see a ladder. The rungs are the long stitches running outside the cover between stations. The rails are the sections stacked in order.
The thread alternates: out through the cover at a station, down the outside, in again at the next station, then a short run inside the fold to the following station.
That alternation is why the stitch grips. Every long outside run is balanced by a short inside run pulling the opposite way, and the paper is pinched rather than pierced.
Keeping the Tension Even
Pull each long stitch until it lies flat against the card. Not tight. Flat.
If you can see the card bowing inward between stations, you are pulling too hard. Ease that stitch back a little before you move on.
If the sections wobble when you hold the book by the cover, the thread is too loose. The next section should be sewn a touch firmer.
Check the spine after every two sections. Hold the book up and sight along it. A spine that curves outward at the middle is a tension problem you can still fix by easing the outer stitches.
Aim for the same feel every time: firm enough to hold, loose enough that the paper is not crushed at the holes.
Pressing and Trimming
Press the finished journal under two heavy books for a few hours, or overnight. This settles the folds and flattens the spine before you trim.
Trim the fore-edge after sewing, never before. Sewing pulls the sections into alignment, so edges cut earlier no longer match.
Clamp a steel ruler along the fore-edge and cut with several light passes. Three or four shallow cuts are safer than one heavy one that drags the paper.
Move the ruler, not the book, between passes. Change the blade if it starts tearing rather than slicing.
Trim only a millimetre or two at a time. You can always take more off; you cannot put it back.
Variations Worth Trying
Once the basic sequence is in your hands, these four changes give you very different books.
- Two-hole notebook. One section, two stations, one long stitch. Fifteen minutes, and the best possible first attempt.
- Four-station journal. The standard version above. Four stations, eight to ten sections, A5 cover.
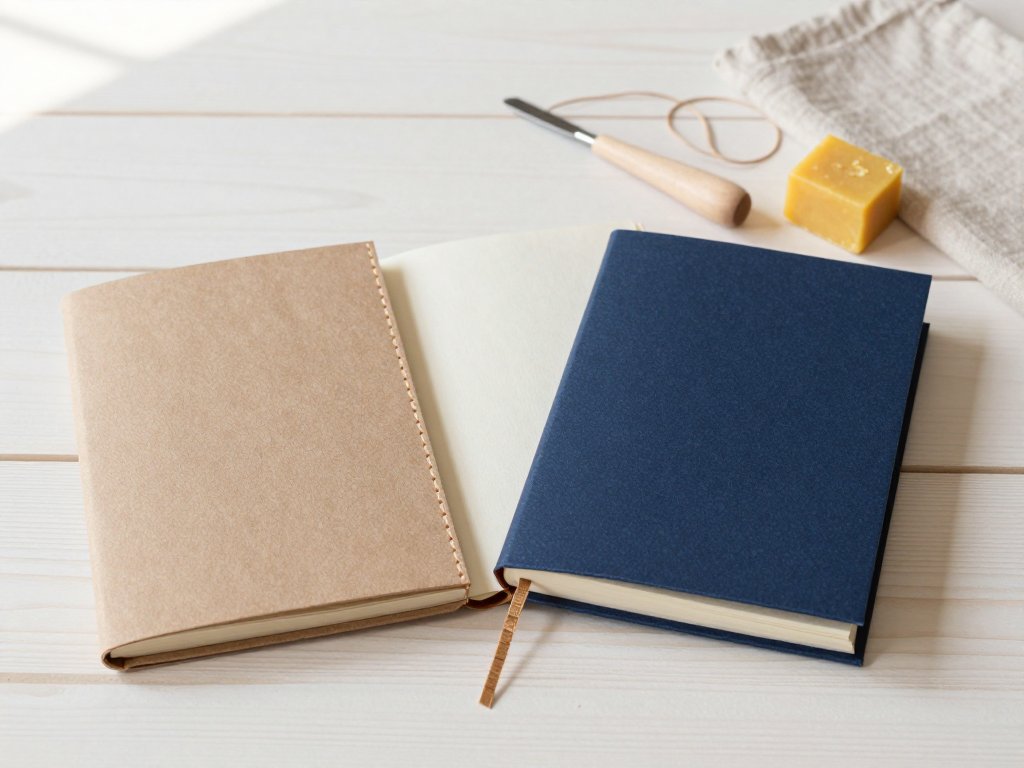
- Wrap-around cover. Cut the cover longer so it folds around the fore-edge like a wallet. Sew through the spine as usual, then tuck the flap closed.
- Ribbon closure. Sew a 40cm ribbon under one long stitch at the back before you finish. Tie it around the fore-edge to keep the pages tight.
Troubleshooting
A spine that gapes. Gaps between sections mean uneven tension. Re-sew the loose section, or press the closed book under weight for a full day before deciding to redo it.
Sections that slide out of line. Tap each section square on the table before you sew it, and hold it with a binder clip at the fore-edge while you work.
Thread that shreds. Usually the hole is too small or the needle too sharp. Wax the thread, punch the holes again from the outside, and use a blunt tip.
Holes that are too tight. Thick paper needs a slightly larger awl. Push through from the outside, where a small tear is hidden by the cover, rather than from inside.
A cover that curls. Card curls when it is folded across the grain. Cut the next cover with the grain running vertically, and press it flat under weight before sewing.
Project Ideas
Everyday notebooks. A6, three sections, plain kraft cover. Make five at once with the same template and keep them in a drawer.
A recipe journal. A5 with heavier cover card, one section per course, and a ribbon marker sewn in at the back.
A sketchbook. Use 140gsm paper, four sections of four sheets. Fewer sheets per section keeps the thick paper from fighting the needle.
A memory book for a child. A wider wrap-around cover with a pocket folded inside, and pages alternating plain and coloured paper.
Sets of small notebooks as gifts. Three two-hole notebooks tied with twine make a gift that costs almost nothing and looks considered.
Conclusion
Long stitch is the rare craft where the beginner version and the beautiful version use the same method. The difference is only practice and tension.
Your first spine will be uneven. Sewn thread shows everything, and that is the honest trade for a book that opens flat and holds for years.
Keep the trimmed offcuts in a jar. They are exactly the right size for tea bag folding for handmade cards, which turns those thin strips into something worth sending.
Start with two holes and one section. You will know by the second journal what your hands are doing, and by the fifth you will be teaching someone else.