Introduction
The first time I stood close to a Leonardo, I was not supposed to be that close.
It was a Tuesday afternoon at the National Gallery, the kind of gray day that makes a museum feel like a favor.
My daughter was at preschool. I had two hours and no list, which almost never happens.
I found the Ginevra de' Benci and leaned in until the guard coughed politely behind me.
I was looking for brushstrokes. I had spent a year painting badly, and I knew exactly what my own hand left behind: ridges, tracks, little drag marks where a brush ran out of paint.
There were none. The cheek turned into shadow the way dusk turns into night. No line, no seam, no place where I could say the light stopped and the dark began.
I stood there long enough that my feet hurt. What I felt was not admiration, exactly. It was a quiet kind of disbelief.
That softness has a name. Sfumato is the technique that makes a finished painting look like it breathes.
And here is the part that took me years to believe: it is built from patience, not from a steady hand.
What Sfumato Actually Means
Sfumato comes from the Italian fumo, which means smoke. Fumare, to smoke. The word describes what the paint does, not what the painter does.
Say it softly: sfoo-MAH-toh.
The definition is almost too simple. Sfumato is the deliberate blurring of a transition, so a shadow slides into a highlight with no hard line anywhere.
Leonardo described it as working without lines or borders, in the manner of smoke. He was talking about edges, and only edges.
Edge Control, Not Contrast Control
This is the distinction beginners miss, and it changes how you practice.
Sfumato does not decide how dark a shadow is. It decides how that shadow meets the light beside it.
You can have a very dark shadow with a razor edge. You can have the same shadow with an edge so soft it looks like breath on glass. Both are correct. They simply say different things.
So sfumato is edge control. Contrast — how light and dark sit against each other — belongs to a different habit of seeing, and a different article, which I will point you toward later.
Keep them separate in your head and both get easier. Value decides what. Edge decides how it arrives.
Why It Is Not Brush Blending
Almost every beginner, me included, tries to make soft edges by blending. Two colors sit next to each other, still wet, and you drag a brush through the middle.
For about four seconds it looks wonderful. Then it dries.
What is left is a smear. The two colors have mixed into a third one you did not choose, usually a dull gray-brown. Painters call it mud, and the word is accurate.
The transition also carries a direction in it, the track of your brush, which reads as a stripe. Your eye finds it instantly.
What Sfumato Does Instead
Sfumato never mixes two wet colors on the surface. It stacks thin, translucent layers, one over another, and lets your eye do the mixing.
From a foot away, the transition looks continuous. Up close, with your nose almost to the board, you can see the separate veils, like rings in a tree.
That is the heart of the whole technique. The blend happens optically, in the viewer's eye, not physically, under the brush.
Blending is a collision. Sfumato is an accumulation.
The Materials That Make It Possible
You can attempt this with almost anything, but the materials decide how much the technique fights you.
- Oil paint, or a genuinely slow-drying acrylic. Oil is the natural home of sfumato. It stays workable for hours, sometimes days.
- A glazing medium. For oil, a simple mix of linseed or walnut oil thinned with a little solvent. For acrylic, a proper glazing medium, not water alone.
- Soft filbert and round brushes in good condition. Filberts are oval-ended and lay a veil smoothly. Rounds get into the narrow turns.
- A smooth or lightly textured ground. A sealed panel, a smooth linen, or a board with two or three coats of gesso sanded between.
- Two rags and a small jar of solvent or water for rinsing. One rag for wiping the brush, one dry one for your hands.
Note what is not on that list: a rough canvas.
Rough canvas fights you in a specific way. Every bump of weave grabs more paint than the hollows beside it, so a thin veil arrives unevenly.
You end up pressing harder to cover the tooth, and pressing harder is the beginning of scrubbing. The texture also scatters light, which kills the delicate sheen a glaze depends on.
Save your heavy canvas for work that wants texture. Sfumato wants a surface that gets out of the way.
Brushes matter more than people expect. A splayed or hardened brush cannot lay a thin veil. It leaves streaks and loose hairs. Keep two good soft brushes instead of ten tired ones.
The Dilution Rule: Weak Tea, Not Cream
Here is the rule I wish someone had handed me on day one. The paint must be thinned until it is translucent, roughly the consistency of weak tea.
Not cream. Not milk. Weak tea, the kind you can see the bottom of the cup through.
In practice, put a small amount of paint on the palette, then add medium at roughly three or four parts medium to one part paint.
For oil, that might be a pea of paint and three drops of medium. For acrylic, a pea of paint and a small puddle of glazing medium, stirred until it flows and holds no body.
Then test it. Drag a streak across a scrap of your ground. If you can read the surface through the streak, it is thin enough. If the streak hides what is underneath, it is not.
Why Opaque Paint Ruins It
An opaque layer does not let the layer beneath speak. It covers it, flatly, and the transition stops being a building-up and becomes a covering-over.
The moment you place opaque paint on top of a glaze, you have to soften the new edge by hand. Which means blending, which means the method you were trying to avoid.
Thin paint also behaves differently under the brush. It flows off the tip with almost no pressure, and it dries without brush ridges.
So keep one rule for yourself: if the brush is leaving a visible track, there is too much paint in it.
Thin and Many Beats Thick and Few
A finished sfumato passage might hold twenty or thirty veils. I know how that sounds. It sounds like a month of work for one cheek.
It is not, because each veil takes two minutes and you are not trying to finish anything. You are only nudging a transition a little further.
The first five veils look like nothing happened. Around the tenth, the edge begins to blur. By the twentieth, it is gone.
One thick pass has to do all the work at once, and thick paint can only be moved, not layered. Movement is blending.
Many thin passes let you build in increments you can control. If a transition is almost right, you add one more veil. If it is too far, you stop. There is no undo in oil, but there is always one layer less than too much.
Thin layers also dry faster than thick ones, which sounds backwards until you try it. A thick puddle skins over while staying soft underneath. A thin veil is dry by the next session.
Give each pass real drying time. Overnight for oil, twenty to forty minutes for acrylic with medium. Touch the surface before the next pass; if it is tacky, walk away.
Patience here is not a virtue. It is mechanics. Wet over wet is blending, whether you meant it or not.
Your First Sfumato Study, Step by Step
Set up something simple: one object, one lamp, a small board. Keep the light close and low so the shadow side is broad.
- Block in the big shapes. Two or three flat values, no transitions yet: lit side, shadow side, background. Keep it loose and let it be ugly.
- Let it dry completely. This is the step everyone skips. A dry base is what makes the next layers possible.
- Mix your first veil in the color of the shadow side and thin it to weak tea. Load the filbert lightly, then wipe it once on the rag so it is almost dry.
- Lay the veil across the shadow, brushing gently along the direction the form turns, around the curve of the object and never across it.
- Feather the inner edge. Before the veil sets, take a clean dry brush and drag it lightly from the light side into the wet edge, softening the boundary into nothing.
- Stop. Let it dry. Do not go back over it because it looks unfinished. It is supposed to look unfinished.
- Repeat with a slightly darker veil, each one smaller and closer to the core of the shadow. Six or eight passes get you a soft turn.
- Add one lighter veil on the lit side, the same method in reverse, to soften the highlight into the midtone.
On brush direction: follow the form. On a cheek, that means curving around the cheekbone. On an apple, it means following the sphere, never straight up and down.
On pressure: almost none. The weight of the brush should be enough. If you can feel the bristles bend, you are pressing.
On feathering: a dry brush at the very edge works better than a wet one. Wet paint pulls paint. Dry paint persuades it.
If a veil goes wrong, wipe it off with a rag while it is still wet and start again. Sfumato forgives immediately, and not at all after an hour.
Where Soft Edges Belong, and Where They Do Not
Soft edges are not a mood you apply to the whole picture. They are a decision you make in specific places.
The most important is the terminator, the line where light turns into shadow across a rounded form. On a real face that turn is never sharp. Softening it is what makes skin look like skin.
The turn of a cheek, the side of a nose, the curve of a shoulder, the soft hollow under a lip: all candidates.
Distance is another. A background behind a figure will blur, and a few soft veils there push it back without your painting a single detail.
Then there is the warning. A painting with nothing but soft edges turns to soup.
If everything is blurred, the eye has nowhere to land. The picture goes foggy and vague, and the viewer's attention drifts right off the edge of the board.
So keep at least one firm note near your focal point: a crisp edge on the lit side of the eye, a sharp line where a collar meets a neck, a hard boundary on the object nearest the viewer.
One firm edge makes all the soft ones read as choices instead of accidents.
If you want the companion work on values and light, the business of how dark a shadow should go and where the lit planes sit, Chiaroscuro Drawing covers that ground. This article is the other half of that pair.
A Practice Drill: One Apple, Three Evenings
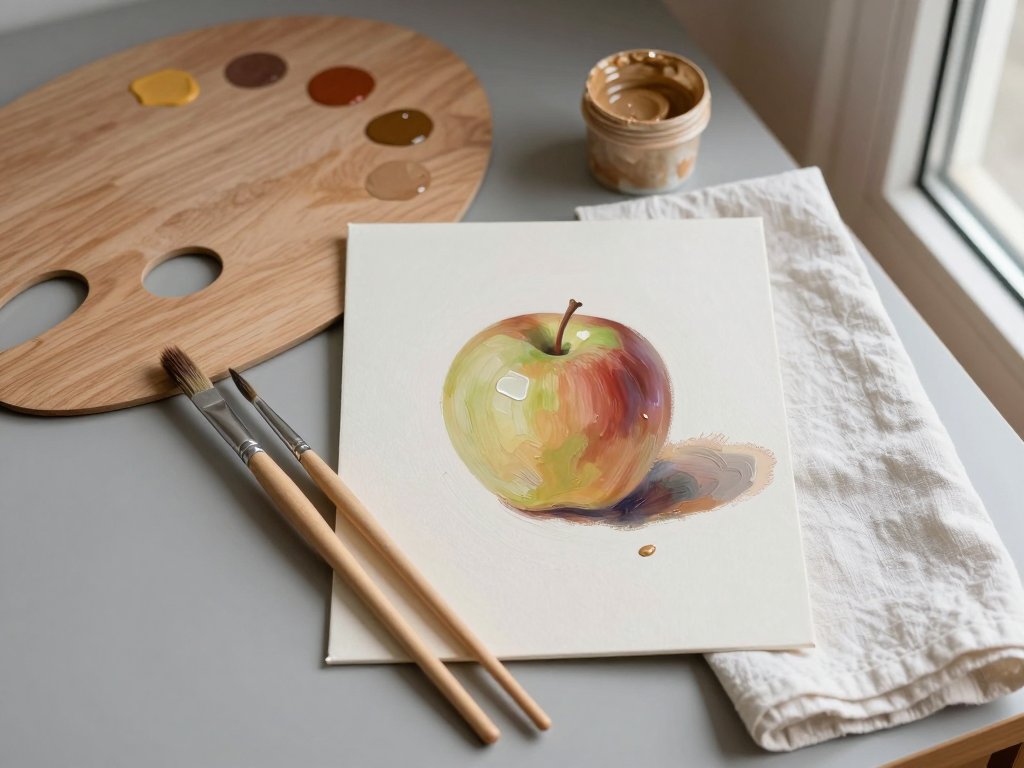
An apple under a single lamp is the best teacher I know, and it costs almost nothing.
Put the apple on a plain surface, place the lamp to one side and slightly above, and turn off everything else. Set a timer for forty minutes and work three evenings in a row.
Evening One: Shape and Shadow
Block in the apple, the shadow shape, and the background in flat values. No softening at all. Get the silhouette right and let it dry.
What to look for: does the shadow shape sit convincingly on the table? If not, fix it now. No amount of later glazing rescues a wrong shape.
Evening Two: The Turn
Work only the transition between light and shadow. Six to ten veils, feathered on the light side. Ignore the highlight and the cast shadow entirely.
What to look for: hold the board at arm's length. The edge should dissolve when you step back and reappear as separate veils when you lean in.
Evening Three: Edges and Accents
Soften the outer edge of the cast shadow, but keep it firmer where it meets the apple. Add one light veil to soften the highlight, and one crisp note on the lit rim.
What to look for: exactly one hard edge, and it should be the one you chose. If you cannot find it, you have over-softened.
Working in Acrylic Without Pretending It Is Oil
Acrylic will do this. It just will not pretend to be oil, and the sooner you accept that, the better your results.
The problem is drying time. Oil gives you hours to feather an edge. Acrylic gives you minutes, and on a warm day, fewer.
Three workarounds help, and I use all of them.
- Glazing medium instead of water. It extends working time a little and keeps the film even. Water alone dilutes the binder and leaves a chalky, underbound layer.
- Retarder. A few drops slows the drying enough to feather. Do not overdo it. Too much leaves a sticky surface that stays tacky for days.
- A damp stay-wet surface. Palette paper over a damp sponge keeps mixed glazes workable between passes, so you are not remixing every five minutes.
Work smaller than you would in oil. A five-by-seven study is achievable in acrylic. A large canvas is a race you will lose.
And mist the painting itself, lightly, if the room is dry. One spray, not a soak. You are buying seconds, not hours.
Sfumato at a Small Scale
Almost everything I know about edges, I learned on boards the size of a postcard.
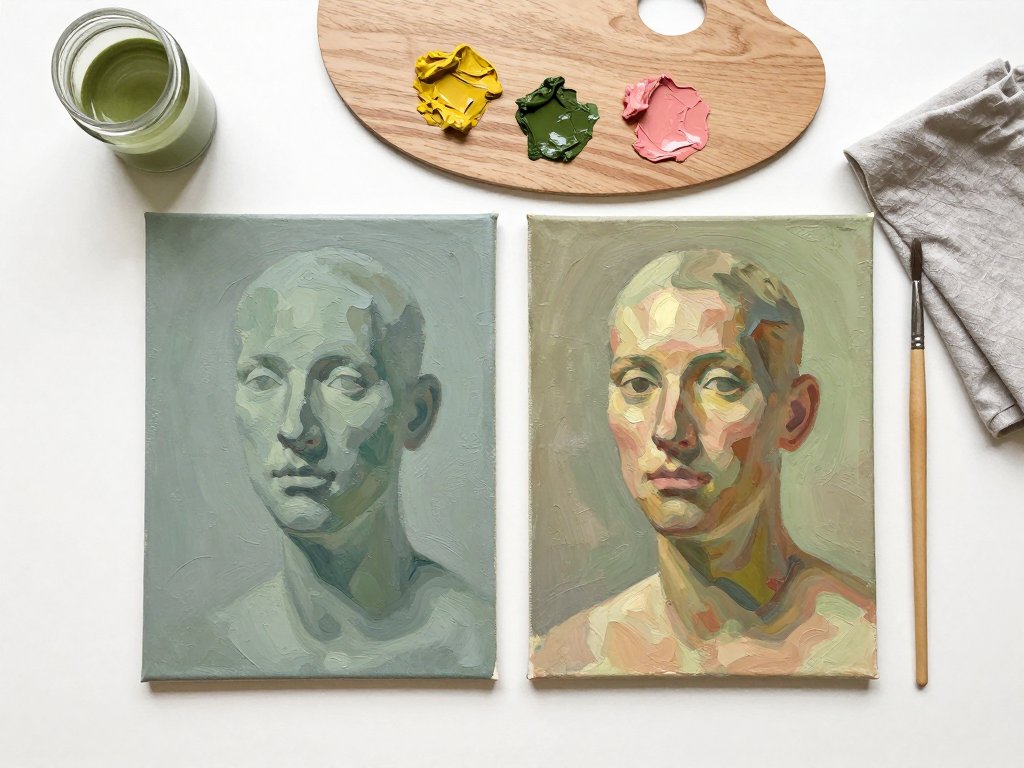
A small portrait study — one head, five by seven, a single lamp — teaches edge control faster than any large canvas, for one blunt reason: you can see the whole thing at once.
On a big canvas you are always inside the painting, working a patch and guessing at how it reads from across the room. On a small board, the whole picture stays in view while your brush moves.
That means you notice immediately when a soft edge goes too far, because you see the damage next to the firm one you meant to protect.
Small studies are also cheap to fail. A board that goes wrong costs you an evening, not a month. Failure at that price is a bargain.
Work at the same scale for a month. Four studies, one a week, each with a single deliberate hard edge and everything else softened.
Then go bigger. The decisions will come faster, because you have already made them small.
Common Errors and Fixes
These are the five I make most often, in order of how much time they cost me.
Scrubbing
Back-and-forth brushwork on a thin layer lifts the layer beneath and mixes it into the new one. The result is mud, plus a visible patch where the surface texture changed.
Fix: one pass, one direction, then stop. If it is wrong, wipe it off and start again rather than working it into submission.
Glazing Over a Wet Layer
A new veil laid on a tacky surface will lift and mix with what is underneath. The transition goes streaky and cannot be repaired.
Fix: touch the surface before you load the brush. Cool and dry, go ahead. Slightly sticky, wait. No shortcut is worth the streak.
Too Much Medium
Over-thinned paint pools at the edges of the stroke, dries shiny, and can wrinkle as the surface skin tightens over soft paint below.
Fix: the weak-tea test. If the streak runs or beads, add a touch of paint back in. The veil should sit where you put it.
Over-Softening Everything
The most common error in a first sfumato attempt, because softening feels like progress. Every edge gets the treatment and the picture loses its spine.
Fix: decide your one firm edge before you start, then check it at the end of every session. If it is gone, you went too far.
Impatience With Drying
This one is not really a technique error, but it ruins more paintings than the other four combined.
Fix: work two boards at once, alternating. While one dries, you soften the other. Patience is much easier when you have somewhere else to put your hands.
A Quiet Note on Patience
I went back to that Leonardo a year later, on another gray Tuesday, and stood at the same distance.
This time I was not looking for brushstrokes. I was looking for the place where the cheek stopped being lit, and I could not find it, and that was the whole point.
Sfumato is slow work in a world that has stopped rewarding slow work. That is part of why it is worth doing.
You will not finish a Leonardo this week. You are not supposed to. You are supposed to lay one veil, feather one edge, and let it dry while you get on with the school run.
So put an apple under a lamp. Mix your paint thinner than feels sensible. Lay one veil and stop.
The softness comes later, twenty veils from now, and it will look like it was always there.