Introduction
My first lace imprint went straight back into the clay bag. I had rolled a slab while the clay was still too wet, pressed an old crocheted doily into it, and watched the whole pattern slump and smear as I peeled the lace away. Forty minutes of work, recycled.
What that afternoon taught me changed how I hand-build. Slab lace imprinting isn't difficult. It just asks you to respect one variable: how wet your clay is. Get that right and cheap lace gives you texture that looks like it came out of a real studio.
No wheel. No kiln at home. No hundred-dollar texture rollers. Just a rolling pin, some lace, and a slab you roll on your kitchen table. Let me show you exactly how I do it now, and how to avoid the mess I made.
What Slab Lace Imprinting Actually Is
Slab lace imprinting means pressing lace, doilies, or any textured object into a flat sheet of clay so the pattern presses into the surface. You then shape that textured slab into something useful: a tray, a plate, a small dish, a coaster.
The texture is real, not painted on. Every thread of the lace leaves a fine line and every gap leaves a raised bump. That contrast is what makes the finished piece look intricate, like you spent weeks carving it by hand.
Hand-builders love it for three honest reasons. First, you get detail without owning a wheel or a studio. Second, you get it without buying expensive texture rollers. Third, it turns ordinary household objects into tools you already have.
Wrap your head around that and the whole craft opens up. You are not learning to throw a pot. You are learning to transfer texture from things you own onto clay you can buy for a few dollars a bag.
The Right Clay Consistency for Imprinting
Everything in this craft comes down to water. Clay has a working window, and lace imprinting lives at the dry end of it. You want the slab leather-hard to just-soft: firm enough to hold a shape, soft enough to take a press.
Here is the honest test. Press your thumb into the slab. It should leave a clean dent, not a wet smudge. If your finger comes away slick, the clay is too wet. If the slab barely dents, it is too dry.
Why does too-wet clay lose detail? Because water makes the clay soft enough to flow. Press lace into it and the walls of the imprint collapse back inward as you lift. Your crisp pattern turns into a blurred suggestion of itself.
Why does too-dry clay fail? Because stiff clay has stopped moving. Press lace into it and the pattern barely bites. Worse, the edges crack under the pressure, and the slab wants to snap when you bend it into a curve later.
If you are impatient, a hair dryer on its lowest setting will firm a wet slab in a few minutes. Flip it and dry both sides evenly. That single trick saved my second attempt, and it costs nothing.
Your room matters too. In humid weather clay stays soft far longer, so give the slab an extra ten minutes before you press. Dry winter air does the opposite and firms it fast. Watch the clay, not the clock.
What You Need: A Beginner's Supply List
Nothing here is specialist. If you have ever baked a pie, you already own half of it.
- A rolling pin or a length of wooden dowel. A plain smooth wooden rolling pin is ideal.
- Two thin wooden guide sticks, called battens. Craft sticks work. They set your slab thickness.
- A canvas or cloth work surface, so the clay does not stick to your table.
- Lace and doilies. Thrift-store lace and dollar-bin doilies are perfect.
- Found objects, which we will get to shortly.
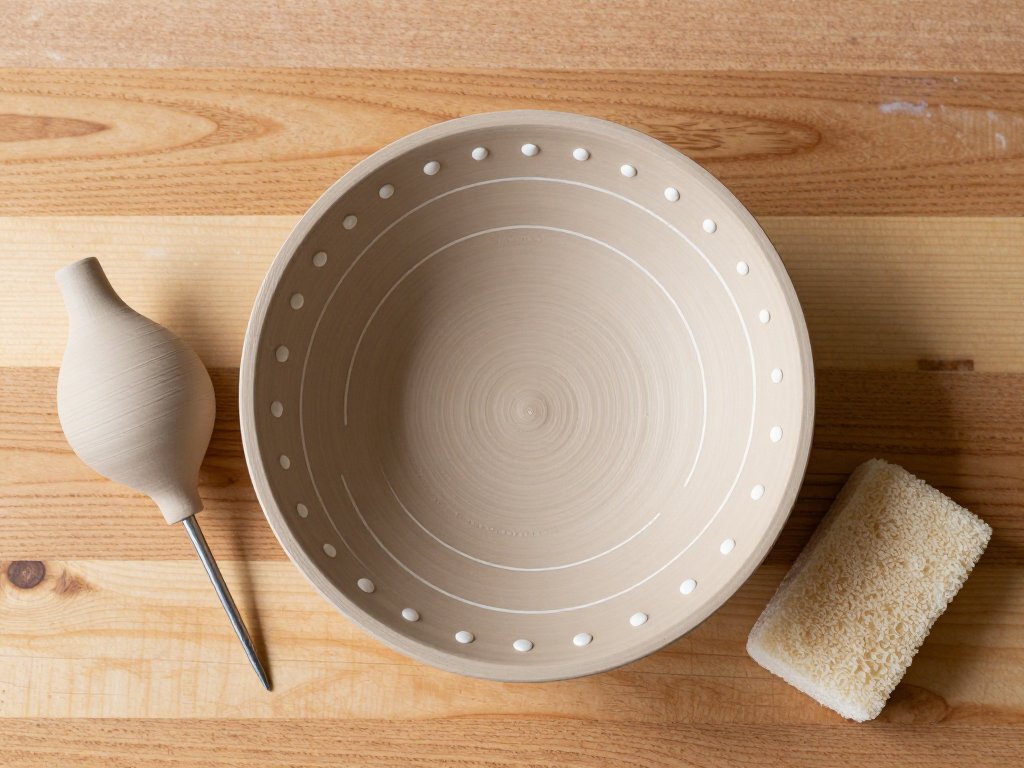
- A needle tool or a pin tool, for trimming and popping air bubbles.
- A damp sponge, for smoothing edges.
- A ware board, so you can move a finished slab without bending it.
If you are starting from nothing, here is the cheapest path in. A bag of low-fire clay, a wooden dowel, two craft sticks, and a pack of dollar-bin doilies. That is a complete starter kit for less than the price of one textured roller.
Notice what is missing. There is no texture roller, no stamp set, no expensive silicone mat. For the price of a coffee you can buy more lace than you will use in a year.
Step by Step: Pressing Lace Into a Clay Slab
Here is the sequence I follow every time now. Take it slowly. Most failures happen because someone rushes the peel.
- Set the two battens on your cloth, a little wider apart than the slab you want. They are the rails.
- Place a lump of clay between them and roll the rolling pin across, resting its ends on the battens. The battens keep the slab an even thickness.
- Roll across the clay from every direction until the surface is flat and the thickness matches the battens.
- Let the slab firm up for a few minutes. Touch it. It should feel cool and firm, not tacky.
- Lay the lace flat on top of the slab and press gently so it grips.
- Roll the rolling pin over the lace with steady, even pressure. Roll from the centre outward.
- Peel the lace slowly, starting from one corner and pulling back on itself. Slow is the whole secret.
- Trim the slab edges with your needle tool while the clay is still soft, guided by a ruler or a straight batten.
Once the texture is in, you shape the slab. That is where the clay becomes a real object rather than a decorated sheet.
Aim for a slab about as thick as a pencil, roughly six millimetres. Thinner slabs take a sharper imprint but crack easily. Thicker slabs are forgiving but blur fine lace. Start slightly thick and trim down.
You can drape the slab over a hump mould, like an upturned bowl, so it takes a gentle curve as it dries. Or you can cut and join a simple tray or plate by scoring the seams, wetting them, and pressing the join closed.
If you are new to assembling flat slabs into forms, this walkthrough on slab pottery for beginners shows how to score, join, and support the walls so they hold their shape. I read it before my third attempt and my joists finally stayed put.
Rest the shaped piece on your ware board. From here on, you lift the board, never the clay. Bending a textured slab with your hands will crack it along the weakest imprint line.
Why Lace Sticks, Tears, or Imprints Too Shallow
Three problems cause almost every ruined imprint. Learn them once and you skip the frustration.
The first is clay sticking to the lace. Wet clay grabs fabric. Dust the lace lightly with cornstarch, or work on a cloth so the fibres have somewhere else to grip. A quick cornstarch puff fixes most sticking.
The second is tearing. Tearing comes from uneven hand pressure, pressing with fingers instead of the rolling pin. Fingers make dents; a rolling pin makes an even press. Let the pin do the whole job.
The third is a shallow, faint imprint. This almost always means you are pushing with your hands rather than the pin. The rolling pin's weight, rolled with intent, drives the pattern into the clay far more evenly than your palms ever will.
Notice the pattern in all three? The fix is the same: more rolling pin, less hand, and a slab that is firm enough to hold what you press into it. That is the whole craft in one sentence.
Found Objects That Give Genuinely Different Textures
Lace is only the beginning. Walk around your house and you will find a whole library of texture. Each object below gives a look that is clearly its own, not just more of the same lace pattern.
- Bubble wrap presses a field of raised dots, like rain on a pond. Great for backgrounds.
- Strong-veined leaves, such as hosta or geranium, leave delicate vein lines that read like fossil prints.
- Rubber matting gives a grid of squares, clean and modern, and it never sticks.
- Knit fabric yields a soft ribbed weave, warmer and looser than lace.
- Corrugated cardboard stamps bold parallel ridges, almost architectural.
- Buttons press crisp circles and holes, perfect for repeating accents.
Try combining two in one piece. A leaf in the centre with bubble wrap around it reads as a designed pattern, not an accident. Texture plays well together when one element is clearly the hero.
Test any new object on a scrap slab before you commit it to a finished piece. Very fine lace can grip so tightly it tears the surface. A scrap costs nothing and teaches you the object's behaviour in a minute.
Drying, Bisque Firing, and Choosing One Good Glaze
Drying is where beginners lose pieces to warping. Clay shrinks as it dries, and a slab that dries too fast will curl, cup, or crack. Slow and even is the rule.
Cover your shaped piece loosely with plastic for the first day or two. Let it dry beneath the plastic, then open the cover a little each day. A week of gentle drying beats a day of fast drying, every time.
When the piece is bone dry, it goes through its first firing, called the bisque fire. This hardens the clay into a porous, durable body. Most home potters do not own a kiln, so this is the step you hand to a local studio or a community kiln service.
Do not try to speed a kiln-less piece by leaving it in the sun. Direct sun heats the slab unevenly and warps it faster than anything else. Shade and patience are your friends here, always.
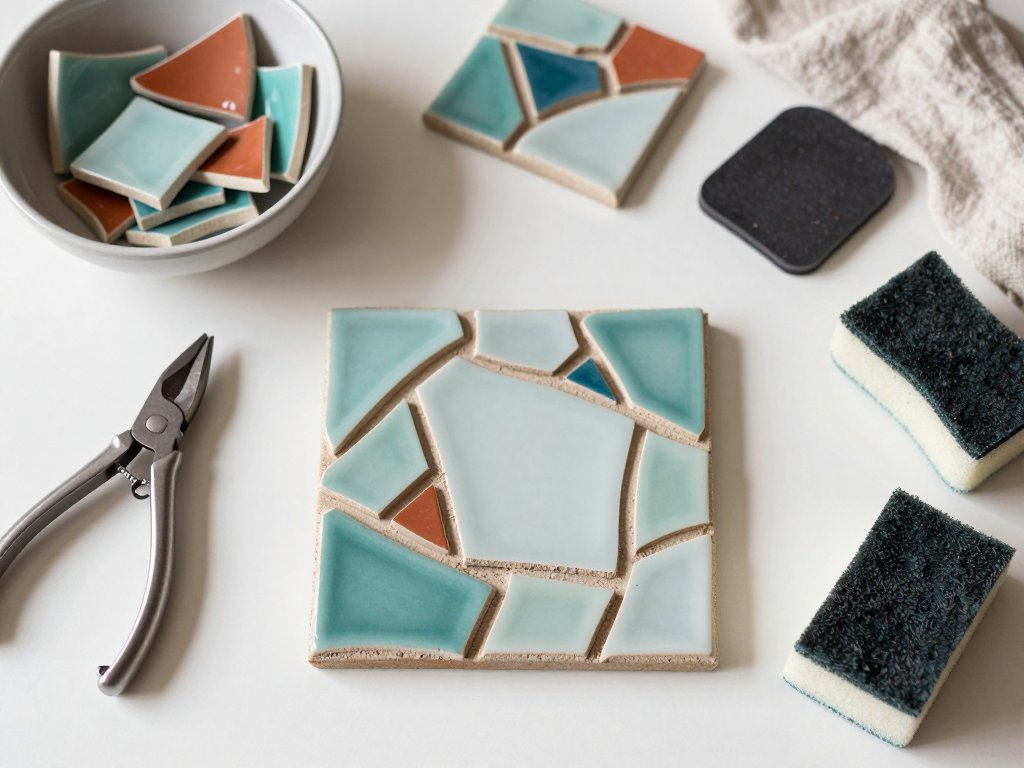
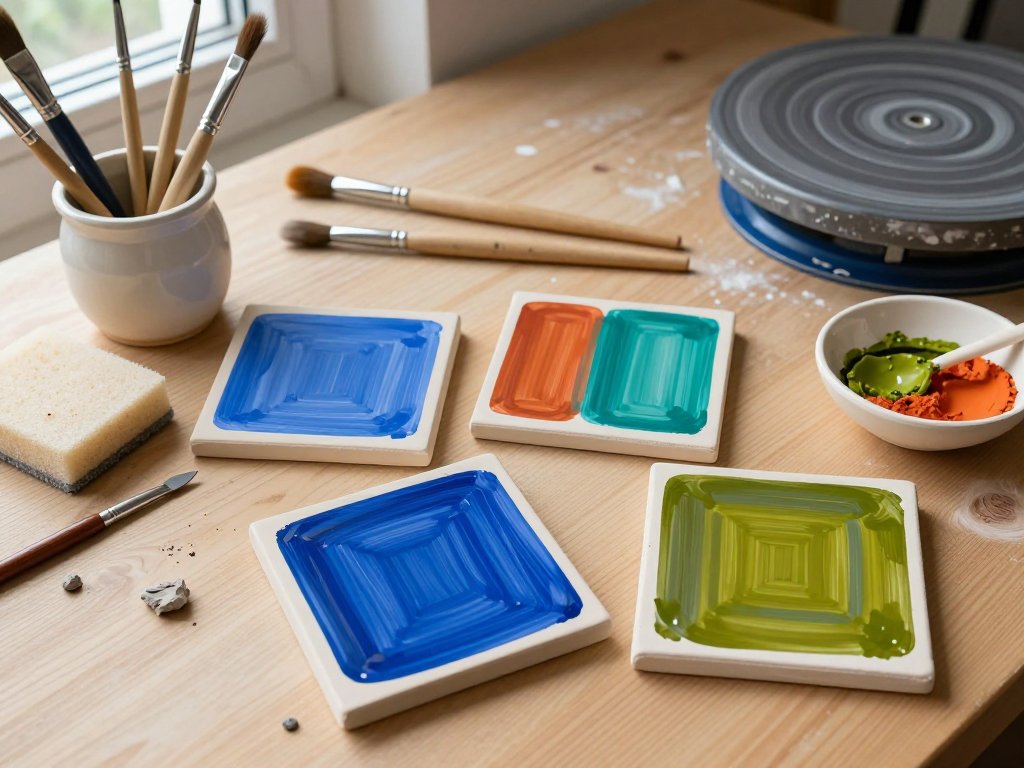
After bisque, you glaze. This is where your texture either sings or disappears, so choose one translucent or celadon glaze. These glazes are slightly see-through, and they pool in the recesses and run thin over the raised areas.
That pooling is magic on lace. The recesses go darker, the raised threads stay paler, and the whole pattern pops. A thick opaque glaze would bury your imprint under colour. Stay one colour, stay translucent, and let the light do the work.
The Budget Maths: Lace Versus Texture Rollers
Now the part that made me fall in love with this technique. Let us do the maths out loud, because it is genuinely lopsided.
A single textured pottery roller, the kind that stamps a repeating pattern as you roll, typically runs twenty to forty dollars. One roller gives you one pattern, usually a machine-perfect repeat with no randomness.
A bag of thrift-store lace and a pack of dollar-bin doilies costs a few dollars and gives you dozens of distinct patterns. Add the found objects already sitting in your kitchen and the pattern count is effectively endless.
Run that again slowly. Forty dollars for one fixed pattern, versus five dollars for a shoebox of texture. If you make pottery as a hobby, the lace route is not a compromise. It is simply the smarter buy.
There is a quality argument too. Real lace has tiny variation, so every imprint is subtly unique. A roller repeats the same stamp over and over. Collectors notice the difference, and so will you when you lift the lace and see it.
Troubleshooting: Four Common Problems and Fixes
Keep this list beside you the first few times. Every one of these bit me at least once.
- Pattern is blurry. The clay was too wet. Let the slab firm up for several minutes, or wave a hair dryer over it, then press again.
- Lace won't release cleanly. The clay is grabbing the fibres. Dust the lace with cornstarch and peel more slowly, from one corner.
- Edges crack as it dries. The slab was too dry when you pressed, or it dried too fast. Cover it with plastic and dry it slowly.
- Imprint is too faint. You are pressing with your hands. Switch to the rolling pin and roll with steady, even pressure from the centre outward.
Four problems, four simple fixes, and not one of them needs new tools. That is the beauty of a craft built on things you already own.
Conclusion: My Second Attempt
My second attempt, one week after the disaster, took twenty minutes and cost almost nothing. The only thing I changed was the clay. I let the slab firm up until it felt like cold pie dough before I touched it with the lace.
The peel was the moment I will not forget. The doily came away clean, and there underneath it was a pattern sharp enough to read thread by thread. Same lace. Same rolling pin. Same kitchen table. Just drier clay and a slower hand.
That is the lesson I want to leave you with. This craft does not punish you for being a beginner. It rewards you for being patient with one variable you fully control.
So go raid the linen drawer and the recycling bin. Roll a slab, let it firm up, and press something textured into it this weekend. Your first piece might go back in the bag, and that is fine. Your second one will convince you.