Introduction
The jewelry world in 2026 is anything but subtle. After several years of dainty chains and minimalist stacks, the pendulum has swung decisively toward bold, expressive, and unapologetically oversized accessories.
Think chunky chains the size of your thumb, earrings that graze your shoulders, and cuffs that make their presence known from across the room.
The best part? You do not need a jewelry box full of designer pieces to participate in these trends.
Almost every major jewelry trend of 2026 can be made at home with a few basic tools and materials you can find at your local craft store or online.
This is empowering news for anyone who loves accessorizing on a budget.
In this article, I will break down the four biggest jewelry trends of 2026, tell you exactly what you need to make each one, and walk you through the step-by-step process.
Whether you are looking to refresh your own jewelry collection, create handmade gifts for friends, or even start a small side business selling accessories, these projects are designed to be approachable, affordable, and genuinely fun to make.
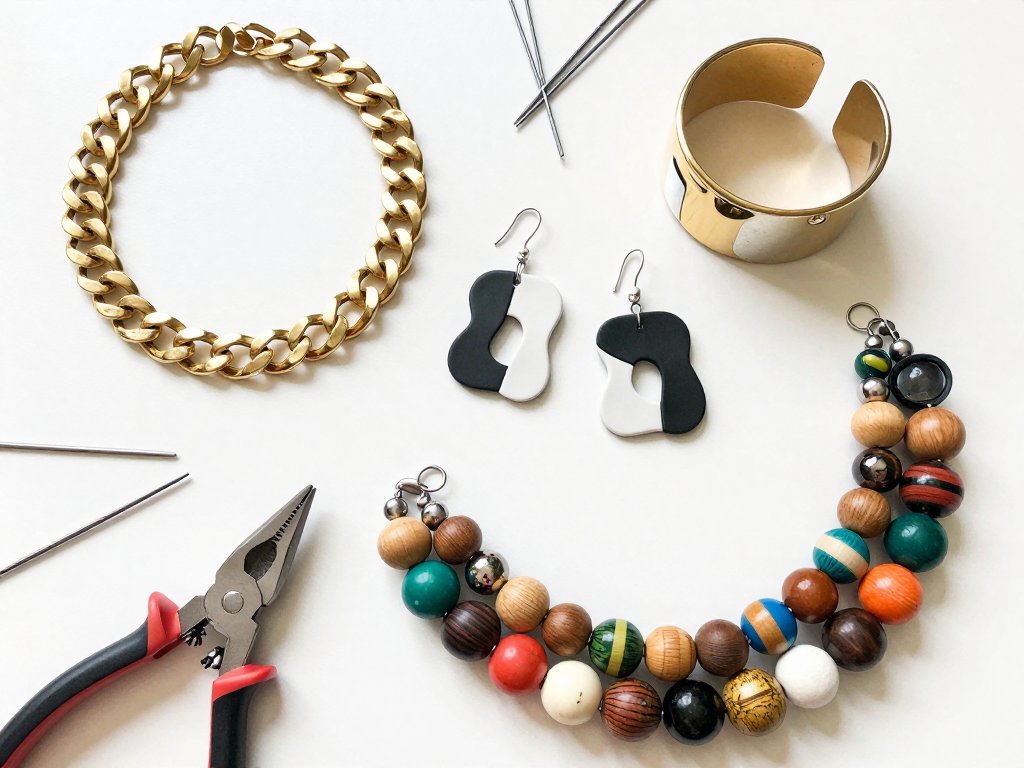
Trend 1: Chunky Chain Everything
If you have scrolled through Instagram, Pinterest, or TikTok at any point in the last six months, you have seen the chunky chain revival. Oversized chain necklaces, bracelets, and even earrings are dominating the fashion scene, and the trend shows no signs of slowing down through 2026.
What makes this trend particularly exciting for DIY makers is how simple it is to execute.
You do not need to solder, weld, or use any special equipment. All you need is pre-made chain, a few jump rings, and a clasp.
The key is selecting the right chain style and size.
What You Will Need
- Large-link chain. Look for chain with links that are at least half an inch wide. Curb chain, figaro chain, and rolo chain all work beautifully for this trend. Brass, silver-plated, or gold-plated options are widely available at jewelry supply stores and online. Expect to pay between eight and fifteen dollars for a 24-inch strand.
- Clasp. A lobster clasp is the standard choice. For oversized chain, look for a clasp that is proportionate to the links — a dainty clasp will look out of place on a chunky piece. Magnetic clasps are also popular for heavy chain necklaces because they are easier to fasten one-handed.
- Jump rings. At least two, sized to match your chain links. Open jump rings are easier to work with than soldered ones for beginners.
- Pliers. Two pairs of flat-nose pliers. You will use these to open and close jump rings without damaging them.
How to Make a Chunky Chain Necklace
Step 1: Determine your length. Measure the chain around your neck to decide the length.
For a chunky chain necklace, consider this: it will sit differently than a fine chain because of its weight.
An 18-inch length sits at the collarbone, 22 inches falls at the mid-chest, and 26 inches is a long, dramatic statement.
Cut the chain to your desired length using wire cutters.
Step 2: Attach the clasp. Open a jump ring using two pairs of pliers — one to hold the ring steady, the other to twist the ends apart side to side, not pulling outward.
Thread one end of the chain onto the jump ring, then thread the clasp. Close the jump ring by reversing the twisting motion.
Repeat on the other end with the second jump ring and a small extension chain if desired.
Step 3: Check your work. Gently tug on the clasp to make sure the jump rings are fully closed.
An open jump ring on a heavy chain is a recipe for a lost necklace — and the only thing worse than losing a necklace is finding it on the floor after stepping on it.
Pro tip: For a layered look without wearing two separate chains, thread a second, finer chain through the links of your chunky chain. The contrast between thick and thin is very on-trend for 2026 and adds visual interest without any extra clasps or closures.
Trend 2: Sculptural Earrings
Earrings in 2026 have graduated from simple studs and modest drops to full-on sculptural statements.
Asymmetrical shapes, abstract forms, and architectural silhouettes are taking over, and the material palette is broader than ever.
Polymer clay, resin, and metal clay are the top three materials for this trend, offering dramatically different looks with the same sculptural approach.
For this article, I will focus on polymer clay sculptural earrings because they are the most beginner-friendly option. Polymer clay is lightweight, easy to shape, requires no special equipment beyond a home oven for curing, and comes in an almost endless range of colors.
What You Will Need
- Polymer clay. Brands like Sculpey, Fimo, and Cernit are widely available at craft stores. Start with a few basic colors and mix them to create custom shades. A 2-ounce block costs around three to five dollars.
- Earring findings. Fishhook ear wires, post and backs, or clip-on findings depending on your preference. Fishhook wires are the most versatile and work with most earring styles.
- Jump rings. Small jump rings (4-6mm) to connect cured clay pieces to findings.
- Baking sheet and oven. A dedicated baking sheet lined with parchment paper. Cure polymer clay according to the manufacturer's instructions, typically 275°F for fifteen minutes per quarter-inch of thickness.
- Sandpaper and drill. Fine-grit sandpaper for smoothing cured edges, and a small hand drill or pin vise for creating holes after baking if you did not pre-drill.
How to Make Sculptural Polymer Clay Earrings
Step 1: Condition the clay. Roll and knead the clay in your hands until it is warm and pliable.
This step is crucial — unconditioned clay is stiff and prone to cracking. If the clay feels dry, add a tiny drop of mineral oil.
Condition each color separately before combining them.
Step 2: Shape your design. Roll, pinch, and sculpt the clay into your desired shape.
For 2026 trends, think bold geometric forms: teardrops with asymmetric cutouts, abstract blobs with textured surfaces, or clean rectangles with rounded corners.
Keep the thickness between 3mm and 6mm — too thin and the earrings will be flimsy, too thick and they become uncomfortably heavy.
Step 3: Create the hanging hole. Before baking, poke a hole near the top of each earring using a toothpick or a bamboo skewer.
Make the hole slightly larger than you think you need — polymer clay shrinks slightly as it cures.
For fishhook ear wires, a 2mm hole works well.
Step 4: Bake according to instructions. Place the clay pieces on a parchment-lined baking sheet and bake at the temperature and time recommended by the clay manufacturer.
Do not exceed the recommended temperature — polymer clay that is baked too hot can burn and release fumes.
Let the pieces cool completely before handling.
Step 5: Sand and finish. Once cool, use fine-grit sandpaper (400 grit or higher) to smooth any rough edges.
For a glossy finish, you can sand up to 1000 grit and then apply a liquid polymer clay glaze or a water-based resin coating.
For a matte finish, lightly sand with 600 grit and leave the natural surface.
Step 6: Assemble. Open a jump ring, thread it through the hole in the clay piece and the loop of the ear wire, then close the jump ring securely. That is it — you have a pair of custom, fashion-forward sculptural earrings.
Trend 3: Mixed Metal Cuffs
Single-metal jewelry is out. The mixed-metal trend is going strong into 2026, and cuffs are the perfect canvas for this look. A cuff bracelet that combines gold, silver, and copper tones creates a modern, intentional clash that reads as curated rather than accidental.
This is a fantastic project for beginners because it requires no soldering. You can create a mixed-metal cuff using pre-made metal blanks, wire, and basic cold-connection techniques.
What You Will Need
- Metal cuff blank. A pre-shaped, unfinished metal cuff bracelet base. These are available in brass, copper, and silver-plated versions at most craft stores. A single blank costs around six to ten dollars.
- Metal wire. 18-gauge or 20-gauge wire in at least two different metal tones. Half-hard wire holds its shape well for wire wrapping and decorative elements.
- Metal sheet scraps or charms. Small pre-cut shapes, metal charms, or hammered wire coils in a third metal tone to add visual variety.
- Jeweler's saw or wire cutters. For cutting wire and metal pieces to size.
- Sandpaper and patina solution (optional). For texturing and darkening recessed areas.
- Hammer and bench block. A chasing hammer and a steel bench block for adding texture and hardening wire components.
How to Make a Mixed Metal Cuff
Step 1: Prepare the cuff blank. Sand the surface of your cuff blank lightly with 400-grit sandpaper to create a slightly rough surface for adhesives or patina to grip.
If you want a brushed finish, sand in one direction only. For a shiny finish, use progressively finer grits up to 2000.
Step 2: Create decorative wire elements. Cut a length of wire in your first metal color.
Use round-nose pliers to create coils, spirals, or geometric shapes. For a simple spiral, hold the end of the wire with the pliers and wrap it around the tip of the pliers, rotating the wire as you go.
Hammer the spiral lightly on a steel block to flatten it and harden the metal, which prevents it from bending out of shape during wear.
Step 3: Create elements in a second metal. Repeat the process with a different metal tone.
For visual variety, try a different shape — if your first element is a round spiral, make your second element a zigzag or a chevron shape.
The contrast in both color and form is what makes the mixed-metal trend work.
Step 4: Arrange and attach. Lay out your metal elements on the cuff blank before attaching anything.
Play with the composition until you are happy with it. You want a balance of metal tones and visual weight.
Attach the elements using epoxy resin designed for metal jewelry, or use cold connections like small screws or rivets if you have the tools.
For beginners, epoxy is the most reliable and accessible option.
Step 5: Add the third metal tone. Incorporate your third metal as small accent elements: tiny metal beads threaded onto fine wire and wrapped around the edge of the cuff, or small pre-made charms attached with jump rings through holes drilled in the cuff blank.
Step 6: Let it cure and finish. Allow the epoxy to cure fully, typically 24 hours.
Once cured, clean the cuff with a jewelry polishing cloth to bring out the shine of each metal.
The result is a custom, high-fashion accessory that cost a fraction of what you would pay at a boutique.
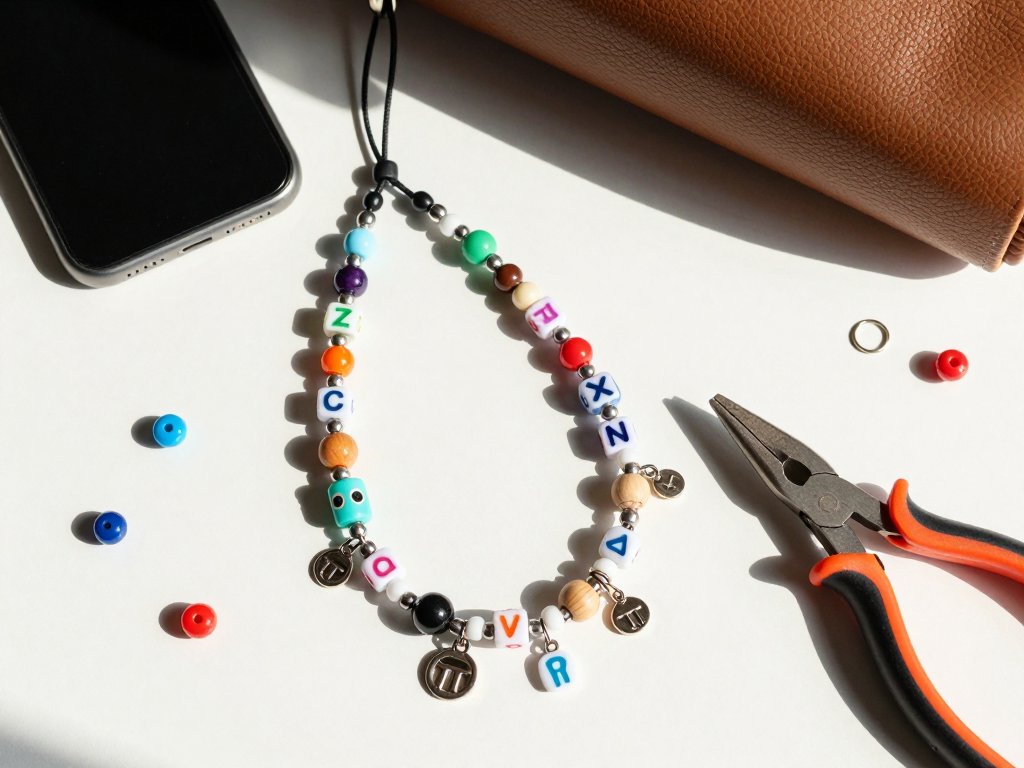
Trend 4: Beaded Statement Necklaces
Beaded jewelry has been a craft staple for decades, but the 2026 version bears little resemblance to the friendship bracelets and simple strung necklaces of the past.
Today's beaded statement necklaces are bold, textural, and often massive. Oversized beads in organic shapes, mixed materials, and vibrant colors are the defining characteristics of this trend.
Do not confuse this with the delicate beaded jewelry of previous eras. We are talking beads the size of cherries, chunks of raw gemstone, hand-rolled paper beads, and wooden spheres in saturated hues. The pieces are designed to be noticed.
What You Will Need
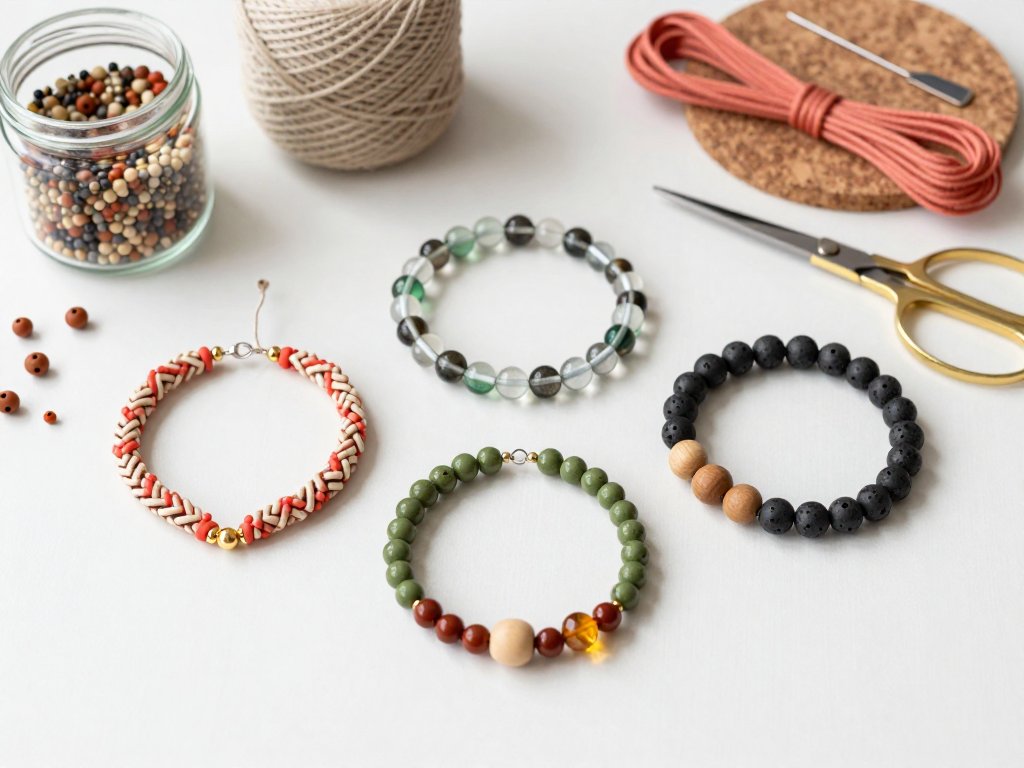
- Assorted oversized beads. Look for beads that are at least 12mm in diameter and up to 25mm. Mix materials: wood, acrylic, glass, ceramic, and natural stone. The more varied the textures, the more interesting the necklace.
- Bead cord or wire. For heavy beads, use beading wire (Soft Flex or Beadalon, 0.018-inch diameter or thicker). For a more organic look, use waxed cotton cord or leather cord, which requires larger bead holes.
- Crimps and clasp. Crimp beads for securing wire ends, and a magnetic or toggle clasp that can support the weight of the necklace.
- Chain or ribbon accent. A short length of fine chain or velvet ribbon to incorporate into the design for mixed-media contrast.
- Wire cutters and crimping pliers. For cutting wire and flattening crimp beads securely.
How to Make a Beaded Statement Necklace
Step 1: Plan your layout. Arrange your beads on a bead board or a towel in the order you want them to appear on the necklace.
This is the most important step. You want a balanced distribution of colors, sizes, and materials.
A common beginner mistake is clustering all the large beads in the center, which makes the necklace hang awkwardly.
Instead, distribute the largest beads evenly, with smaller beads between them as spacers.
Step 2: String the beads. Cut a length of beading wire at least six inches longer than your desired finished length.
String a crimp bead, thread the wire through the clasp ring, then back through the crimp bead.
Crimp it securely using crimping pliers. Now begin stringing your beads in the planned order.
Step 3: Add mixed-media elements. This is what elevates your necklace from a simple bead strand to a 2026 statement piece.
Halfway through stringing, incorporate a short length of fine chain or velvet ribbon. Attach it using jump rings or by threading the wire through its end links.
The chain or ribbon breaks up the bead pattern and adds unexpected texture.
Step 4: Finish the ends. Once all beads are strung, thread the wire through another crimp bead, then through the other half of the clasp, and back through the crimp bead.
Leave a slight amount of slack so the necklace hangs naturally, then crimp the bead securely.
Trim any excess wire close to the crimp.
Step 5: Wear and adjust. Try on the necklace to check the drape. If it does not hang correctly, the tension may be too tight.
You can re-crimp with more slack if needed. A beaded necklace should sit against your collarbone with a gentle curve, not stand stiffly away from your body.
Tools Every Jewelry Maker Should Own
As you work through these four projects, you will notice that many of the same tools keep appearing. If you are new to jewelry making, here is a concise list of the essential tools that will serve you across all four trends and beyond:
- Flat-nose pliers. For gripping, bending, and opening jump rings. Two pairs are better than one.
- Round-nose pliers. Essential for making loops, spirals, and curves in wire. The tapered jaws let you create different loop sizes.
- Wire cutters. To cut wire and chain cleanly. Invest in a sharp pair — dull cutters crush wire instead of cutting it.
- Crimping pliers. Specifically designed for flattening crimp beads on beading wire. They create a professional, secure finish.
- Bead mat or bead board. A soft surface that prevents beads from rolling away while you work.
- Jeweler's file. For smoothing rough edges on cut metal. A set of needle files covers most needs.
These six tools, combined with the specific materials listed for each project, will allow you to create any of the four trends in this article. You can build your tool kit gradually, starting with just the flat-nose pliers and wire cutters and adding the rest as you explore different techniques.
From Trend to Personal Style
One of the most satisfying aspects of making your own jewelry is the ability to adapt trends to your personal taste.
A chunky chain necklace can be shortened to a choker or lengthened to a lariat.
Sculptural earrings can be scaled down for a subtler statement or made extra-large for maximum impact.
A mixed metal cuff can be crafted in all silver if gold does not suit your skin tone.
The point of following a trend as a DIY maker is not to replicate exactly what you see in magazines or on social media.
It is to use the trend as a starting point and create something that feels authentically yours.
When you make your own jewelry, you are not limited by what stores choose to stock.
You can make exactly what you want, in the colors and materials that speak to you, at a fraction of the retail price.
Caring for Your Handmade Jewelry
Handmade jewelry requires a slightly different care routine than mass-produced pieces. Here is how to keep your creations looking their best:
- Polymer clay pieces are durable but can scratch against hard surfaces. Store them in a fabric-lined jewelry box or a soft pouch. Avoid prolonged exposure to direct sunlight, which can cause fading over time.
- Metal cuffs and chain pieces will tarnish naturally, especially brass and copper. Clean them with a jewelry polishing cloth — never use chemical dips on mixed-metal pieces, as they can react differently with each metal and cause discoloration. For silver-plated items, a gentle wipedown after each wear removes skin oils that accelerate tarnish.
- Beaded necklaces should be laid flat, not hung. Hanging can stretch the cord or wire over time, especially with heavy beads. If your bead cord gets dirty, gently wipe it with a slightly damp cloth and dry immediately. Do not submerge beaded jewelry in water unless you are certain the cord and beads are waterproof.
With proper care, handmade jewelry can last for years. In fact, many of the pieces you make today will still be stylish ten years from now — not because they follow a trend, but because they carry the personal meaning of something you created with your own hands.
From One Maker to Another
There is a special kind of confidence that comes from wearing something you made yourself. When someone compliments your chunky chain necklace or asks where you bought your earrings, you get to say, "I made them." That never gets old.
I encourage you to start with whichever trend speaks to you most. Maybe it is the mixed-metal cuff because you love the idea of combining gold and silver.
Maybe it is the beaded statement necklace because you have a collection of vintage beads waiting to be used.
Whatever you choose, remember that your first piece does not need to be perfect. Jewelry making is a skill, and like any skill, it improves with practice.
Make one piece. Wear it out. See how it feels. Then make another. Before you know it, you will have a jewelry collection that is entirely your own — designed by you, made by you, and priced exactly right.