Introduction
Walk into any trendy boutique this summer and you will see them hanging on every display rack: chunky beaded necklaces, oversized bracelets, and bold earrings made from colorful acrylic beads.
They are everywhere on social media, worn by influencers and celebrities, and they carry price tags that range from thirty to eighty dollars apiece.
Here is what the boutiques do not tell you: you can make these pieces yourself for about five dollars in materials.
The technique is straightforward enough for a complete beginner, and each piece takes under an hour to complete.
By the end of this guide, you will know exactly what to buy, how to assemble your jewelry, and how to create pieces that look like they came from a high-end boutique.
What Is Chunky Beaded Jewelry?
Chunky beaded jewelry is defined by its large, bold beads and simple, statement-making designs. Think thick cords or chains threaded with oversized acrylic, wooden, or resin beads in bright colors and organic shapes. The aesthetic is playful, slightly retro, and effortlessly summery.
The trend draws inspiration from the early 2000s Y2K revival but updates it with higher-quality materials and more refined color palettes.
Unlike dainty, delicate jewelry, chunky pieces are meant to be seen. They pair perfectly with simple outfits — a white t-shirt and jeans become instantly more interesting with a single bold necklace.
What You Will Need
Here is a complete shopping list for getting started with chunky beaded jewelry. The total cost for your first few projects should be well under thirty dollars.
Beads
The star of the show. Chunky beads come in many materials, but for beginners, I recommend starting with acrylic or wooden beads in sizes 10mm to 20mm. These are lightweight, affordable, and available at any craft store.
For your first project, pick up a mix pack of assorted colors in 12mm to 16mm size.
You can also buy individual strands of specific colors if you have a particular palette in mind.
Look for beads with holes wide enough to accommodate your cord — at least 1.5mm in diameter.
Where to buy: Most craft stores carry acrylic beads in the jewelry-making aisle. Online marketplaces offer wider color selections and lower prices, especially for bulk packs. A bag of 100 mixed beads costs about six dollars.
Stringing Material
You have several options here, and each gives a different look to your finished piece.
Stretchy elastic cord. Best for bracelets and anklets. Choose 0.5mm to 1.0mm clear elastic cord. It is easy to work with and requires no clasps. A spool costs about three dollars.
Cotton or nylon cord. Best for necklaces. A 2mm to 3mm thick cord gives a casual, bohemian look. It requires a clasp or a knot closure. About four dollars for a ten-yard spool.
Beading wire. The most durable option. Choose 0.5mm to 0.8mm wire with a nylon coating. This requires crimp beads and a clasp. A spool costs about five dollars and will last through dozens of projects.
Findings and Tools
Here is exactly what you need in your jewelry-making kit:
- Jump rings (assorted sizes, 6mm and 8mm are most useful)
- Lobster clasps (for necklaces and bracelets)
- Crimp beads (if using beading wire)
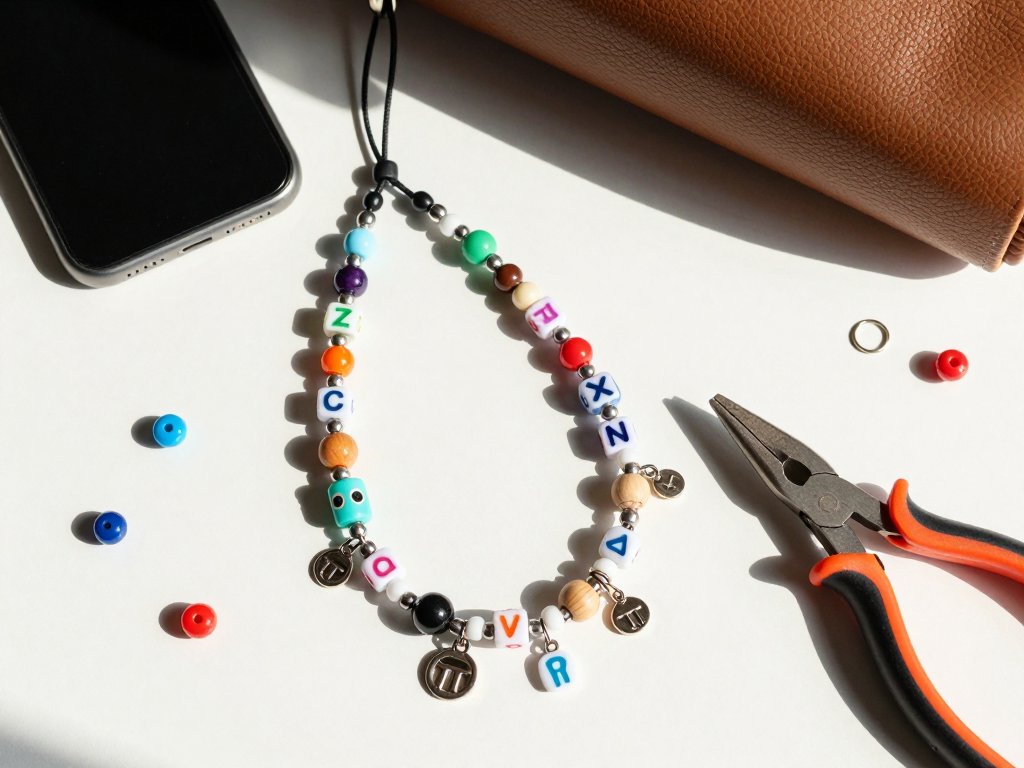
- Chain-nose pliers
- Wire cutters
- A bead mat or towel (to keep beads from rolling away)
A basic jewelry-making tool kit costs about twelve dollars and includes all the pliers and cutters you need. The findings add another five to eight dollars.
Three Beginner-Friendly Projects
Start with these projects in order. Each builds on the skills from the previous one.
Project 1: Simple Stretchy Bracelet
This is the easiest project and takes about fifteen minutes. It requires only beads, elastic cord, and scissors.
Step 1: Measure your wrist. Wrap a piece of string around your wrist and mark where it overlaps. Measure that length with a ruler. Add one inch for a comfortable fit. For most adults, the finished bracelet length will be seven to eight inches.
Step 2: Cut your elastic cord. Cut a piece about twelve inches long. Fold it in half to make it easier to thread through beads. If your beads have small holes, use a single strand.
Step 3: String your beads. Arrange your beads in a pattern before you start. For a beginner-friendly look, try alternating two colors or creating a gradient from light to dark. Thread the beads onto the elastic cord in your chosen order.
Step 4: Tie the knot. Once all beads are on the cord, bring the two ends together.
Tie a double knot — think of it like tying your shoelaces but pull tight.
Add a drop of clear nail polish or craft glue to the knot for security.
Let it dry for a few minutes.
Step 5: Trim and wear. Cut the excess cord close to the knot and tuck it into a nearby bead. Your bracelet is ready to wear.
Variation: Try adding a few smaller accent beads (6mm to 8mm) between your chunky beads. This creates visual interest and makes the piece look more complex than it actually is.
Project 2: Beaded Drop Earrings
These earrings are trendy and take about twenty minutes to make. You will need beads, earring hooks, and jump rings.
Step 1: Choose your bead combination. Select one large focal bead (14mm to 18mm) and one or two smaller accent beads for each earring. A popular 2026 look is a single large colorful bead with a small metallic bead above it.
Step 2: Open a jump ring. Use your chain-nose pliers to gently twist a jump ring open sideways. Do not pull the ends apart — that weakens the ring. Twist it open like a tiny door.
Step 3: Assemble the drop. Thread the jump ring through the earring hook loop, then through your small accent bead, then through your large focal bead. Gently twist the jump ring closed.
Step 4: Repeat. Make the second earring identical to the first. Lay them side by side to check they match before closing the last jump ring.
Pro tip: For earrings that dangle and sway beautifully, use a head pin instead of a jump ring.
Thread your beads onto the head pin, use wire cutters to trim the excess pin to about half an inch, then use your pliers to bend a simple loop at the top.
Attach that loop to your earring hook.
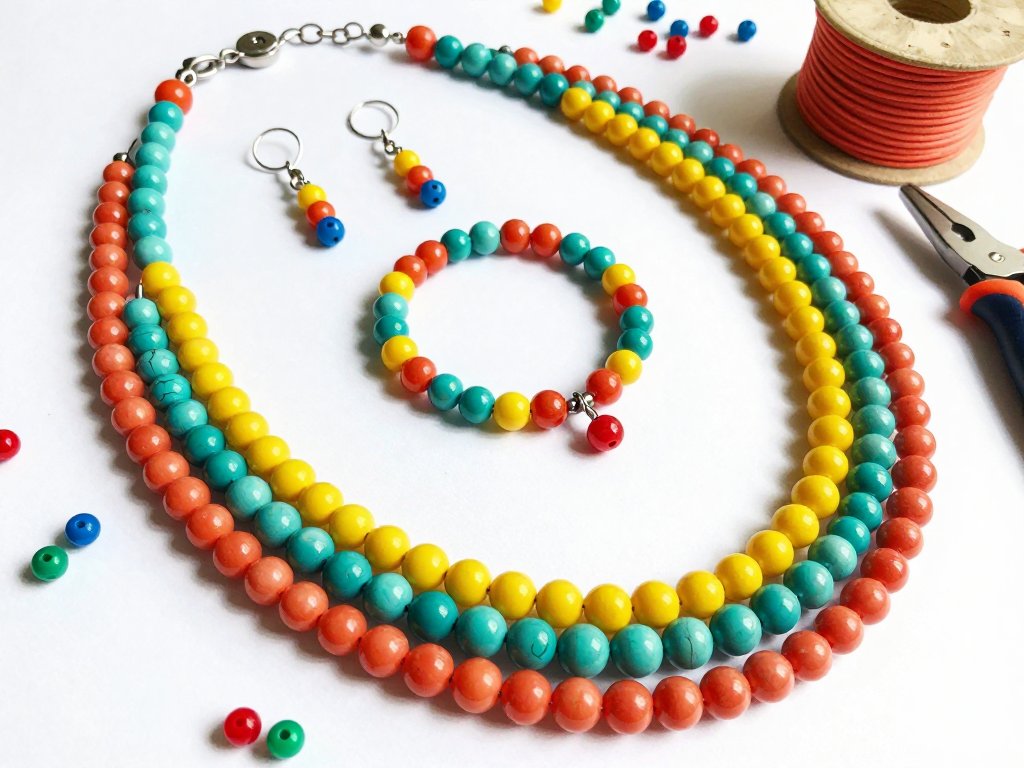
Project 3: Multi-Strand Statement Necklace
This is the project that looks most impressive but is still beginner-friendly. Plan for about forty-five minutes.
Step 1: Plan your strands. Decide on two to four strands of beads. Each strand should be a slightly different length. For example, strand one at eighteen inches, strand two at twenty inches, strand three at twenty-two inches.
Step 2: String each strand. Use beading wire for durability. String each strand with your chosen bead pattern. Leave two inches of wire free at each end for attaching findings.
Step 3: Attach crimp beads. Slide a crimp bead onto one end of the wire, then thread the wire through a jump ring, then back through the crimp bead. Squeeze the crimp bead flat with your pliers. Repeat for each strand end.
Step 4: Connect to the clasp. Attach all the jump rings from your strands to a single larger jump ring or a multi-strand connector. Attach your lobster clasp to one side and a small extension chain to the other side.
Step 5: Check the drape. Hold the necklace up by the clasp and let the strands fall naturally. Adjust any strands that are twisted or tangled. The different lengths should create a layered, cascading effect.
Choosing Your Color Palette
The right color combination makes the difference between a necklace that looks handmade and one that looks professional. Here are four color schemes that work well for summer 2026 chunky jewelry.
Sunset Brights. Coral, yellow, turquoise, and hot pink. This palette is playful and energetic, perfect for beach vacations and summer festivals.
Ocean Blues. Navy, light blue, seafoam green, and white. This palette is calming and sophisticated. It pairs well with white outfits and denim.
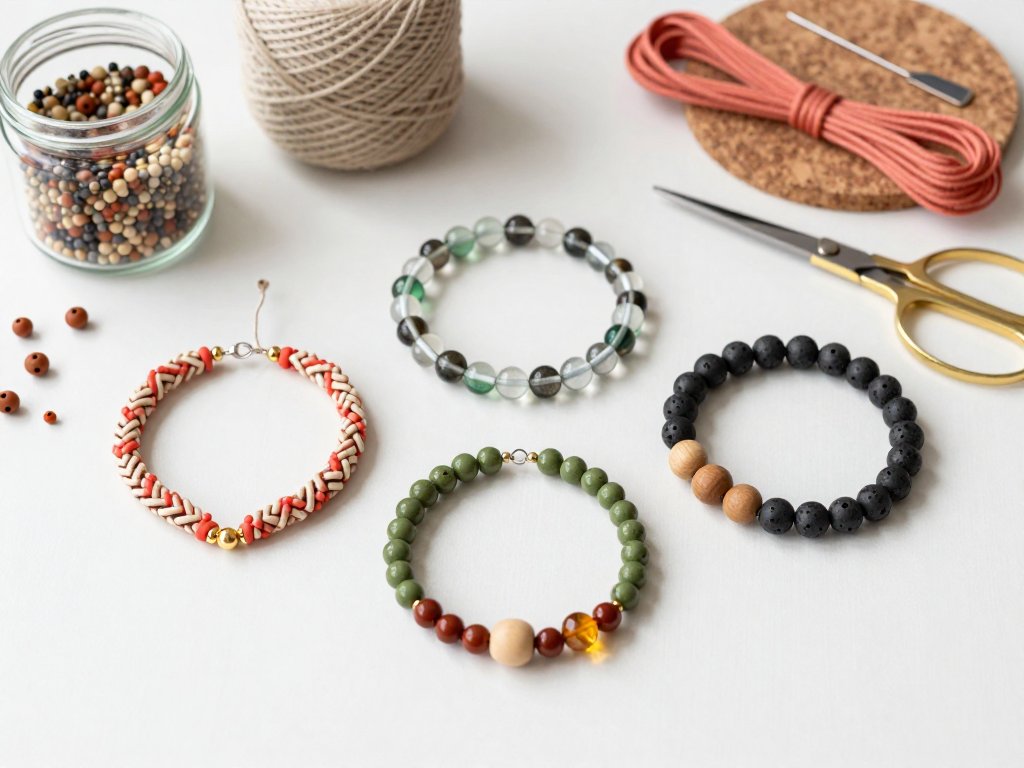
Neutral Earth. Beige, terracotta, olive green, and cream. This palette is trendy and versatile. It works with virtually any outfit and transitions easily into fall.
Monochrome. Multiple shades of the same color, from light to dark. This palette looks intentional and elevated. Try all-pink or all-purple for a fashion-forward look.
When in doubt, stick to three colors maximum per piece. Too many colors can look chaotic, especially with large beads.
Tips for Professional-Looking Results
These are the small details that separate homemade jewelry from boutique-quality pieces.
Knot between beads. If you are using cord, tie a small knot between each bead. This keeps the beads spaced evenly and prevents them from sliding together. It also protects the beads from rubbing against each other.
Use bead stops. These tiny clips hold your beads in place while you work. They cost about two dollars for a pack of ten and save you from the frustration of beads sliding off your cord while you are in the middle of a design.
Plan your pattern on a bead board. A bead board has grooves that hold your beads in a straight line. Arrange your entire design on the board before you string a single bead. This lets you experiment with different patterns and see the finished look before you commit.
Invest in good pliers. The difference between a three-dollar pair of pliers and a twelve-dollar pair is noticeable. Better pliers have smoother jaws that will not scratch your findings, and they close more precisely. This matters when you are opening and closing jump rings.
Add a few spacer beads. Small metallic beads (gold, silver, or bronze) placed between your chunky beads add a polished, intentional look. Use 3mm to 4mm spacer beads. A bag of fifty costs about three dollars.
Check your symmetry. Before closing any clasp, lay your piece flat and check that the beads are arranged symmetrically. For a necklace, the left half should mirror the right half. Small adjustments at this stage make a big difference in the final look.
Where to Wear Your Chunky Jewelry
One of the best things about this trend is how versatile it is. Here are some ideas for wearing your handmade pieces.
Pair a single chunky beaded necklace with a simple white t-shirt and jeans for an easy everyday look.
Layer two or three necklaces of different lengths for a more dramatic effect. Wear a chunky beaded bracelet stack on one wrist with a watch on the other.
Add a pair of beaded drop earrings to dress up a sundress or a casual jumpsuit.
Chunky beaded jewelry also makes wonderful gifts. Friendship bracelets made from chunky beads, personalized with the recipient's favorite colors, are thoughtful and inexpensive to make. A set of matching necklace and earrings makes a lovely birthday or holiday gift.
Caring for Your Jewelry
Handmade beaded jewelry lasts longer with proper care. Store your pieces flat in a jewelry box or hanging on a rack.
Avoid tossing them into a bag where beads can scratch against each other or the cord can tangle.
Keep elastic cord bracelets away from extreme heat, which can cause the elastic to degrade over time.
If a piece gets wet, pat it dry with a soft cloth and let it air dry completely before storing.
If a clasp or jump ring becomes loose over time, a quick squeeze with your pliers tightens it right up. Beaded jewelry is easy to repair — that is one of its best qualities.
Final Thoughts
Chunky beaded jewelry is one of the most accessible and satisfying craft projects for summer 2026.
The supplies are affordable, the techniques are simple, and the results are genuinely stylish. You can make a complete set — necklace, earrings, and bracelet — in a single afternoon for under fifteen dollars in materials.
Start with the stretchy bracelet to build your confidence. Move on to the drop earrings to practice working with findings.
Then tackle the multi-strand necklace when you are ready for a bigger project. Before you know it, you will have a collection of boutique-quality jewelry that you made yourself, in exactly the colors you love.
And the best part? When someone asks where you bought that gorgeous necklace, you get to say, "I made it."