Introduction
Crochet is one hook, one loop, and a great deal of patience. That is the entire secret. If you can hold a pen and tie your shoes, you already own the skills you need to begin today.
I am Clara, and I learned to crochet at my kitchen table, in ten-minute stretches between school pickups and dinner. My first square looked more like a lopsided triangle. Yours might too, and that is perfectly fine.
This guide walks you slowly through the stitches every beginner truly needs: the slip knot, the chain, single crochet, half double crochet, and double crochet. No pressure, no rush — only small, steady wins.
By the end, you will hold your hook comfortably, read a simple pattern, and finish a small project you can actually use. Pour a cup of tea, settle in, and let us begin together.
If you are a busy parent squeezing in craft time between laundry and bedtime, this pace is for you. Ten minutes counts. A single row counts. Every loop is progress, even the wobbly ones.
What You Need for Your First Project
Before you buy anything fancy, gather a short list. Beginners need remarkably little, and starting simple keeps your first weeks calm instead of overwhelming. Budget-friendly tools work beautifully.
- A few crochet hooks. Size H/5.0 mm is the most common starter, and a J/6.0 mm is handy for thicker yarn later. Aluminum hooks glide easily for beginners.
- Worsted-weight yarn, labeled #4 on the band, in a light color. Cream, pale gray, or soft pastel yarns show every stitch clearly.
- Small scissors, a blunt-tipped tapestry needle for weaving in ends, and a handful of stitch markers.
- A row counter, or simply a scrap of paper and a pencil to track your rows as you work.
Light-colored yarn is not just pretty; it is practical. Dark yarns and fluffy or novelty yarns hide your stitches, making it nearly impossible to see where the hook should go next.
Save the fuzzy eyelash yarn and the jet-black cotton for later. Learn on smooth, light worsted weight, and your progress will feel twice as fast and far less frustrating.
You can find all of this at any craft store for under twenty dollars. Do not chase expensive hand-dyed yarn yet. Simple, honest materials are exactly what a beginner needs.
How to Hold the Hook and Yarn
There are two common ways to hold a crochet hook, and both are completely correct. Try each for five minutes and keep whichever feels natural in your own hand.
- Pencil grip: hold the hook like a pencil, resting it against your index finger and thumb, with the hook facing downward.
- Knife grip: hold the hook like a butter knife, your hand wrapped over the top, thumb resting on the flat spot.
For tension, drape the working yarn over your index finger, under your middle finger, and let it flow loosely across your palm. Your tension hand controls the yarn's resistance.
If your yarn feels strangled, loosen your fingers. If your stitches wobble, tighten slightly. Tension is a dial, not a switch, and yours will settle with practice.
Take breaks every ten minutes or so. New grips tire your hands quickly at first, and a short stretch keeps your stitches relaxed and your wrists happy.
The Slip Knot
Every crochet project begins with a slip knot, the loop that anchors your yarn to the hook. It takes about thirty seconds, and you will make hundreds of them over time.
- Lay about six inches of yarn tail across your palm.
- Make a loop by crossing the working yarn over the tail.
- Reach through the loop and pull up the working yarn, forming a second loop.
- Slide your hook into that second loop.
- Gently pull the tail to snug it against the hook.
- It should slide freely along the hook, not strangle it.
A good slip knot glides along the hook without gripping it. If it will not move, you pulled the tail too hard. Loosen it and try again — this is normal.
The slip knot does not count as a stitch. It simply gets the yarn onto your hook so you can begin chaining. Relax and let it be a little imperfect.
The Chain Stitch (ch)
The chain, abbreviated ch, is the foundation of nearly every beginner project. It looks simple, and it is — once your hands find the easy rhythm of it.
- With the slip knot on your hook, wrap the working yarn over the hook from back to front. This is a yarn over.
- Pull that yarn through the loop on your hook.
- You now have one chain. Repeat: yarn over, pull through.
- Keep your chains even and relaxed, not tight.
- Count as you go so you do not lose your place.
Counting chains trips up every beginner, so here is the golden rule: never count the loop still sitting on your hook. That loop is a working loop, not a chain.
Look at the front of your chain and you will see a row of V shapes. Each V is one chain. Count the V's, never the loop on the hook, and your count will be right every time.
As practice, chain twenty and then pull it out and do it again. Chaining is the warm-up for everything else, and your hands learn it faster than your brain expects.
Single Crochet (sc)
Single crochet, or sc, is the workhorse stitch. It is short, dense, and sturdy, which makes it perfect for dishcloths, coasters, and stuffed amigurumi toys.
- Insert your hook under both loops of the next chain, front to back.
- Yarn over and pull up a loop. You now have two loops on your hook.
- Yarn over again and pull through both loops.
- That is one single crochet. Repeat across the row.
Inserting under both loops, rather than just the front or back, gives you a sturdy fabric with a neat top edge. It is the standard way to work single crochet.
At the end of a row, you chain one and turn your work. That turning chain replaces the height of the first stitch, so you begin the new row in the second stitch.
This first stitch matters more than any other. Beginners who work into the very first stitch create a straight edge; those who skip it lose a stitch every single row.
Single crochet rows are short, so your fabric grows slowly. Be patient. That dense, even texture is worth every deliberate little stitch you place.
Half Double Crochet (hdc) and Double Crochet (dc)
Once single crochet feels natural, two taller stitches open up your options. Half double crochet (hdc) and double crochet (dc) build fabric faster and feel softer and drapier.
Half double crochet, step by step:
- Yarn over, then insert your hook into the next stitch.
- Yarn over and pull up a loop — three loops on your hook.
- Yarn over and pull through all three loops at once.
Half double crochet sits between sc and dc in height. Its fabric is soft and slightly squishy, and two turning chains usually start a proper hdc row.
Double crochet, step by step:
- Yarn over, then insert your hook into the next stitch.
- Yarn over and pull up a loop — three loops on your hook.
- Yarn over and pull through two loops.
- Yarn over and pull through the last two loops.
Double crochet is tall and airy. You can spot it by its height and the slight gap beneath it, which gives lace and blankets their lovely drape and speedy growth.
Learn to read your fabric by feel and by sight. Short and dense means sc; medium and soft means hdc; tall with a visible post means dc. Your fingers will learn quickly.
Compare the three side by side. Work one row of each and hold the fabric up. Seeing the height difference in your own hands teaches faster than any photo.
Counting Stitches and Keeping Edges Straight
Nothing frustrates new crocheters more than a project that grows wider or narrower with every row. The culprit is almost always the edge stitches.
You gain a stitch when you work into the turning chain by mistake. You lose one when you skip the final stitch because it hides beneath the turning chain.
Stitch markers are your best friend here. Place one in the very first and very last stitch of each row, then move them up as you go.
Count your stitches at the end of every row for your first few projects. If the number changes, you will catch it immediately instead of ten rows later.
Some patterns count the turning chain as the first stitch, and some do not. Always read the pattern's note at the top, because that single detail shapes your whole edge.
A quick habit worth building: chain your turning chain, then count the stitches in the new row before you continue. Small checks now save hours of undoing later.
Working in Rows vs Working in the Round
Crochet grows in two directions: back and forth in rows, or around and around in rounds. Both use the same stitches, but they feel quite different in your hands.
Rows are flat. You work across, chain, turn, and work back. Dishcloths, scarves, and blankets are all made in rows, which is why beginners should start here.
Rounds are circular. You work in a spiral or in joined circles to make hats, granny squares, and coasters with no corners. Shaping takes more attention here.
When you are ready for rounds, the magic ring is your friend. It creates a tight, adjustable center you can cinch closed, far neater than a chain joined into a ring.
Learn rows first. Master straight edges and even tension in flat fabric, then the circle will feel like a natural next step rather than a confusing mystery.
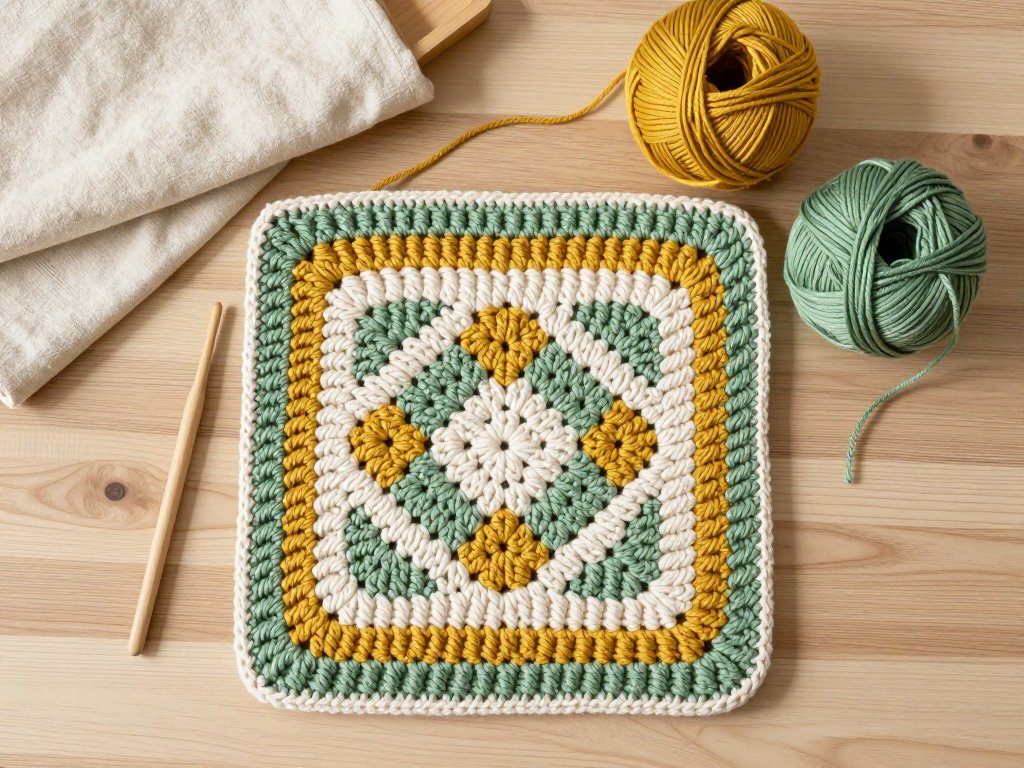
Granny squares are a gentle introduction to rounds, and they are wonderfully forgiving. If one corner looks a little off, the next square can simply hide it.
Your First Project: A Simple Dishcloth
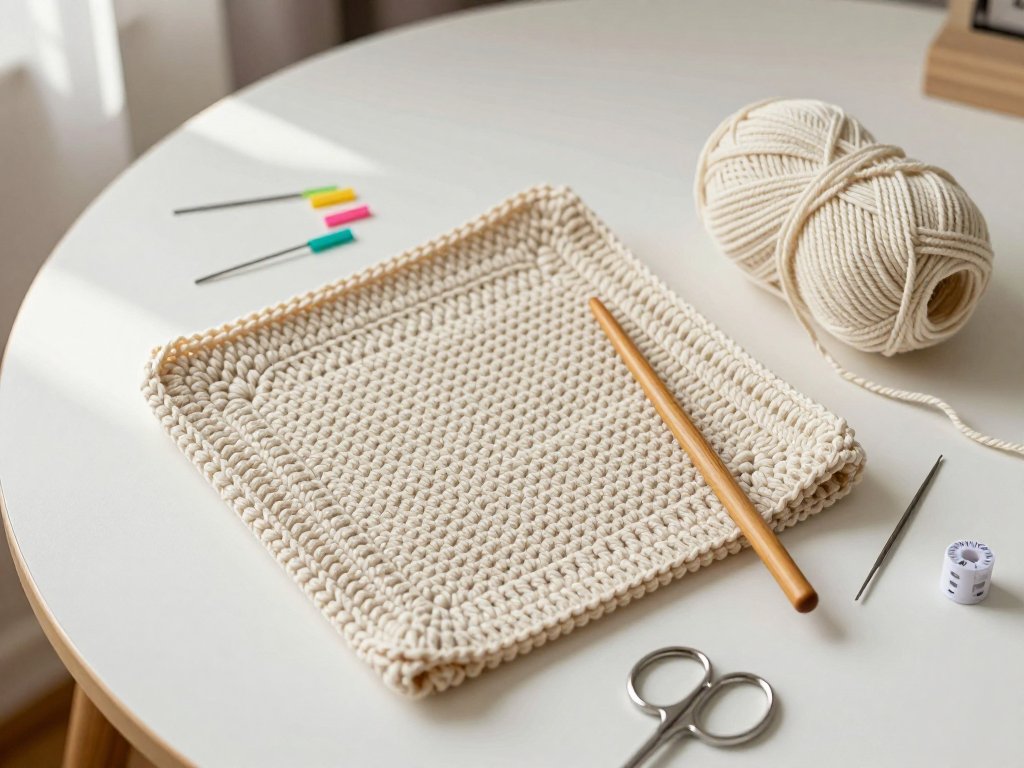
Let us make a simple single crochet dishcloth. It is flat, forgiving, endlessly useful, and the perfect place to practice everything you have learned so far.
You need worsted-weight cotton yarn and an H/5.0 mm hook.
- Make a slip knot and chain 26.
- Row 1: single crochet in the second chain from the hook and in each chain across — 25 stitches.
- Chain 1 and turn.
- Row 2: single crochet in the first stitch and in each stitch across — 25 stitches.
- Repeat row 2 until your cloth measures about 8 inches square, roughly 30 rows.
- Fasten off, leaving a six-inch tail. Weave it in with your tapestry needle.
For a small coaster instead, chain 16 and work about 16 rows. Cotton yarn absorbs water beautifully and gives that pleasing, sturdy dishcloth texture.
Count after every row. Twenty-five stitches, every time. When your count stays steady, your edges stay straight, and the finished square will make you smile.
If your first cloth comes out a little trapezoid-shaped, do not despair. Wash it, use it, and let it remind you that hands learn through repetition, not perfection.
Common Beginner Problems and How to Read a Pattern
Tension is the most common struggle. Too tight and your hook fights every stitch; too loose and your fabric looks gappy and uneven. Both are completely fixable.
If your stitches feel tight, go up one hook size. If they feel loose, go down. Your personal tension matters far more than any label printed on the yarn.
Losing the first stitch is the next classic problem. Remember: after your turning chain, work into the very first stitch, and never into the turning chain itself.
Then there is the frogging moment. To frog means to rip out your work, named for the sound a frog makes. Every crocheter frogs. It is not failure; it is part of the craft.
Of course, always weave in your loose ends as you finish. A tapestry needle tucks each tail neatly into the fabric so your hard work does not unravel in the wash.
Reading a pattern gets easier once you know the shorthand:
- ch — chain
- sc — single crochet
- hdc — half double crochet
- dc — double crochet
- sl st — slip stitch, a joining stitch with no height
- rep — repeat
- * — repeat the instructions after the asterisk as directed
A pattern line like "ch 1, turn, sc in each st across" simply means chain one, turn your work, and single crochet in every stitch. Read it slowly once, then work it.
What to Make Next and a Simple Practice Plan
Once your dishcloth is done, you have the foundation for almost anything. Scarves, blankets, and even garments are just these same stitches arranged in new ways.
When you feel ready for a bigger challenge, an easy crochet cardigan is a lovely goal. It uses the stitches you just learned, worked into a simple shape.
The best practice plan is small and daily. Ten minutes a day beats two hours on Sunday. Sit down, chain, work a few rows, and stop while you are still enjoying it.
Keep a little basket by your chair with your hook, yarn, and stitch markers. When you find a spare ten minutes, your hands will find it without thinking.
Your first projects will be imperfect. They will be wonky, lopsided, and uneven, and they will be entirely yours. That practice cloth is evidence that you showed up.
Be kind to yourself. Every expert crocheter once held a hook awkwardly and lost count of their chains. You are exactly where you should be — right at the beginning.