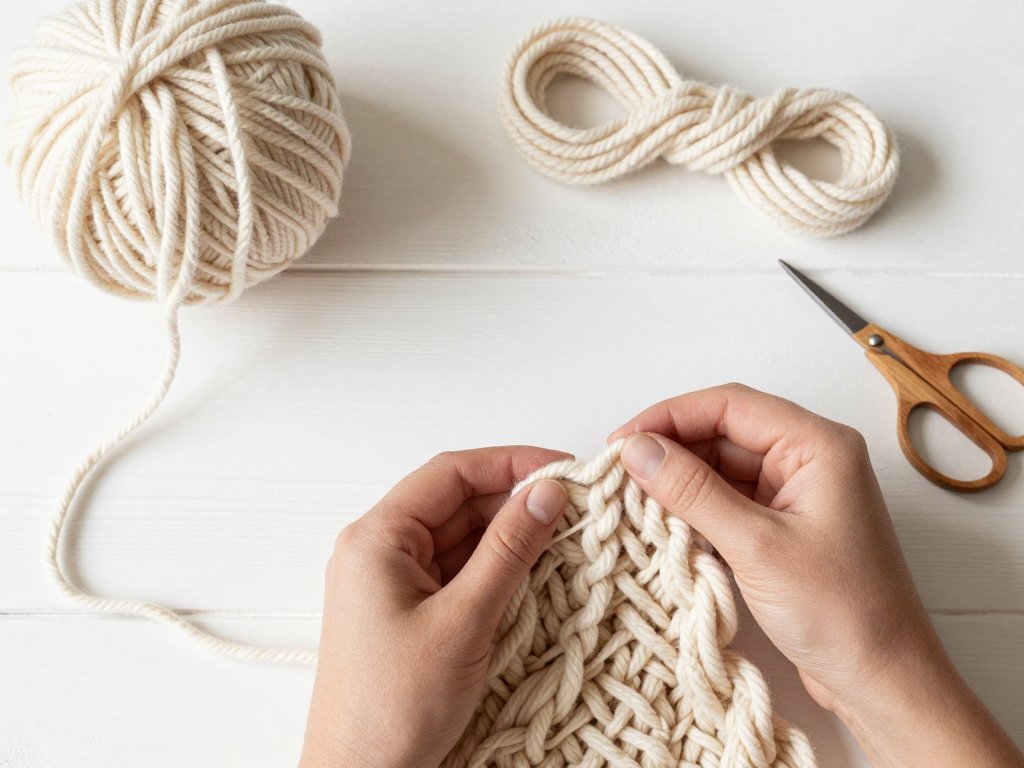
Introduction
Somewhere between the granny square revival and the rise of cottagecore, a new favorite has appeared in the crafting world: crochet patchwork.
You have probably seen it on social media — blankets stitched from mismatched squares, cardigans with sleeves that look pieced together from a dozen different projects, bags that feel like a scrapbook of yarn memories.
The trend has a name, and it is worth understanding before you start: craftcore. In simple terms, craftcore celebrates handmade objects and the process of making them.
It is the aesthetic of visible craft — seams, stitches, and all. And crochet patchwork is one of its most natural expressions because it turns something most crocheters already love (making squares) into something bigger, bolder, and wonderfully personal.
The good news? You do not need to be an expert to join in. If you can crochet a basic square, you can make crochet patchwork.
This guide walks you through the trend, the supplies, the techniques, and five projects to try — so you can start your own patchwork piece this weekend.
What Is Crochet Patchwork?
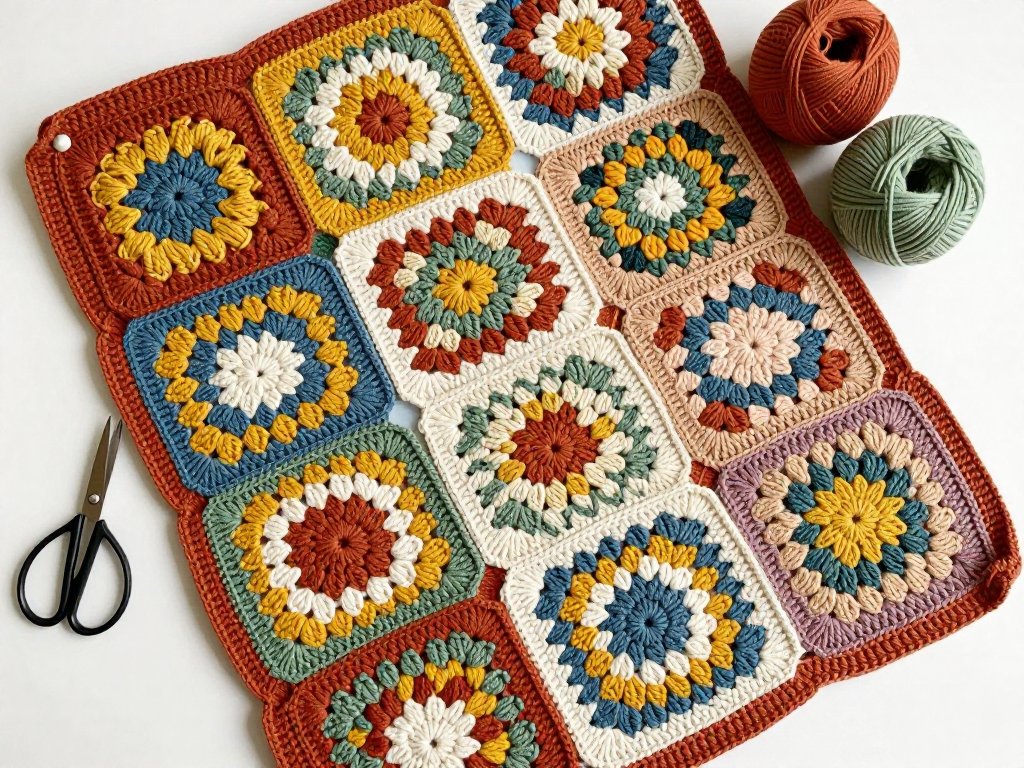
Crochet patchwork is exactly what it sounds like: a project built from multiple crocheted pieces — usually squares — joined together like a fabric quilt. Instead of crocheting one continuous piece, you create a collection of motifs and connect them into a larger whole.
The most famous building block is the granny square, that classic cluster of double crochet worked in rounds.
But patchwork goes far beyond granny squares. You can use solid squares, hexagons, triangles, flowers, or any motif you enjoy making.
The pieces can match perfectly, or they can deliberately clash — both looks have a place in the craftcore aesthetic.
What makes patchwork different from ordinary crochet is the design process. You are thinking like a quilt maker: planning color placement, deciding how pieces will sit together, and choosing a joining method.
That planning is part of the fun, and it is also why patchwork projects feel so satisfying to finish.
Patchwork also has a beautiful history. Crocheters have been joining motifs for generations, from Victorian bedspreads to the colorful blankets of the 1970s.
What is new today is the attitude: modern makers are embracing imperfection, mixing old yarn with new, and treating patchwork as wearable art rather than just home decor.
Why Craftcore Is Everywhere Right Now
You may be wondering why craftcore — and crochet patchwork with it — has suddenly become so popular. The reasons are practical as well as emotional:
- Screen fatigue. After years of digital everything, handmade projects offer a tangible break. Making something with your hands gives you something real to hold when you finish.
- Slow fashion. Fast fashion has created a hunger for clothes with stories. A patchwork cardigan is the opposite of mass-produced — no two are ever alike.
- Community. Sharing WIPs (works in progress) online has turned crochet into a social activity. The patchwork hashtags are full of makers encouraging each other.
- Budget-friendly creativity. Patchwork is a natural home for scrap yarn. You can start with what you already own, which makes it one of the more affordable crafts around.
- Imperfection is welcome. Unlike some crafts where mistakes show, patchwork absorbs variation beautifully. Slightly different squares just add character — a genuinely freeing feeling for beginners.
Understanding why the trend exists helps you enjoy it more. You are not just making a blanket; you are taking part in a slower, more intentional way of crafting. And that mindset is exactly what craftcore is about.
What You Need to Get Started
Here is the practical part — the supplies. The complete list is shorter than you might expect:
- Yarn. Any yarn you enjoy crocheting with works for practice. For your first project, choose a worsted or aran weight (medium weight, category 4) in cotton or acrylic. Cotton gives lovely stitch definition; acrylic is affordable and easy to care for.
- Crochet hook. Match your hook to your yarn. For worsted weight yarn, a 5.0mm or 5.5mm hook is a comfortable place to start. The yarn label always lists a recommended hook size — check it before you begin.
- Scissors. A small, sharp pair for snipping yarn ends.
- Yarn needle. A blunt-tipped tapestry needle for weaving in ends and seaming squares together.
- Stitch markers. Optional but helpful for keeping your place in the round.
- Tape measure. Useful for checking that your squares are all roughly the same size before joining.
That is genuinely everything you need. No special equipment, no expensive tools — just yarn, a hook, and a needle. If you are shopping on a budget, start with one or two skeins of a solid color plus a small bundle of coordinating scraps.
Choosing Your Yarns and Colors
Color is where patchwork gets exciting, and it is also where beginners often freeze. Let us simplify the decision-making process.
Start with a palette. Pick three to five colors that you love together. A good rule for beginners: choose one light shade, one dark shade, and two or three mid-tones. This automatically gives your project contrast and depth.
Consider the yarn weight. For your first project, use the same weight of yarn throughout. Mixing a bulky yarn with a fingering weight yarn creates uneven squares that are difficult to join. Once you are comfortable, you can experiment with mixing weights deliberately — that is a more advanced look.
Fiber matters for the finished feel. Cotton squares are crisp and hold their shape well, which makes them excellent for bags and home decor. Wool and wool blends are warm and forgiving, ideal for blankets and cardigans. Acrylic is the budget champion and comes in endless colors.
Do not overthink it. The most common mistake is spending days agonizing over color choices instead of crocheting. Lay your yarns side by side, trust your eye, and begin. You can always adjust as you go — that flexibility is one of patchwork's great strengths.
The Building Block: Granny Squares and Motifs
Before you join anything, you need a stack of motifs. If you have never made a granny square, here is the classic method in plain terms:
- Start with a magic ring (or chain four and join with a slip stitch to form a loop).
- Round one: chain three (counts as a double crochet), then work two double crochets into the ring. Chain two, then work three double crochets into the ring — repeat twice more. You now have four clusters with chain-two spaces between them. Join with a slip stitch to the top of the starting chain.
- Round two: slip stitch into the chain-two space. Chain three, work two double crochets into the same space, chain one. Into the next corner space, work three double crochets, chain two, three double crochets, chain one. Repeat around, working the corner clusters into each corner space.
- Continue growing: each new round follows the same pattern — corner clusters with chain two in the corners, and side clusters with chain one between them.
That is the granny square in its simplest form. Solid squares, half-grannies, and flower motifs follow similar logic: build in rounds, count your stitches, and keep corners consistent.
Whatever motif you choose, make your practice squares the same size. Crochet tension varies from person to person and even from day to day.
If your first square is 10 centimeters across and your second is 12, you will struggle to join them neatly.
Check your gauge early and adjust your hook size if needed — a smaller hook tightens the stitch, a larger hook loosens it.
How to Join Your Squares
Joining is the step that turns a pile of squares into a patchwork piece. There are several methods, and your choice affects both the look and the feel of the finished item:
- Whip stitch. The simplest method. Thread a yarn needle with matching yarn and sew the squares together edge to edge, working through the back loops. Quick, flat, and nearly invisible when done in a matching color.
- Single crochet join. Hold two squares right sides together and work single crochet through both edges. This creates a sturdy, slightly raised seam — a lovely modern look, especially in a contrasting color.
- Slip stitch join. Similar to single crochet but flatter and faster. Work slip stitches through both edges to create a delicate ridge.
- Continuous join. A more advanced technique where you join each new square to the growing piece as you finish it, rather than sewing everything at the end. Saves a lot of finishing time on big projects.
For your first project, start with the whip stitch. It is forgiving, easy to undo, and works beautifully for practice.
Lay your squares out on the floor or a table first, arrange them into the pattern you like, and take a photo — you will thank yourself later when you are joining square number forty.
Five Crochet Patchwork Projects to Try
Ready to put it all together? Here are five projects, from quickest to most ambitious:
1. Patchwork cushion cover. Nine granny squares joined into a three-by-three panel, then folded around a cushion insert. The perfect first project: small enough to finish in a weekend, big enough to teach you joining and finishing.
2. Scrap yarn baby blanket. Twelve to sixteen squares in soft pastels. Because the squares are small, you can use up scraps from other projects — a budget-friendly way to make something genuinely beautiful.
3. Patchwork tote bag. Four large squares for the body, two smaller ones for the straps. Line it with fabric if you want extra sturdiness. A bag that turns heads and holds your yarn for the next project.
4. Granny square cardigan. The statement piece of the craftcore trend. Join squares into panels for the back, front, and sleeves, then seam them together. Choose a simple boxy shape for your first garment — no shaping required.
5. Full-size patchwork blanket. The classic. Sixty or more squares joined into a bed-sized throw. This is a long-term project, perfect for keeping beside the sofa for those evenings when you want ten minutes of calm crochet.
Whichever project you choose, remember the craftcore philosophy: this is about the making, not just the finished object. Every square is a small win.
Common Mistakes and How to Avoid Them
Every patchwork maker hits the same few snags. Here is how to handle the most common ones:
- Squares that do not match in size. Fix this before joining, not after. Block your squares (pin them to size and steam or wet them gently) or adjust your hook. Slight differences can be eased together, but big ones create lumpy seams.
- Yarn ends everywhere. Weave in ends as you finish each square. Doing it all at the end turns a relaxing project into a chore. Ten minutes of weaving after each square saves you hours later.
- Joining that puckers. If your seams pull and ripple, your joining tension is too tight. Try a larger hook for the join or switch to whip stitch with relaxed tension.
- Color chaos. If the finished layout feels scattered, arrange your squares and rearrange them again before joining. Photograph the layout and use it as your map.
- Losing motivation mid-project. Big patchwork pieces take time. Keep a small project on the side, or set a goal of one square per day. Progress is progress.
None of these mistakes are fatal. Crochet is wonderfully forgiving — you can undo, redo, and adjust almost anything. The makers who finish beautiful patchwork projects are not the ones who never make mistakes; they are the ones who keep going.
Caring for Your Finished Patchwork
Once your project is complete, a little care keeps it beautiful for years:
- Block the finished piece. Gently wash it, pin it to shape, and let it dry flat. Blocking evens out seams and gives the piece a professional finish.
- Check the yarn label for washing instructions. Acrylic is usually machine-washable on gentle; wool needs hand washing in cool water; cotton is forgiving either way. When in doubt, hand wash and lay flat to dry.
- Store folded, not hung. Crochet stretches under its own weight. Fold blankets and cardigans on a shelf rather than hanging them.
- Repair as needed. If a seam opens or a square loosens, a few minutes with a yarn needle fixes it. Handmade pieces are made to be mended — that is part of their charm.
With reasonable care, your patchwork piece becomes an heirloom — the kind of object you pass down with a story attached.
Conclusion
Crochet patchwork is more than a trend; it is a way of crafting that welcomes beginners, rewards patience, and celebrates the handmade.
Whether you join the craftcore movement with a single cushion or commit to a full-size blanket, you are taking part in something wonderful: the simple, deeply satisfying act of making something beautiful with your own hands.
Start with one square today. Choose yarns you love, make a few motifs, and see how it feels. Before you know it, you will be planning your next patchwork project — and that is exactly how the craftcore trend becomes a lifelong hobby.
Happy crocheting, and may your squares always be square.