Introduction
There is something quietly satisfying about a small handmade ornament. It weighs almost nothing and fits in the palm of your hand. Yet every December, when the box comes down from the shelf, it carries a whole season with it.
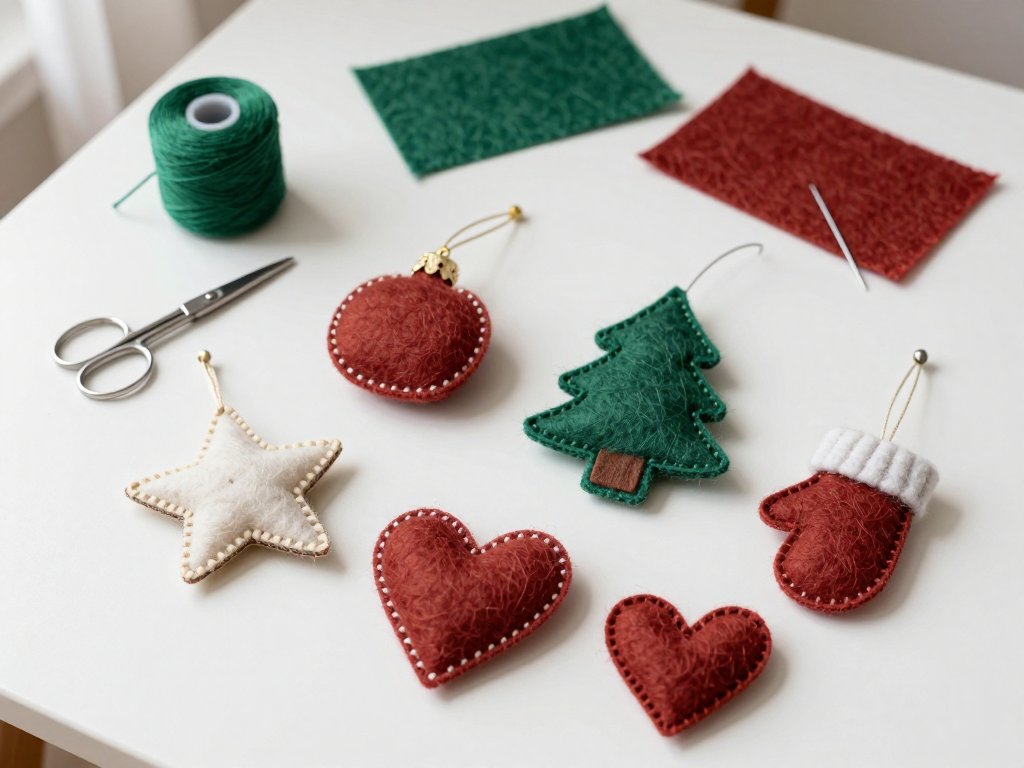
These felt ornaments are made the slow way: two layers of wool felt, a few simple hand stitches, a little stuffing, and a loop of ribbon at the top. No sewing machine, no special tools, no rush.
If your evenings are short and often interrupted — most evenings are, in a house with children — that is exactly the point. You can stitch for fifteen minutes and put it down. The felt will wait for you.
By the end of this guide you will have one finished ornament in your hand and a paper pattern you can trace again and again. After that, the shapes are yours to repeat, resize, and give away.
Why Wool Felt Is Such a Forgiving First Material
Felt is the friendliest fabric I know for hand sewing. It does not fray, so the raw edge of a cut shape stays exactly where you left it. There is no hemming and no finishing before you begin.
It also holds a crease. Fold a felt shape in half to mark the center, press it with your thumb, and the line stays. That makes it easy to line up two layers and keep them lined up while you stitch.
A needle passes through wool felt with a soft, satisfying resistance. It is dense enough to grip the thread, so your stitches sit where you put them instead of sliding.
When you buy felt, look at two things: fiber and thickness. Wool or wool-blend felt has a slightly fuzzy surface and a warm hand. Acrylic felt is smoother and cheaper, and perfectly workable for a first try.
Thickness matters more than most beginners expect. Craft felt around 1 to 2 mm is easiest to stitch through two layers. Very thin felt puckers and flops; very thick felt fights the needle and makes small shapes clumsy.
If you can only find one weight, choose the middle. A medium craft felt will carry you through stars, hearts, trees, and mittens without complaint.
Wool blends also take a little heat. A gentle press through a cloth smooths a finished ornament and settles any waving at the seam, which is a kindness thin acrylic felt rarely offers.
What You Need
You need very little, and none of it is expensive. Here is the short list, and why each piece earns its place.
- Wool or wool-blend felt squares in two or three colors. One 9-by-12 inch sheet makes several small ornaments.
- Embroidery floss. Use all six strands for a bold edge, or split it to three for finer detail work.
- A chenille or embroidery needle with a sharp point. Sharp matters: it parts the felt instead of pushing it.
- Small sharp scissors, ideally with a fine point for clipping curves and trimming close to stitches.
- Polyester fiberfill, just a handful. A light stuffing gives the ornament a soft, rounded body.
- Ribbon, twine, or extra floss for the hanging loop.
Floss comes in skeins of six strands. For blanket stitching around an edge, all six gives a thick, generous line. For a tree trunk, a leaf vein, or tiny star points, three strands looks more delicate.
The needle is worth a moment's thought. A blunt tapestry needle will drag and distort the felt. A sharp embroidery needle, size 5 to 7, glides through and leaves a clean hole.
Sharp scissors make the difference between a shape that looks cut and a shape that looks chewed. Small ones let you reach the inner corners of a star or the thumb of a mitten.
Stuffing should be light. You are not making a pillow. A loose pinch, teased apart, is enough to plump the shape without straining the seam.
The Three Stitches That Do All the Work
Everything in this article uses three stitches. Learn them once and you can make every shape that follows.
Blanket stitch is the visible, decorative edge. Bring your needle up through both layers about a quarter inch from the edge. Take the thread over the edge and bring the needle back up through the same starting point, catching the loop of thread under the needle.
Pull gently. The result looks like a row of small, even brackets holding the two layers together. It is forgiving: slight variations in spacing read as handmade, not sloppy.
If the loop slips off the needle, nothing is ruined. Ease the thread back, catch it again, and carry on. Blanket stitch is learned in the hand, not in the head.
Whip stitch is faster and plainer. Bring the needle up through both layers, cross over the edge, and come up again a short distance along. Work steadily around the shape.
Whip stitch gives a narrow, tidy border rather than a decorative one. It is ideal for the back seam of a batch of ornaments, or for a child learning to sew.
Running stitch is a simple dashed line. Bring the needle up, go down a short distance ahead, and repeat. Several small stitches can be loaded onto the needle at once for speed.
Use running stitch for detail lines: the trunk of a tree, the curve of a heart, a line of snow on a roof. It sits flat against the surface and adds drawing to a shape.
Now the part that worries beginners most: starting and ending without a visible knot. Bury the knot instead. Tie a small knot in your floss, then slide the needle between the two felt layers and travel an inch before bringing it up at your starting point.
The knot is now trapped inside, invisible. To finish, take a tiny stitch through the top layer only, pass the needle between the layers, and come out an inch away. Pull snug and snip close.
That small habit — hiding both ends inside the layers — is what makes handwork look considered rather than improvised.
Making Your Pattern Without a Printer
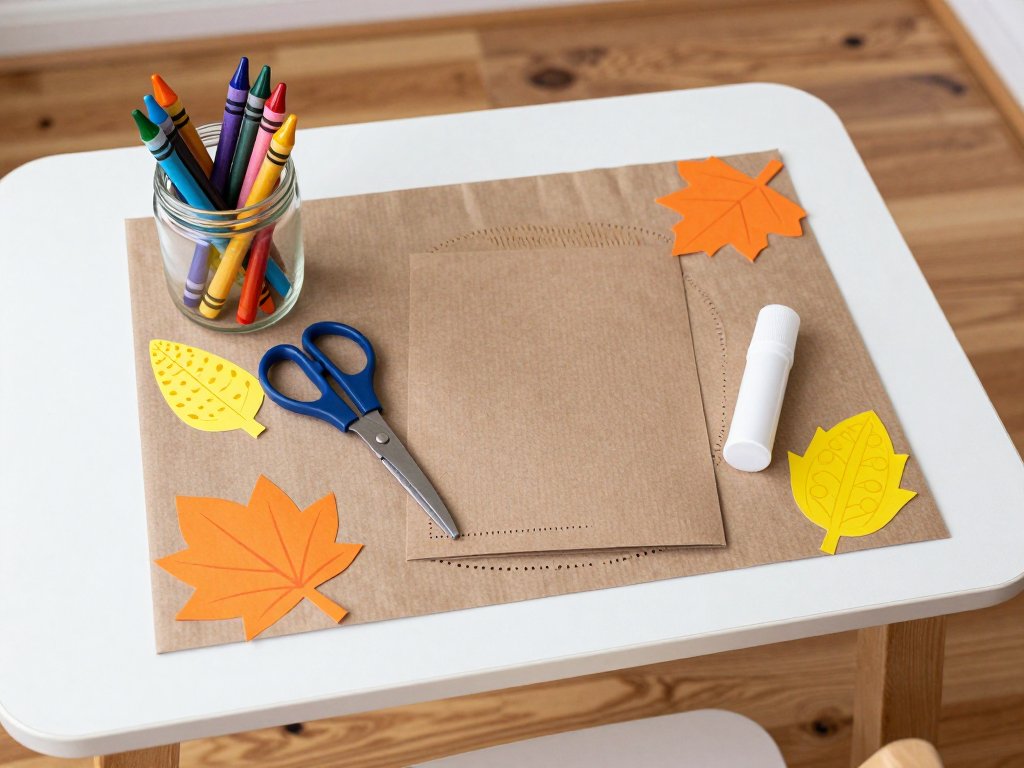
You do not need a printer, a template download, or a light table. You need a square of paper and a pair of scissors.
Fold the paper square in half. Draw half of your shape along the folded edge, starting and ending on the fold. Cut through both layers while the paper stays folded.
Open it. You now have a symmetrical shape, and the fold line is the exact center. A star, a heart, a fir tree, a mitten — all of them begin this way.
This is the trick that makes homemade ornaments look intentional. Freehand cutting tends to give one side more weight than the other, and the eye notices. Fold-and-cut removes the problem entirely.
Once you like a shape, trace it onto thin cardboard and cut it out. Cardboard templates survive being traced around again and again, and they stack neatly in a drawer.
Cut the felt slightly inside the pencil line rather than on it, so no graphite shows at the edge. If you are using a marker, cut just inside that too.
One more habit worth building: draw a small arrow at the top of the template. It saves you stitching a mitten upside down.
Three inches across is a good working size. Smaller than two inches and the shape gets fiddly; larger than four and it starts to look like a wall hanging rather than a tree ornament.
Your First Ornament, Step by Step
This is a two-layer stuffed ornament with a blanket-stitched edge. Work through it once and the rhythm will feel familiar by the second one.
- Fold a paper square and cut a symmetrical shape about three inches across. Trace it onto felt twice and cut two identical pieces.
- On the front piece only, stitch your detail lines with running stitch: a trunk, a center vein, a line of snow. Start and end where the layers will meet.
- Add any beads or French knots now, while the front is still a single flat piece. It is far easier than working on a stuffed shape.
- Place the two felt pieces together, wrong sides facing, and align the edges with your fingers. Wool felt grips itself, so they will stay put.
- Thread your needle with six strands of floss and bury the knot between the layers at the bottom edge.
- Begin blanket stitching around the shape, keeping your stitches about a quarter inch apart and a quarter inch deep.
- Work all the way around, but stop about an inch short of your starting point. Leave that gap open.
- Tease a small pinch of fiberfill into a loose puff and push it through the gap with the blunt end of a pencil.
- Use just enough to round the shape. Overstuffing strains the stitches and makes the seam gape.
- Slide your hanging loop into the top corner, folded in half, with the raw ends tucked between the layers.
- Blanket stitch across the gap, catching the loop ends as you go. Work two extra stitches over the loop for strength.
- Finish by passing the needle between the layers, out an inch away, and snipping the thread close.
Your first one will take an hour, maybe more. That is normal. The second will take half that, and by the fourth you will stop thinking about the order of steps.
If your stitches are uneven, good. Uneven stitching is the visible sign of a human hand, and it is the thing people love about handmade ornaments.
Finishing Details That Make It Look Bought
Small additions separate a homemade ornament from a handmade one. None of them take long, and all of them are optional.
A few glass beads or seed beads stitched along a tree branch catch the lights. Sew each one with a single stitch through the hole, then travel inside the layers to the next.
French knots work where beads would be too heavy: a scatter of snow, the center of a flower, the eye of a tiny bird. Wrap the floss twice around the needle for a small knot, three times for a larger one.
Try a contrasting edge thread. Deep green felt with cream floss is a classic pairing, and rust red with oatmeal is warm without being loud. The contrast does most of the decorative work for you.
A narrow felt strip in a second color, blanket stitched down the center of the shape, reads as a ribbon or a branch. Cut it half an inch wide and stitch along both long edges.
Tiny applique shapes are the easiest upgrade of all. Cut a small circle, a leaf, or a star from contrasting felt and whip stitch it to the front before assembly.
Keep applique small. A shape that covers a third of the ornament looks deliberate; one that covers most of it looks like a patch.
Choose one detail per ornament. Two or three competing ideas on a three-inch shape start to look busy, and the eye loses the silhouette.
A single line of tiny running stitches around the outside, just inside the blanket stitch, adds a second ring of texture for almost no effort. It reads as a stitched border from a distance.
The Hanging Loop and How to Attach It
The loop is small, but it decides whether your ornament hangs straight or lists to one side.
Ribbon gives the most traditional look. A narrow grosgrain or satin ribbon, about four inches long, folded in half, sits flat against the tree. It also ties easily to a branch.
Twine is rustic and sturdy, and it suits natural-colored felt particularly well. Embroidery floss is the quietest option: braid three lengths together and it becomes a cord that matches your stitching exactly.
Anchor the loop at the top center of the shape, not at a corner. Fold the loop in half, place the folded end outward, and tuck the two raw ends between the layers.
Stitch across the raw ends twice with your blanket stitch, then once more for security. Those ends will never be seen, so neatness there matters less than strength.
If your ornament hangs crooked, the loop is usually the cause. Unpick two stitches, shift the anchor a quarter inch toward the heavy side, and restitch.
For a heart or a mitten, the geometric top center is not always the visual top center. Hold the shape up by the loop before you close it fully, and check with your eye.
Making a Batch for Gifts
One ornament is an evening. Six ornaments is a small production line, and it is far faster than making them one at a time.
Start by cutting in stacks. Layer three or four felt squares, pin your cardboard template on top, and cut through the stack. Sharp scissors and a steady hand give you identical pieces in one pass.
Then work in assembly-line order. Cut every shape first. Stitch every front detail second. Only then pair the layers and blanket stitch around the edges.
Batching works because your hands learn each motion. Cutting stays cutting and stitching stays stitching, so you stop switching tools every ten minutes.
Once you have the rhythm, three or four finished ornaments in an evening is realistic. That is a slow, comfortable pace with the television on, not a race.
These make lovely gifts for teachers, neighbors, and grandparents. They pack flat and weigh almost nothing, so posting a handful costs less than a card.
If you are making a set, vary the colors rather than the shapes. Five stars in five color pairings look like a collection; five different shapes in one color look like a sample.
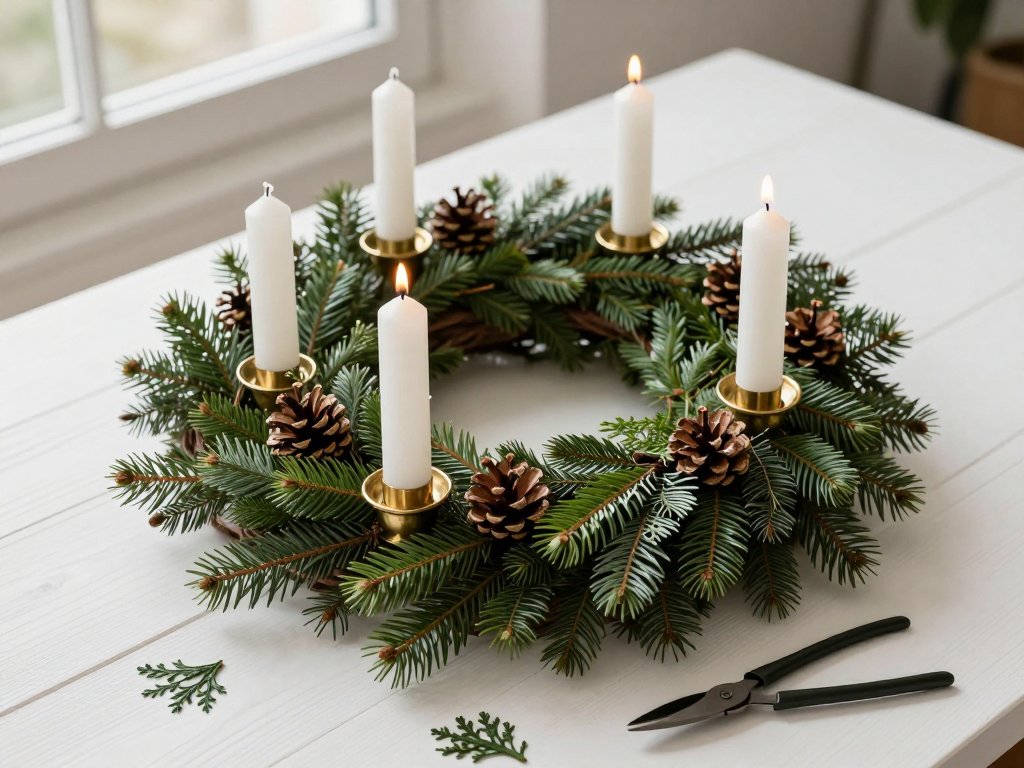
Pair them with something seasonal and you have a gift with a story. A set of ornaments tucked beside a handmade advent wreath is the kind of present people keep.
A Kid-Friendly Version
Children can absolutely make these, with a few sensible swaps. The pleasure of it — cutting, choosing colors, filling, hanging — survives every simplification.
Swap the sharp embroidery needle for a blunt plastic or tapestry needle. It will still pass through felt, especially if an adult starts the holes, and it will not find a finger.
For the smallest hands, skip the stitched edge altogether. Cut two shapes, run a thin line of craft glue around the border, press the layers together, and clip them with clothespins while the glue sets.
Keep the shapes simple. A circle, a heart, and a mitten are all easy to cut and easy to recognize. Skip stars with narrow inner points; they frustrate small scissors.
Acrylic felt is the better choice for children's projects. It is cheaper, it cuts more easily, it washes without shrinking, and no one minds if the result is imperfect.
Let them do the stuffing. A child pushing a puff of fiberfill into a gap with a pencil is fully absorbed, and the ornament ends up charmingly lumpy.
Adults can finish the loop at the end. That one step needs a firm stitch, and it is the only part that has to be strong.
Troubleshooting
Most first-ornament problems have simple causes, and none of them ruin the piece.
Thread tangling. Use a shorter length — about eighteen inches, no more. Long floss twists on itself. Let the needle hang and unwind every few stitches.
Stitches too tight. If the felt puckers along the seam, you are pulling hard. Aim for the thread to sit on the surface, not dig into it. Ease off and the edge will lie flat.
A lopsided shape. This is nearly always a tracing problem, not a stitching one. Return to the fold-and-cut method and make a fresh template, checking that both halves match.
Stuffing showing at the seam. The gap was too wide, or the puff was too big. Push the filling back inside with a pencil tip and add two or three tight stitches across the opening.
Curling edges. Thin felt curls, especially when the stitches are tight. A medium-weight felt solves most of it; a quick press under a warm iron through a cloth helps the rest.
A loop that pulls out. Two stitches were not enough. Open the seam an inch, reinstate the loop with four or five firm stitches, and close it again.
None of these fixes take more than a few minutes. Felt is patient, and it forgives being taken apart.
Storing and Caring for Felt Ornaments
Felt ornaments last for years if you keep them dry and flat. A little care now means they come out of the box looking the way you remember.
Store them flat in a rigid box, not in a loose bag where they crush against each other. A shoebox lined with tissue paper is ideal, with the ornaments laid in a single layer.
Damp is the real enemy. Wool felt absorbs moisture and can spot, mildew, or lose its shape. Keep the box out of basements, garages, and unheated attics.
Moths matter with wool. Add a small cedar block or a lavender sachet to the box, and check the contents once a year. Acrylic felt is not at risk, but wool blends are.
To spot clean, dab gently with a barely damp cloth and a drop of mild soap. Do not rub. Blot with a dry towel and let it air dry flat, away from direct heat.
Never put a stuffed felt ornament in the washing machine. The filling clumps, the stitches distort, and the shape is gone for good.
If the loop frays or the ribbon discolors, replace it. It takes two minutes and gives an old ornament another decade.
Conclusion
You do not need much to begin: a square of felt, a needle, some floss, and an evening that is mostly yours. The rest is repetition, and repetition is where the calm lives.
Start with one shape. A heart is the kindest first attempt, because a slightly uneven heart still reads as a heart. By the time you have made three, your hands will know the blanket stitch without asking.
Your stitching will be uneven at first, and that is fine. The ornaments you make this year will be the ones your family reaches for first next December, and the year after that.
They hang beautifully from a branch in a vase, from a length of twine across a window, or from the tree itself. A small bowl of them on a hall table is enough to say the season has started.
So put the kettle on, cut one small shape, and make the first stitch. Everything after that is just another quiet evening.