Introduction
There is a quiet magic to painting a summer landscape. The way a simple wash of sky blue turns into a warm afternoon sky.
How a dab of yellow-green becomes a sunlit tree in the distance. And how, in under an hour, a blank piece of paper can become a place you want to visit — a hillside covered in wildflowers, a quiet lakeside at golden hour, or a field of lavender under a bright July sun.
If you have never tried gouache before, you are in for a treat. Gouache (pronounced "gwosh") is sometimes described as the lovechild of watercolor and acrylic paint.
It mixes with water like watercolor but dries opaque and matte like acrylic. This unique combination makes it one of the most forgiving and rewarding painting mediums for beginners.
Make a mistake? Let it dry and paint right over it. Want a soft, dreamy background?
Add more water. Craving bold, vibrant color? Use it straight from the tube.
Summer landscapes are the perfect subject for gouache beginners. The scenes are bright and forgiving — a slightly crooked treeline or a puffy cloud that drifted out of place just adds charm.
And because gouache dries so quickly, you can finish a whole painting in a single afternoon, even with interruptions.
Trust me, I know about interruptions.
What Makes Gouache Special
Gouache has been around for centuries — artists have used it since at least the 16th century for everything from illuminated manuscripts to fashion illustrations to scenic design.
What sets it apart is its opacity. Unlike watercolor, where you work from light to dark and preserve the white of the paper for highlights, gouache lets you layer light over dark.
You can paint a dark green hillside, let it dry, and then add bright yellow wildflowers right on top.
The yellow covers the green completely. That is the kind of control that makes beginners feel confident and creative.
Another wonderful quality of gouache is its reactivation. Even after it dries, adding a little water can reactivate the paint, allowing you to blend edges or correct mistakes.
This reactivation can be a challenge if you are layering wet paint over dry (it can lift the layer beneath), but with practice, you learn to work with it.
Many gouache artists use this reactivation intentionally to create soft, blended transitions in skies and water.
Gouache also photographs beautifully. Its matte finish means no glare under studio lights, making it a favorite for illustrators and content creators who need to scan or photograph their work.
If you enjoy sharing your art on social media or in a portfolio, gouache will make your work look clean and professional.
What You Will Need
One of the loveliest things about gouache is how little you need to get started. Here is a simple starter kit.
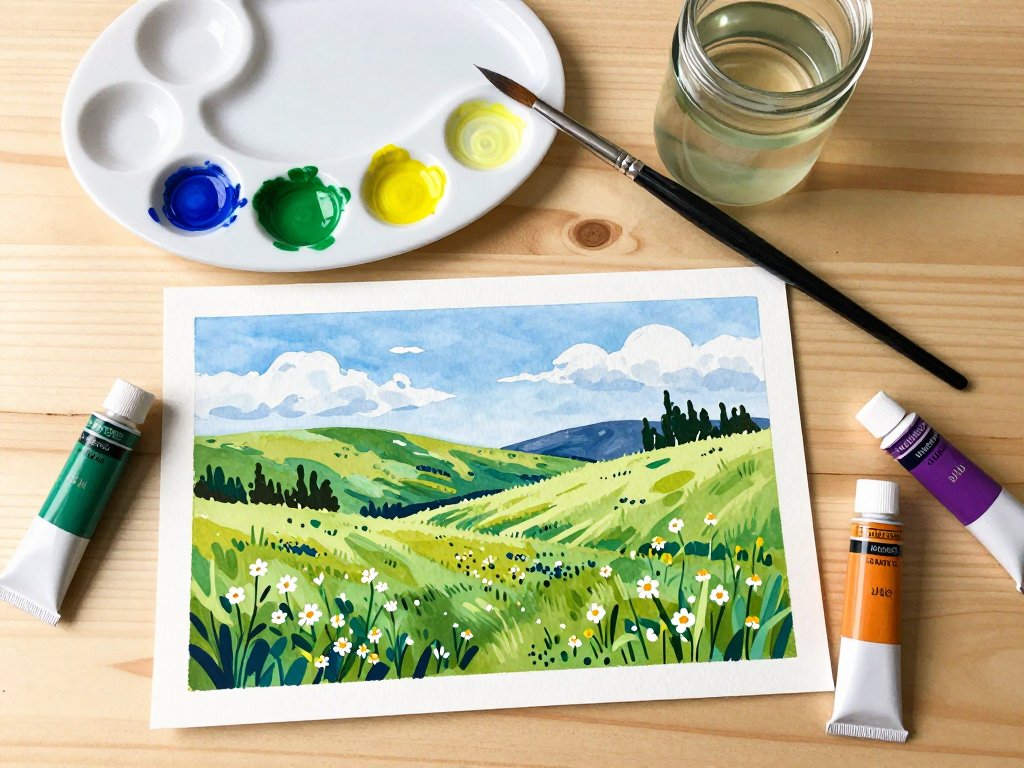
- Gouache paint. A basic set of six to twelve colors will take you a long way. Look for student-grade gouache from brands like Arteza, Himi, or Royal Talens. A good starter palette includes: titanium white, ivory black, primary yellow, primary red, primary blue, and a tube of burnt sienna. Mixing your own colors is part of the fun.
- Paper. Cold-pressed watercolor paper in 140lb (300gsm) weight is ideal. It can handle the moisture without buckling. A 9x12 inch pad gives you plenty of room for practice paintings. Strathmore and Canson both make excellent student-grade options.
- Brushes. A set of synthetic round brushes in sizes 2, 6, and 10 will cover almost everything. A flat brush in size 8 is helpful for washes and skies. Synthetic brushes work beautifully with gouache and cost much less than natural hair brushes.
- A palette. Any white palette with wells and a flat mixing area will do. A simple plastic palette from a craft store costs a few dollars and works perfectly.
- A jar of water. Two jars are even better — one for rinsing and one for clean water.
- A pencil and eraser. For light sketching before you paint.
- Paper towels. For blotting brushes and controlling moisture.
That is genuinely all you need. You can find everything for under thirty dollars, and it will last through dozens of paintings. This is not an expensive hobby to start.
Gouache Basics: Three Techniques to Know
Before you dive into your first landscape, take a few minutes to practice these three foundational gouache techniques. They will make everything easier.
Washes
A wash is a thin, diluted layer of paint. Mix a small amount of gouache with plenty of water on your palette until it reaches the consistency of milk.
Load your brush and paint in broad, even strokes across the paper. Washes are perfect for skies, backgrounds, and distant elements where you want a soft, airy look.
Practice making a smooth wash from one edge of your paper to the other without hard edges or puddles.
Layering
Gouache's opacity means you can paint one color over another once the first layer is dry.
This is the superpower of gouache. Paint a simple shape — a circle, a square — in mid-blue, let it dry for five minutes, then paint a smaller yellow circle on top.
The yellow will cover the blue completely. Now try layering a lighter color over a darker one.
This is how you will add sunlit highlights to your landscapes.
Dry Brush
For textured effects like grass, tree bark, or rocky surfaces, use a dry brush. Dip your brush into undiluted paint, then blot most of it onto a paper towel.
Drag the nearly-dry brush across the paper. The paint will catch on the texture of the paper, creating a rough, broken line.
This is excellent for adding grass at the base of a hillside or texture to a tree trunk.
Project: Simple Summer Landscape
Let us put these techniques to work with a simple summer landscape. We will paint a hillside with wildflowers under a blue sky — a classic scene that is forgiving, cheerful, and achievable in about an hour.
Step 1: Light Sketch
Using a pencil, lightly divide your paper into three horizontal sections: sky (top third), distant hills (middle third), and foreground (bottom third).
Sketch a gentle rolling hill line across the middle. Add a few simple tree shapes on the horizon.
That is all the drawing you need — the paint will do the rest.
Step 2: Paint the Sky
Mix a wash of cerulean blue with plenty of water. Using your flat brush, paint the sky section in broad horizontal strokes.
Leave a few soft white areas for clouds — you can blend the edges of the clouds with a clean, damp brush to soften them.
Let the sky dry completely (about five to ten minutes).
Step 3: Distant Hills
Mix a soft blue-green for the farthest hills (the ones on the horizon). Colors become lighter and cooler as they recede into the distance — this is called atmospheric perspective.
Paint the distant hills with a slightly thicker mixture than the sky wash. Let dry.
Then mix a slightly warmer green for the closer hills and paint them, overlapping the distant hills slightly at the horizon.
Let dry.
Step 4: Foreground
Mix a warm, vibrant green for the foreground grass. Use a thicker, creamier consistency of paint — not a wash.
Paint the foreground area, letting the green overlap the bottom edge of the hills. While the paint is still wet, use the tip of your brush to suggest individual blades of grass along the edge where the hills meet the foreground.
Use a slightly darker green mixture for this.
Step 5: Trees
Using a round brush, paint tree trunks in a warm brown or dark gray-brown. Gouache's opacity lets you paint the trunks right over the sky and hills.
Keep the trunks simple — a single vertical line that widens slightly at the base.
For foliage, use a dry brush technique with a mix of olive green and a touch of yellow.
Dab the brush onto the paper in a loose, rounded shape above each trunk. Let some of the sky show through between the leaves.
Do not overwork the foliage — looser is more natural.
Step 6: Wildflowers
This is the most fun part. Using a small round brush (size 2 or 4), dot tiny flowers across the foreground grass.
Use pure white for daisies, bright yellow for buttercups, and a touch of magenta or red for poppies.
Do not make them uniform — scatter them in clusters with some closer together and some farther apart.
The key to natural-looking wildflowers is variation in size and spacing. If you have never painted flowers before, practice a row of dots on scrap paper first.
It takes very little practice to get a feel for it.
Step 7: Final Touches
Step back and look at your painting. Does it need anything else? A few birds in the sky (small V shapes with a fine brush)?
A path curving through the foreground? A fence line in the middle distance? Add only what feels right.
One of the great lessons of landscape painting is knowing when to stop.
Tips for Gouache Beginners
Here are some helpful things I have learned from painting with gouache that will save you frustration and help you enjoy the process more.
Gouache dries darker. One of the first surprises beginners encounter is that gouache dries a shade or two darker than it looks when wet.
This is especially noticeable with darker colors. Mix your colors slightly lighter than you want the final result to be.
After a few paintings, you will develop an instinct for how much lighter to mix.
Keep your paints moist. Gouache dries out quickly on the palette. If your paints start to crack or become crumbly, mist them with a spray bottle or add a tiny drop of water.
Some artists use a stay-wet palette designed for acrylics. A simple solution is to cover your palette with plastic wrap or a damp paper towel between painting sessions.
Do not overwork. Gouache is at its most vibrant when applied confidently and left alone.
Going back and forth over the same area lifts the paint underneath and creates a muddy, dull appearance.
Aim to place each stroke with intention and leave it. If you make a mistake, let it dry completely, then paint over it with a fresh layer.
Do not try to fix it while it is still wet.
Clean your brush thoroughly. Gouache can cling to brush ferrule (the metal part) and dry there, affecting the brush's performance. Rinse your brush thoroughly between colors and give it a gentle soap wash after each painting session. A well-cared-for brush will last for years.
Experiment freely. The best way to learn gouache is to paint things that delight you.
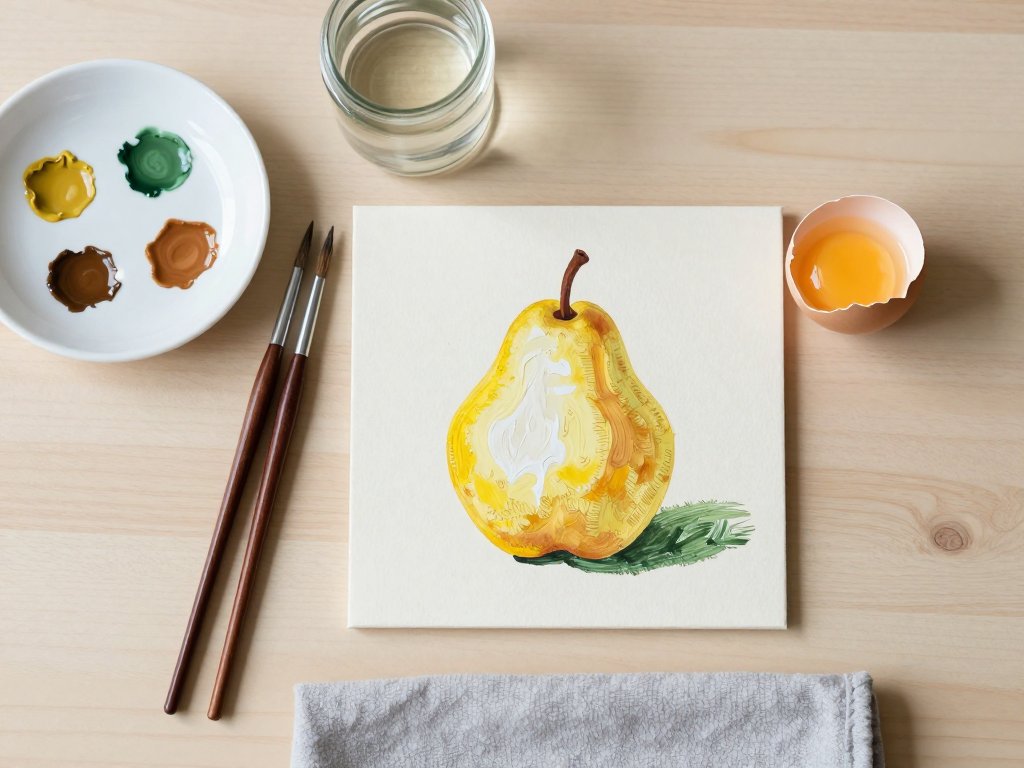
Try painting a sunset, a bowl of fruit, a favorite photograph from a summer vacation.
Every painting teaches you something, even the ones that do not turn out as you imagined.
There are no failures in a practice sketchbook — only experiments.
Finding Your Summer Landscape Style
As you paint more summer landscapes, you will naturally develop preferences. You might find yourself drawn to soft, hazy scenes with muted colors and lots of atmospheric perspective.
Or you might prefer bold, graphic landscapes with clean shapes and high-contrast colors. Maybe you love painting full, detailed scenes with flowers and trees and paths, or maybe you prefer minimalist landscapes with just a horizon line and a dramatic sky.
All of these are valid, and all of them are worth exploring.
Try painting the same simple landscape composition in different color schemes — one in warm sunset tones (orange, pink, purple), one in cool morning tones (blue, green, lavender), one in high-contrast monochrome.
Each version will teach you something about how color affects mood and how gouache handles different pigment combinations.
These exercises are not about creating a perfect painting; they are about building your visual vocabulary and your confidence.
Conclusion: Your Summer in Gouache
Summer landscapes are the perfect introduction to gouache painting. The scenes are bright and forgiving, the techniques are simple to learn, and each finished painting is a little slice of summer you can hold in your hands.
Whether you paint a hillside of wildflowers, a quiet beach at sunset, or a sun-drenched garden path, you are creating something beautiful from nothing more than paint, water, and paper.
Start with the simple landscape project in this guide. Practice washes, layering, and dry brush techniques.
Experiment with color and composition. And most of all, enjoy the process. Gouache is a medium that rewards curiosity and play.
The more you paint, the more you will fall in love with its unique qualities.
For help planning your project sizes and paint quantities, try our paint quantity calculator to figure out how much gouache you will need.
And if you want to explore more painting techniques, the painting technique guide is a wonderful resource for building your skills step by step.