Introduction
Embroidery is one of the oldest forms of decorative art known to humanity. Archaeologists have found embroidered garments dating back to the fifth century BC in the tombs of Scythian nomads, and examples from China's Warring States period show silk threads worked into intricate patterns that have survived for over two thousand years.
The fact that we can still stitch today using techniques virtually unchanged from those ancient hands is a humbling connection to the craftspeople who came before us.
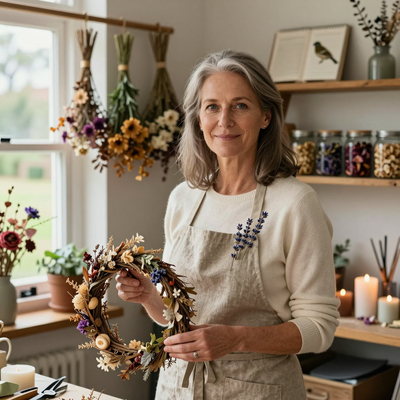
I fell into embroidery by accident. I was visiting a textile museum in a small village in the south of France, and the docent — an elderly woman who had been embroidering since she was six — showed me a sampler from the 1830s.
It was a simple piece of linen covered in rows of stitches, each one slightly more complex than the last, and it had been made by a girl who was learning her craft in much the same way I would learn mine.
I bought a hoop, a needle, and some thread that afternoon, and I have not stopped since.
The ten stitches in this guide are the ones that carry the most weight in embroidery history and practice.
They appear in everything from medieval ecclesiastical vestments to modern denim jackets, from traditional Ukrainian rushnyky to contemporary hoop art.
Learn these ten, and you will be able to stitch almost any pattern you can imagine.
What You Need Before You Start
Embroidery is among the most forgiving of the needle arts, partly because the material requirements are so modest. You need a few basic items, and none of them require a large investment.
Fabric. A medium-weight cotton or linen fabric works best for beginners. Look for a tight weave that is not stretchy — quilting cotton is an excellent choice.
A fat quarter from a fabric store costs about three to four dollars and gives you plenty of room to practice.
Avoid stretchy knits and loosely woven fabrics, which distort the stitches and make even spacing difficult.
Embroidery hoop. A wooden or plastic hoop in a four-inch or six-inch size will hold your fabric taut while you stitch. The tension is essential. Without it, your stitches will pucker the fabric and your needle will struggle to penetrate cleanly. A basic wooden hoop costs about three dollars.
Needles. Embroidery needles — also called crewel needles — have a sharp point and an elongated eye that accommodates multiple strands of floss.
A pack of assorted sizes (sizes 3 through 9) costs about four dollars and covers everything you will need.
The larger the number, the finer the needle. For most of the stitches in this guide, a size 5 or 7 needle works well.
Thread. Six-strand cotton embroidery floss is the standard. DMC is the most widely available brand, and a single skein costs about a dollar.
For practice, pick three or four colors you enjoy. You will separate the strands yourself — the stitches in this guide use between one and six strands depending on the effect you want.
Scissors. Small, sharp embroidery scissors with pointed tips make a tremendous difference. They allow you to clip threads close to the fabric without damaging your stitches. A good pair costs about eight to ten dollars and will last for years if you keep them sharp.
Total cost for all supplies: about twenty dollars. Many households already have needles and scissors, which reduces the investment to under ten dollars.
Preparing Your Fabric and Thread
Before you make your first stitch, cut a piece of fabric about four inches larger than your hoop on each side.
Place it over the inner hoop — the smaller, plain ring — and press the outer ring over it, tightening the screw until the fabric feels drum-tight.
You should be able to tap the fabric and hear a faint ping. If it feels loose, tighten the screw further or adjust the fabric.
Thread your needle with a length of floss about eighteen inches long. Any longer than that and the thread will tangle as you pull it through the fabric.
Separate the number of strands you need — the stitches below specify how many — by holding one end of the floss and gently pulling a single strand upward while the others slide down.
Then recombine the desired number of strands and thread them through the needle.
Knot the end of your thread with a simple overhand knot. It does not need to be large — a small, neat knot at the end of the thread is all that prevents it from pulling through the fabric.
As you become more experienced, you can learn to start without a knot by leaving a tail on the back of the fabric and securing it with your first few stitches.
The Ten Essential Stitches
Each stitch below builds on the ones before it. Learn them in order, and you will notice that the later stitches combine elements of the earlier ones.
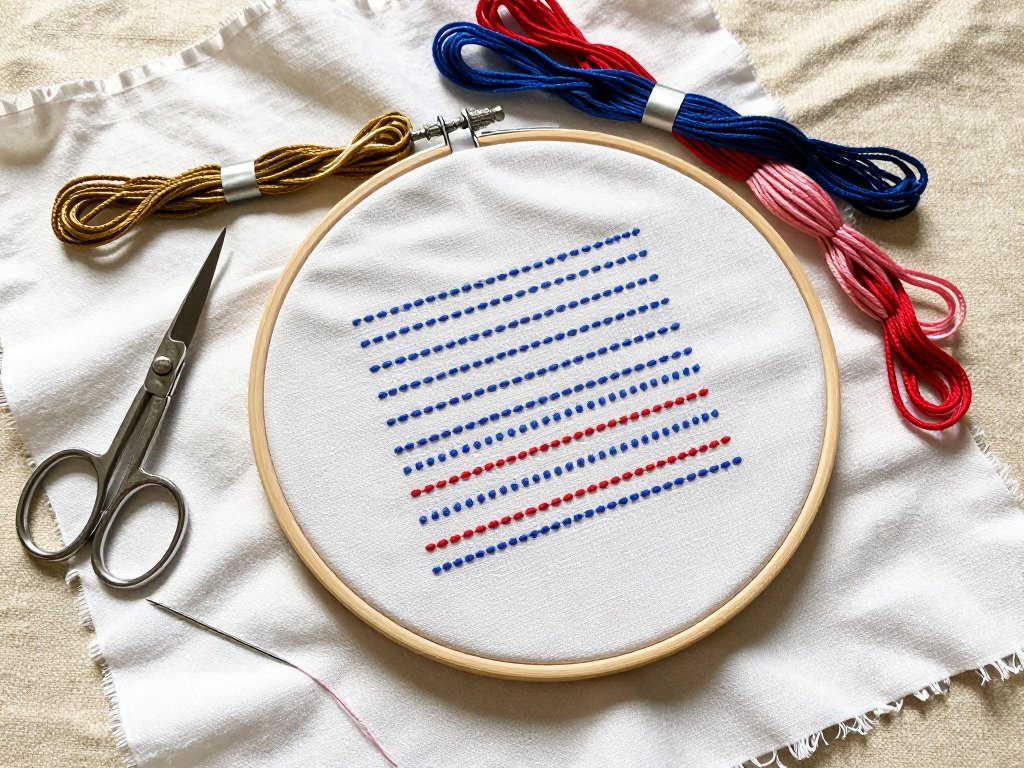
1. Running Stitch
The running stitch is the simplest and oldest embroidery stitch in existence. It is simply a straight line of evenly spaced stitches and gaps, like the dashed line drawn by a sewing machine.
It appears in the earliest surviving embroideries from ancient Egypt, Persia, and China, and it remains the foundation of countless patterns.
Bring the needle up from the back of the fabric at your starting point. Push it back down a short distance ahead — about an eighth of an inch for fine work, a quarter inch for bolder pieces.
Come up again the same distance ahead, and repeat. The stitches on the top of the fabric should be the same length as the gaps between them.
This even rhythm is what makes running stitch look deliberate rather than haphazard.
Practice running stitch in straight lines first, then in gentle curves. The trick to curves is to keep the stitch length short. Long stitches on a curve produce angular corners. Short stitches — about a sixteenth of an inch — produce smooth arcs.
2. Backstitch
The backstitch is a variation of the running stitch that produces a continuous line with no gaps. It is the stitch you will use most often for outlines, lettering, and fine detail work.
Bring the needle up at point A. Take a small stitch forward to point B and push the needle down.
Instead of coming up ahead of point B, bring the needle up at point C — the same distance behind point B as the stitch you just made.
Then push the needle down at point B again. Each stitch reaches forward and then backs up to meet the previous one, creating an unbroken line.
The backstitch was the stitch used in the Bayeux Tapestry for its Latin inscriptions. Those letters, embroidered nearly a thousand years ago, are still legible today because the backstitch holds its shape so well. If you want your lettering to last a millennium, backstitch is your best choice.
3. Split Stitch
The split stitch creates a textured line that resembles a braided cord. It was widely used in medieval European embroidery, particularly in Opus Anglicanum — the famous English ecclesiastical embroidery that was prized across the continent.
The texture of split stitch catches light differently than a smooth line, which made it ideal for rendering the folds of robes and the halos of saints.
Bring the needle up and take a short stitch forward, about an eighth of an inch.
As you bring the needle back up for the next stitch, pierce the center of the previous stitch rather than coming up next to it.
The thread splits, creating a tiny V shape at each junction. Continue in this manner, always splitting the previous stitch in half.
The split stitch takes a few tries to master because your needle needs to find the exact center of the previous stitch. Work slowly at first. The thread separates naturally if you bring the needle up at the right angle — about forty-five degrees to the fabric surface.
4. Stem Stitch
The stem stitch produces a twisted, rope-like line that is slightly thicker than backstitch or split stitch. It is the classic stitch for flower stems — hence the name — but it also works beautifully for any curved line where you want a flowing, organic look.
Bring the needle up and take a stitch forward about a quarter inch. Bring the needle up again halfway along the length of that stitch, but keep the thread below the needle as you pull it through.
Every stitch overlaps the previous one by half its length, and the thread always stays on the same side of the needle — below it if you are stitching upward, above it if you are stitching downward.
The consistent overlap gives stem stitch its characteristic twist. If you keep the thread above the needle instead of below it, you get a variant called outline stitch, which twists in the opposite direction. Both are useful, but stem stitch is far more common in traditional embroidery patterns.
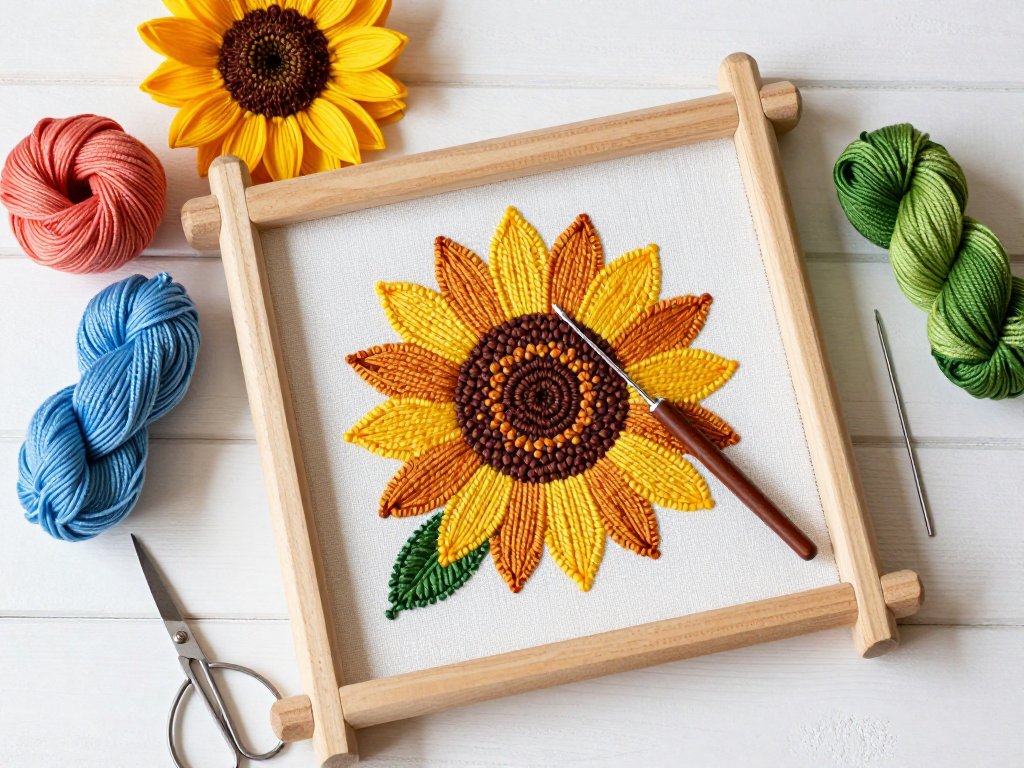
5. Satin Stitch
The satin stitch is used to fill shapes with solid color. It consists of parallel straight stitches placed so close together that the fabric surface is completely covered. The result looks like satin fabric — smooth, shiny, and even.
Draw the outline of your shape lightly on the fabric with a water-soluble pen or pencil.
Bring the needle up at one edge of the shape and push it down at the opposite edge.
The stitch should follow the contour of the shape rather than running straight across. For a leaf, the stitches radiate outward from the center vein.
For a circle, they follow the curve from one edge to the other.
The key to good satin stitch is keeping the tension even. If some stitches are tighter than others, the fabric will pucker and the surface will look uneven.
Keep each stitch at the same tension as the one before it, and do not pull the thread tight — just snug it against the fabric.
Satin stitch works best in shapes that are no wider than half an inch. For wider shapes, the long loose stitches on the back of the fabric can catch on things and pull out of place.
The historical solution, used in sixteenth-century Italian reticella embroidery, was to stitch a framework of parallel threads across the shape first and then weave the satin stitches over them — but that is a technique for another day.
6. Chain Stitch
The chain stitch forms a series of linked loops that resemble a crochet chain. It is one of the oldest embroidery stitches, appearing in Chinese embroideries from the Han Dynasty and in Peruvian textiles from the same period — a remarkable example of cultures on opposite sides of the world arriving at the same solution independently.
Bring the needle up at your starting point. Push it back down through the same hole, but do not pull the thread all the way through.
Leave a small loop on the surface. Bring the needle back up a short distance ahead — about a quarter inch — passing it through the loop as you pull the thread tight.
The loop catches and forms the first chain link. For the next link, push the needle back down through the same hole where it just came up, leave another loop, and come up again ahead.
The chain stitch creates a bold, decorative line that can be used for outlines, borders, and filling larger areas by stitching rows of chains side by side. Heavy chain stitch, worked with six strands of floss, produces a thick, padded effect that stands out from the fabric surface.
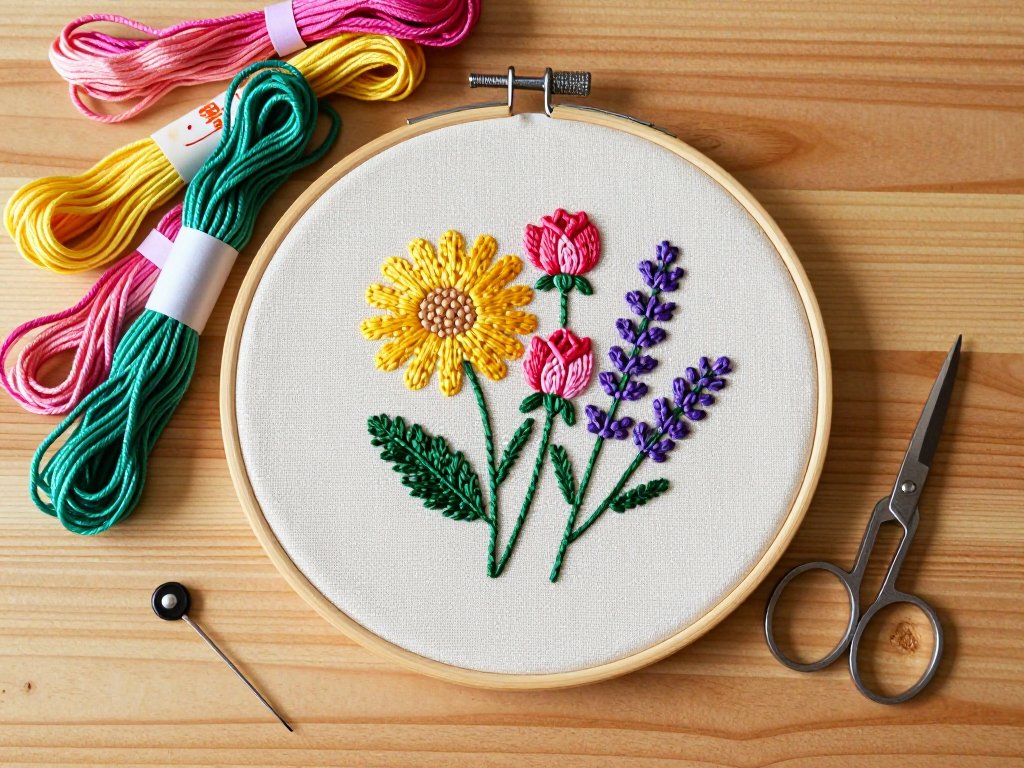
7. Lazy Daisy Stitch
The lazy daisy stitch is a detached chain stitch — a single loop secured at the end with a small straight stitch.
It is the stitch that gives flower petals their shape in countless embroidery patterns. A circle of lazy daisy stitches around a French knot center is the classic embroidered flower, instantly recognizable and endlessly adaptable.
Bring the needle up and push it back down through the same hole, leaving a loop.
Come back up about a quarter inch away — the tip of the petal — and pass the needle through the loop.
Pull gently until the loop forms a teardrop shape around the needle. Push the needle down on the other side of the loop, creating a small straight stitch that anchors the petal tip in place.
The size of the loop determines the length of the petal. A small loop gives a short, rounded petal. A larger loop gives a long, pointed petal. Practice making petals of different sizes and see how the shape changes.
8. French Knot
The French knot is the stitch that intimidates beginners more than any other, and the one that rewards patience more than skill. It is a single wrapped knot that sits on the fabric surface, used for flower centers, dots of texture, and any detail that needs a small raised element.
Bring the needle up at your desired point. Wrap the thread around the needle two or three times — two wraps produce a small knot, three wraps a larger one.
Hold the wrapped thread taut with your non-stitching hand and push the needle back down through the fabric very close to where it came up, ideally one or two fabric threads away.
Slide the wraps down the needle until they reach the fabric surface, then pull the needle through gently.
The wraps tighten into a neat knot on the surface.
The most common mistake is pulling the needle through before the wraps are snugged against the fabric, which turns the knot into a loose loop.
The second most common mistake is pushing the needle back down too far from the entry point, which also produces a loop rather than a knot.
Both problems are solved by keeping the entry and exit points as close together as possible.
Practice on scrap fabric before using French knots on a project, and remember that even experienced embroiderers unpick their share of lopsided knots.
9. Feather Stitch
The feather stitch creates a decorative line of open, branching loops that resembles the barbs of a feather. It was historically used in English countryside embroidery to decorate clothing and household linens — the irregular, organic pattern suited the handmade aesthetic of rustic embroidery.
Bring the needle up at the top of your line. Push it back down at a forty-five-degree angle to the line and come back up centered below the first stitch, passing the needle over the thread loop.
Pull gently to form a V-shaped loop. For the next stitch, angle the needle to the opposite side of the center line, push it down, and come back up centered below, again passing over the loop.
Alternate sides as you work down the line.
Feather stitch can be worked with short, tight branches for a dense look or long, open branches for a loose, airy effect. It is an excellent stitch for borders, seams, and any line where you want movement and texture.
10. Blanket Stitch
The blanket stitch was originally used — as its name suggests — to finish the raw edges of wool blankets.
It creates a row of evenly spaced loops along an edge, protecting the fabric from fraying while adding a decorative border.
It has since been adapted for appliqué, buttonholes, and surface embroidery.
Work from left to right along the edge of your fabric. Bring the needle up about an eighth of an inch from the edge.
Push it down a short distance to the right, about a quarter inch from the edge, and bring it back up directly below the entry point, on the fabric edge.
The thread passes under the needle point as you pull it through, creating a loop that extends over the edge.
Each stitch is anchored by the previous loop.
The depth of the stitch — the distance from the edge to the point where the needle goes down — determines the look.
Shallow blanket stitch (about an eighth of an inch deep) is appropriate for fine fabrics and delicate projects.
Deep blanket stitch (half an inch or more) creates a bold, chunky border that suits wool and heavy cotton.
Putting the Stitches Together: A Simple Sampler
The traditional way to learn embroidery — and the way that girl in 1830s France learned it — is to stitch a sampler.
A sampler is exactly what it sounds like: a piece of fabric containing samples of different stitches, arranged in rows or patterns, that serves as both a practice piece and a reference for future projects.
Take your practice fabric and draw ten horizontal lines across it, each about two inches long and spaced an inch apart.
Label each line with the name of the stitch. Then work your way through the ten stitches, one per line.
Do not worry about perfection. The goal is to develop muscle memory for each stitch and to notice which ones feel natural to you.
As you stitch, observe how each thread lies on the fabric. Does the split stitch feel more secure than the backstitch?
Does the chain stitch flow more smoothly than the stem stitch? These observations will guide you when you choose stitches for future projects.
Every embroiderer has favorite stitches and ones they avoid. Knowing which are which for you is the purpose of the sampler.
Save your finished sampler. It will become a cherished record of where you began, and it will surprise you with how far you have come when you compare it to your work six months from now.
Caring for Your Finished Embroidery
Once you have finished a piece, remove it from the hoop and gently hand wash it in cool water with a drop of mild soap if the fabric is soiled.
Do not wring or twist the fabric — the stitches can distort. Lay it flat on a clean towel, roll the towel gently to absorb excess water, then unroll and let it air dry completely.
Iron the piece face down on a padded surface while it is still slightly damp. The padding protects the stitches from being flattened by the iron. Use a medium heat setting and avoid pressing directly on raised stitches like French knots.
Store finished embroidery flat, rolled, or lightly folded with acid-free tissue paper between the layers. Avoid hanging embroidered pieces in direct sunlight, which fades the threads over time. Properly cared for, your embroidery can last for generations — the same way the samplers in museums have lasted for centuries.
A Final Word from Centuries of Stitchers
Embroidery connects us to a lineage that stretches back thousands of years. The running stitch you make today is essentially the same stitch a Scythian woman made in the fourth century BC.
The chain stitch you practice is the same one a Han Dynasty embroiderer used to decorate silk robes.
There is something deeply reassuring about that continuity — the knowledge that a simple needle and thread have been passing from hand to hand across the centuries, carrying patterns and stories and the quiet satisfaction of making something beautiful with your own hands.
Start with the running stitch. Make ten even stitches on your practice fabric. Then ten more.
Then try the backstitch. By the time you reach the blanket stitch, you will have built a vocabulary of technique that will serve you for every embroidery project you ever undertake.
The girl in the French museum started the same way. So did the embroiderers of Opus Anglicanum.
So can you.