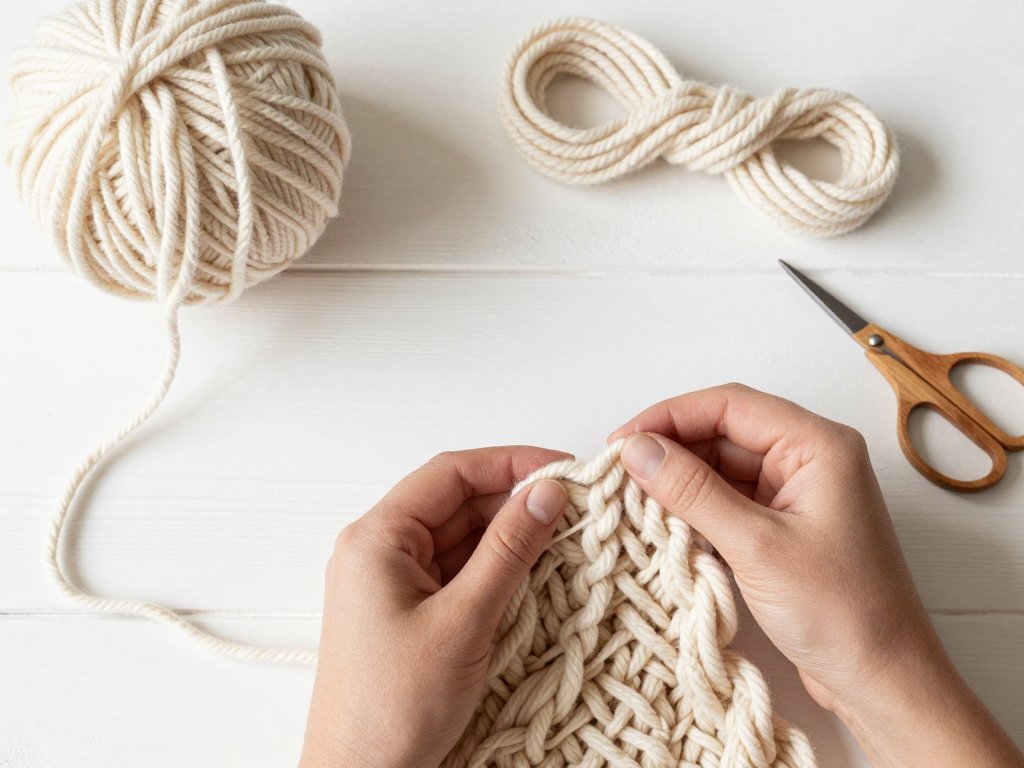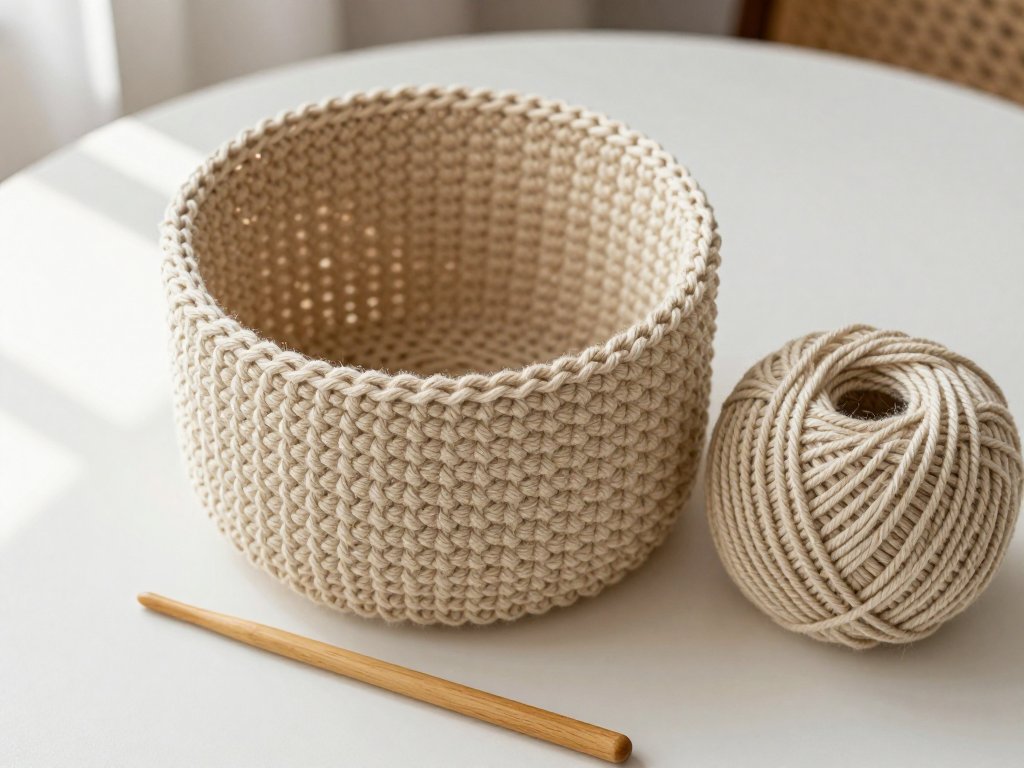
Introduction
There is a moment every fan knows. The gates open, the crowd surges forward, and somewhere in that river of jerseys you spot a sea of hand-knit scarves in club colors, bobbing with every step.
That tradition is older than you might think. Knitted scarves have been part of match day for generations, passed down and passed around. Supporters still raise their scarves high before kickoff — a wall of color and memory.
Your team's colors are more than decoration. They are identity, worn on sleeves and scarves and hats. When you knit those colors yourself, the meaning deepens. Every stitch carries your loyalty.
Handmade fan gear feels special because it is personal. A machine-made scarf keeps you warm. A handmade one tells a story: the evenings you spent on it, the game you wore it to, the friend who cheered beside you.
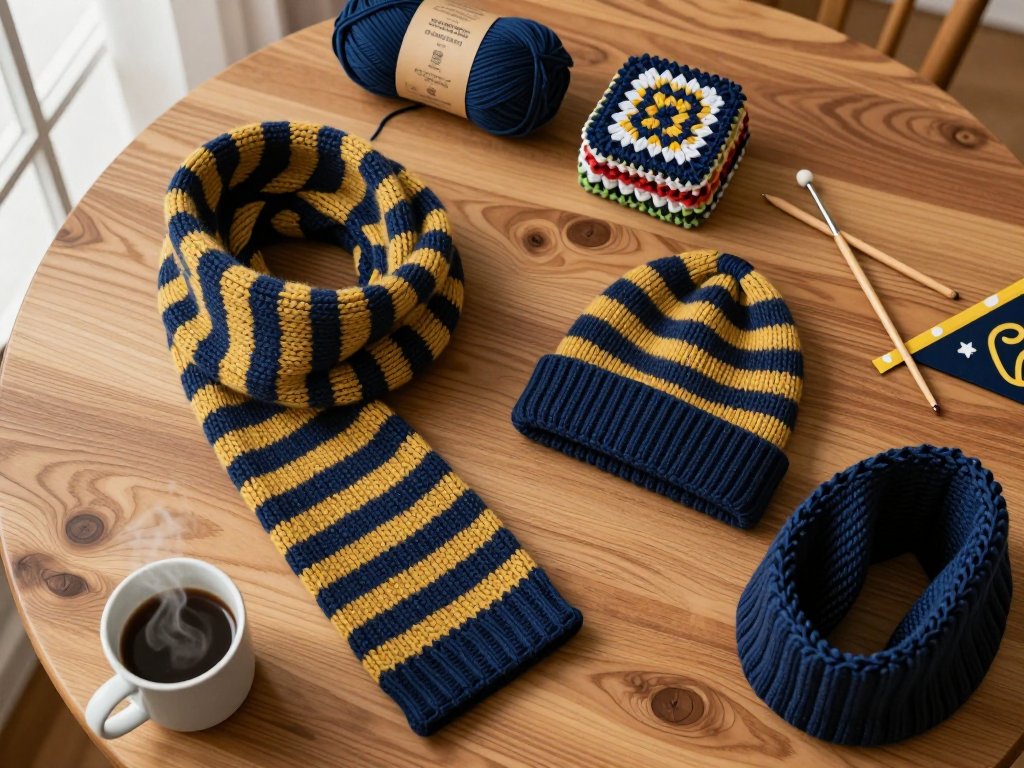
Here you will find six projects for knitters and crocheters of every level. A striped scarf for beginners, a quick beanie, a cozy cowl, a granny square blanket, fingerless mitts, and a corner-to-corner graphghan for the ambitious. All in team colors.
Grab your yarn. Pick your colors. Let us make something worth cheering for.
Choosing Yarn in Team Colors
Before you cast on, choose your yarn with care. For fan gear, worsted-weight acrylic is the champion. It is washable, durable, and affordable — everything a game-day piece needs.
Game days are messy. Coffee spills, rain falls, and nacho cheese finds its way onto everything. Acrylic shrugs it all off and comes out of the machine looking bright.
Worsted weight also works up quickly. It is the middle ground of yarn weights, easy to see and hold — perfect for beginners and last-minute gifts before the big game.
Now, the colors. Most teams publish official color guides, often with Pantone numbers. A quick search for your club's official colors points you to the exact shades used on the kit.
If exact shades are hard to find, do not panic. Hold two or three yarns together in daylight and squint. The right color is the one that instantly reads as "our team" to you.
Stripes or solid? Both work beautifully. Stripes echo the classic supporter scarf and let two colors balance each other. Solids feel bolder and make a single color the hero of the piece.
One matching tip: buy all your yarn at once, from the same dye lot. Batches vary slightly, and a half-shade difference shows up fast in stripes.
Finally, check the yarn label for care symbols before you buy. Look for "machine washable" on the band. Your future self, scrubbing salsa off a scarf, will thank you.
Project 1: Striped Knit Scarf
Every fan's wardrobe starts with the scarf. It is the first thing you reach for on game day and the easiest thing to knit. If you have never knitted before, this is the project to begin with.
Garter stitch is the foundation. You knit every row, back and forth, and the fabric grows into soft, ridged stripes of bumps. There is no purling, no shaping, no fuss.
For this scarf you need worsted-weight acrylic in two team colors, a pair of US 8 (5mm) knitting needles, scissors, and a tapestry needle for weaving in ends.
Cast on 40 stitches loosely. Then knit every row until the scarf measures about 60 inches — long enough to wrap twice around your neck with room to spare.
For stripes, work 6 rows in your first color, then 6 rows in your second color. Repeat until the scarf reaches its length. End with a stripe that matches the one you began with.
Changing colors in garter stitch is simple. At the end of a row, drop the old yarn and pick up the new one, leaving a 6-inch tail. Knit on; the change hides neatly at the edge.
When the scarf is long enough, bind off loosely and weave in the ends with your tapestry needle. Give it a gentle tug at each color change so the edge stays straight.
That is it. A classic supporter scarf, made by your own hands. Wear it to the next match and watch how many people ask where you bought it.
Vary the stripe rhythm — two rows of each color for a tight candy stripe, ten rows for a bold one. There is no wrong answer, only your team's colors.
Project 2: Crochet Beanie
Scarves keep your neck warm, but heads get cold too. A crocheted beanie in team colors is quick, satisfying, and fits in a coat pocket until kickoff.
This beanie is worked in the round, starting at the crown and growing outward before working straight down. You need one stitch: single crochet, or half double crochet if you want it faster.
Gather worsted-weight acrylic in your main team color, a 5mm crochet hook, a stitch marker, scissors, and a tapestry needle. Optional: a contrast color for a stripe or pom-pom.
Start with a magic ring. Chain one, then work 8 single crochet into the ring and pull it closed. This becomes the crown of your beanie.
Round 2: work 2 single crochet into every stitch around — 16 stitches. Round 3: work 2 into the first stitch, 1 into the next, all the way around — 24 stitches.
Keep increasing in this pattern: one extra plain stitch between increases each round. When the circle measures about 6 inches across, your crown is done.
Now work even, one single crochet in every stitch, until the beanie measures about 8 inches from the crown. For a folded brim, add 2 more inches.
To finish, slip stitch into the next stitch, cut the yarn leaving a long tail, and pull it through. Weave in the end, fold up the brim, and you are ready for game day.
Test the fit as you go. Crochet is forgiving — add a round of increases if it runs small, decreases if it is loose.
Add your team's secondary color as a single stripe: switch yarns for 2 rounds, then switch back. A small touch with a big fan effect.
Project 3: Knit Cowl
Some game days are biting cold. A scarf is good, but a cowl is better — it stays put, seals out the wind, and never comes untucked. Think of it as a circle scarf knit in the round.
Worked on circular needles, there is no seaming at the end. You knit one continuous tube and bind off. That is the whole job.
You need worsted-weight acrylic in your main color, a 16-inch circular needle in US 8 (5mm), a stitch marker, and a tapestry needle.
Cast on 100 stitches and join in the round, being careful not to twist. Place a marker to show the start of the round.
Work k2, p2 ribbing for the whole cowl. Ribbing is stretchy and snug against the neck, which is exactly what you want when the wind picks up.
Knit until the cowl measures about 10 inches. Bind off loosely — if your bind-off is tight, go up a needle size just for that row.
Weave in the ends, and you have a windproof circle of team pride. Pull it up over your chin on the coldest nights, or let it sit high like a collar.
Prefer stripes? Knit 4 rounds in your main color and 4 in the secondary color. The ribbing hides the joins so the stripe looks painted on.
If circular needles feel intimidating, knit a flat rectangle in ribbing and sew the short ends together. Same cowl, different road.
Project 4: Granny Square Blanket
For the superfan who wants to wrap themselves in team spirit, nothing beats a granny square blanket — the classic crochet project, squares joined into a story.
Each square is small enough to finish in an evening. Make one in the car on the way to away games, one at halftime. Before you know it, you have a blanket.
You need worsted-weight acrylic in your two team colors, a 5mm hook, scissors, and a tapestry needle. Twelve squares in a three-by-four layout make a generous lap throw.
The classic granny square begins with a magic ring or a chain-4 circle. Work 3 double crochet into the ring, chain 2, and repeat three more times to form the first round.
Each corner is a cluster of 3 double crochet, a chain 2, and another 3 double crochet. Each side is a cluster worked into the space between the previous round's clusters.
Continue for 4 rounds: 2 in the first color, 2 in the second. Chain 2 at every corner, chain 1 along the sides. Your square should measure about 8 inches.
Make 12 squares, mixing the color order so the blanket feels balanced. Lay them out before joining and arrange until the pattern pleases you.
Join with slip stitches through both loops of matching edges, working from the wrong side. Or whip stitch with a tapestry needle; both methods are tidy and simple.
Finish with a border: single crochet around the whole blanket, working 3 stitches into each corner. Then a final round of single crochet in your second color.
A granny square blanket takes time and patience, but that is part of its magic. Every square is a memory, and every memory is in team colors.
Project 5: Fingerless Mitts
Tailgating has one golden rule: your hands must be free. Free for the hot dog, the handshake, the high-five, the photo of the scoreboard. Fingerless mitts keep you warm without tying you down.
This is the perfect weekend project — small, fast, nearly instant gratification. You can make a pair in a single evening.
For the knit version, you need worsted-weight acrylic, US 8 (5mm) needles, and a tapestry needle. Cast on 32 stitches and work k1, p1 ribbing for 2 inches for the cuff.
Then switch to stockinette stitch — knit one row, purl one row — and work until the mitt measures 5 inches total. This is where the thumb goes.
For the thumb hole, bind off 4 stitches in the middle of a row, then cast on 4 over the gap on the next row. Continue in stockinette for 2 more inches, then rib and bind off.
Sew the side seam, leaving the thumb hole open. Repeat for the second mitt, and you are done. Two seams, one evening, zero cold fingers.
Crocheters, your version is even simpler. Chain 30, join in the round, and work single crochet in a spiral until the tube measures 5 inches.
For the thumb hole, chain 4, skip 4 stitches, and continue around. On the next round, work into those chain stitches as if nothing happened.
Finish with a couple of rounds of single crochet at the top edge, weave in ends, and repeat. Ribbed cuffs are optional — a plain edge looks sporty too.
Make them in one team color with the thumb-hole row in the second color. Every time you raise your hand to cheer, your colors go up with it.
Project 6: Corner-to-Corner Graphghan
Ready for a challenge? Corner-to-corner crochet, or c2c, builds a blanket on the diagonal, one block at a time. It is how you make a graphghan — a blanket with a picture or monogram worked right into the fabric.
C2c sounds fancy, but each unit is just a square of 3 double crochet. You work rows of these squares from corner to corner, reading a grid as you go.
Start with worsted-weight acrylic in your background color, a 5mm hook, and a second color for the motif. Print a grid — graph paper works — and sketch your team's initial in the middle.
Row 1: chain 6, work 3 double crochet into the fourth chain from the hook. That is your first block, in the bottom corner.
Row 2: chain 6, make a block, then slip stitch to join it to the first block. Chain 3, and make a second block. You now have two blocks in row 2.
Keep increasing this way, one block per row, until the diagonal reaches the width you want. Then work straight rows, adding a block on one side and dropping one on the other.
When the blanket is wide enough, decrease on both sides until you reach the opposite corner. The finished piece is a perfect square or rectangle, made entirely on the diagonal.
Color changes are the heart of a graphghan. When the grid says a block is your motif color, complete the last double crochet of the previous block with the new color.
Carry the unused color loosely along the back, or cut and rejoin for each section. Weave in every end as you go — doing it all at the end is a punishment.
Keep your first graphghan simple: a single letter, a ball, a star. It is a project of patience, but the moment you hold it up and see your team's mark, you will understand why people make these for life.
Colorwork, Gauge, and Care
By now you have the projects. Let us talk about the skills that make them shine: colorwork, gauge, and small habits that make a good piece great.
Stripes are the easiest colorwork. Change colors at the end of a row or round and you are done. Intarsia is next — separate balls of yarn for separate areas, twisted together where colors meet.
Stranded colorwork carries both yarns across the back of the work. It makes dense, warm fabric, perfect for mittens and hats, but it takes practice to keep the floats loose.
Whatever method you choose, weave in ends as you finish each section. A few minutes of weaving now saves an hour of dread later, and your edges stay clean.
Gauge is the quiet hero of knitting. It is the number of stitches and rows per inch, and it decides whether your beanie fits or your scarf wraps. Always make a swatch first.
Knit or crochet a 4-inch square in your yarn and pattern, then measure. If you have more stitches than the pattern says, go up a hook or needle size. Fewer? Go down. It is that simple.
Reading a pattern is like learning a new alphabet. Abbreviations look strange at first — k2tog, ch, dc — but every pattern explains them. Keep a list nearby and go one line at a time.
For neat edges, slip the first stitch of every row on knit pieces. For consistent tension, relax your shoulders and let the yarn flow evenly. Speed comes later.
Caring for acrylic is wonderfully easy. Machine wash cold on a gentle cycle and lay the piece flat to dry. Skip the dryer and the iron — heat is acrylic's only enemy.
Handmade fan gear makes the best gifts. Knit a scarf for your partner, a beanie for your kid, mitts for your best friend at the tailgate. Nothing store-bought says "I made this in our colors."
Once the scarf is done, the beanie finished, the blanket draped over the couch, you will understand the pull of this tradition. It is not just about warmth. It is about belonging.
So here is your next project: make one piece for someone who cannot make it to the game. A faraway fan, a new supporter, a grandparent who taught you the club's songs. Stitch them into the story.
Your team's colors have carried fans through wins and losses for generations. Now they carry your stitches too. See you at the match — look for the handmade scarves.