Introduction
I still remember the first patch I tried to make. It was a simple star shape I wanted to sew onto my daughter's backpack — a little personal touch that would make her feel special on the first day of school. I grabbed some felt from a bargain bin, doodled a star in permanent marker, and hand-stitched around it with whatever thread I had lying around. I skipped the fusible webbing because I didn't know what it was. I cut the patch out with kitchen scissors. And then I ironed it onto her backpack with a setting I guessed at.
Three days later, the star was gone. A sad tuft of frayed felt and a faint heat mark on the backpack was all that remained.
If that sounds familiar — if you've tried making iron-on patches only to watch them peel, fray, or wrinkle into a mess — this article is for you. I've made every mistake in the book so you don't have to. What I learned is that making professional-quality iron-on patches at home is not complicated. It just requires knowing the right materials, the right order of operations, and a few tricks that cost nearly nothing.
Whether you want to personalize a denim jacket, add flair to a tote bag, or create handmade gifts for friends, the techniques below will take you from frustrated beginner to confident patch maker in a single weekend.
What You Actually Need (Not What the Hobby Store Tells You)
Here is the thing: the craft store aisle for patch-making is overpriced and confusing. Most kits include materials that actively work against a durable patch. Let me save you the trial and error.
Base Fabric
Best choice: Cotton twill, medium-weight denim, or a tight-weave felt (avoid cheap acrylic felt — it pills and frays). The fabric needs to be dense enough that embroidery stitches hold firmly but not so thick that your needle struggles.
I recommend starting with cotton twill from an old pair of khakis or a shirt from the thrift store. It costs pennies, it pre-washes easily, and it holds embroidery thread beautifully. You do not need specialty fabric.
Stabilizer (Do Not Skip This)
A tear-away stabilizer goes behind your fabric while you embroider. It prevents the fabric from puckering and distorting as you stitch. Without it, your design will warp, especially on the edges. A roll of medium-weight tear-away costs about five dollars and lasts for dozens of patches.
Fusible Webbing
This is the iron-on adhesive that turns your embroidery into a patch. HeatnBond UltraHold (Pellon 541) or Wonder-Under are the gold standards. They are paper-backed, double-sided adhesive sheets. The critical detail: you apply the webbing AFTER you finish embroidering but BEFORE you cut the patch shape. If you cut the patch first, the edges will fray immediately when you handle them.
Thread
Polyester embroidery thread (40-weight) is your safest bet. Brands like Madeira, Gutermann, and DMC all work well. Polyester is strong, resists fading, and handles the heat of ironing without melting. Avoid cheap cotton thread — it breaks more easily and the colors fade after a few washes.
Thread cost per patch is roughly a dollar or less, depending on the size of the design. That is a fraction of what you would pay for a premade patch on Etsy.
Tools
- Sharp embroidery scissors or small rotary cutter
- Water-soluble fabric pen or chalk pencil for tracing designs
- Pressing cloth (a clean cotton dish towel works perfectly)
- Iron (medium-high heat, no steam)
- Embroidery hoop (for hand stitching) or an embroidery machine
Everything on this list costs under twenty dollars to start, and most items you probably already own.
The Right Order of Operations (This Matters More Than You Think)
The single biggest mistake beginners make is cutting the patch shape before fusing the webbing. I learned this the hard way. When you cut fabric first, the edges begin to fray the moment you handle them. By the time you iron the webbing on, you have a ragged mess.
Here is the correct sequence:
- Cut your base fabric generously. Roughly two inches larger than your final patch on all sides. You will trim later.
- Hoop the fabric with stabilizer. Place the tear-away stabilizer behind the fabric, pull taut in the hoop.
- Transfer your design. Use a water-soluble pen or chalk pencil to trace the design onto the fabric. Keep it bold and simple — fine lines and tiny text are frustrating on a first attempt.
- Embroider the design. Use a satin stitch (tight zigzag) for outlines and borders. Use a fill stitch for larger areas. The border stitch needs to be dense — short stitch length, wide enough to cover the edge you will later cut close to.
- Remove fabric from hoop, tear away the stabilizer. Be gentle so the stitches stay intact.
- Apply fusible webbing to the back. Cut a piece slightly larger than the embroidered area. Place the paper side up, adhesive side against the back of the fabric. Iron at medium heat (follow the webbing's instructions — usually 5–10 seconds) with firm pressure. Let it cool.
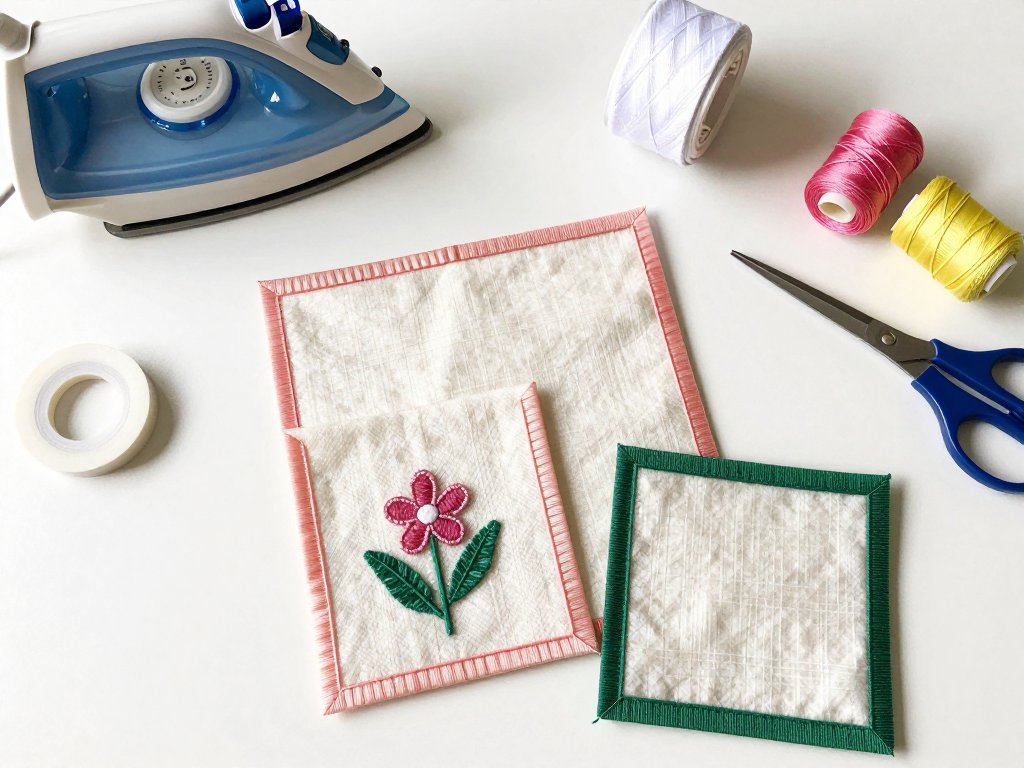
- Cut the patch shape. Now, with the webbing fused to the back, cut just outside your border stitches — leave roughly 1–2 millimeters of fabric visible. The fusible webbing locks the fabric layers together and prevents fraying.
- Prep the garment. Pre-wash the jacket, backpack, or bag without fabric softener. Softener residue prevents the adhesive from bonding.
- Iron the patch onto the garment. Place the patch where you want it. Cover with a pressing cloth. Iron at medium-high heat, no steam, with firm pressure for 20–30 seconds. Flip the garment and iron from the back side if the fabric allows.
- Let it cool completely before handling or wearing.
That is the entire process. It takes about an hour for a simple patch, and most of that time is the embroidering.
Design Tips for Patches That Actually Look Good
Patch design is different from regular embroidery because the finished piece needs to read quickly and hold up to wear. Here are the rules I follow:
- Keep it bold. Large simple shapes work better than intricate details. A thick outline around the main shape gives the patch structure and makes the design pop from a distance.
- Limit your colors. Two to four thread colors is plenty for a first patch. More colors mean more thread changes and more places where the design can get muddy.
- Leave a border. The satin-stitch border around the entire patch is what prevents fraying. Make it at least one-quarter inch wide. A narrow border will not hold up through washing.
- Avoid tiny text. Letters smaller than about a quarter-inch high will be hard to stitch and harder to read once the patch is on a textured fabric like denim.
- Start with a geometric shape. Circles, squares, and shields are forgiving for beginners. Organic shapes with tight curves are easier to mess up on the first try.
Common Beginner Mistakes (I Made All of These)
Edges Fray After Ironing
This happens when you cut too close to the border stitch or when the satin stitch is not dense enough. The fix: use a shorter stitch length on your border satin stitch and leave a tiny fabric margin. You can also apply a product called Fray Check along the cut edge — it is a clear liquid that seals fabric edges. It costs about four dollars and lasts forever.
Patch Peels Off After a Few Days
Two likely causes. First, the garment had fabric softener residue — always pre-wash without softener. Second, the iron temperature was too low. Fusible webbing needs medium-high heat to melt properly. If you are unsure, test on a scrap piece of fabric first. Using a pressing cloth and applying firm, steady pressure for the full 20–30 seconds makes a dramatic difference.
Design Looks Puckered or Warped
You skipped the stabilizer, or the fabric was not pulled tight enough in the hoop. Tear-away stabilizer is cheap enough that there is no reason to skip it. For larger patches, a cut-away stabilizer gives even more support.
Thread Keeps Breaking
Your needle is probably dull or the wrong type for the fabric. Use a fresh 75/11 or 90/14 embroidery needle. Change needles every four to six hours of stitching time. A dull needle damages the thread and the fabric.
How to Save Money Making Your Own Patches
Let me be direct about the cost comparison. A single custom embroidered patch on Etsy runs anywhere from six to fifteen dollars depending on size and complexity. If you want a set of four matching patches for a jacket or a uniform, you are looking at thirty to fifty dollars.
Making them at home, your per-patch cost breaks down like this:
- Fabric: essentially free if you repurpose old clothes, or about fifty cents for a quarter-yard of new cotton twill
- Thread: roughly one dollar per patch
- Fusible webbing: about fifty cents per patch
- Stabilizer: about twenty cents per patch
Total per patch: roughly two to three dollars, and that cost drops significantly as you buy supplies in bulk. A roll of HeatnBond that costs nine dollars will make twenty to thirty patches. A spool of polyester thread that costs four dollars will last through at least a dozen patches.
If you make four patches for a jacket, you save twenty to thirty dollars compared to buying them. And yours will be completely custom — exactly the colors and design you want, not what someone else chose.
That is the kind of math that matters when you are crafting for a family or selling your work at a local market.
Bringing It All Together
The first time you successfully iron a homemade patch onto a jacket and it stays put through a week of wear and a trip through the wash — that feeling is worth the learning curve. My daughter's star patch did not make it, but the heart-shaped patch I made her a week later is still on her backpack two years later, faded but intact. She points to it sometimes and says, "You made that for me."
That is what makes this craft worth learning. It is not about saving a few dollars on patches. It is about being able to add something personal and permanent to the things you and your family use every day.
Start small — a simple shape on a piece of scrap fabric. Follow the order of operations above. And if your first patch does not survive the wash? That is just data for the next one. You will get it right.
