Introduction
My first leather pouch cost me about fifteen dollars in materials and a whole Saturday afternoon. It went in the bin before dinner.
I had ordered a mixed bag of cheap leather scraps online because it was the least expensive way in. The pieces were thin, soft, and stretchy in a way I did not yet understand.
I marked my seam by eye, about two millimetres from the edge, and pushed an awl through. The holes wandered. Some sat almost on the cut line.
Then I threaded a plain needle with craft thread from a drawer, and I pulled hard. Hard felt like tight. Tight felt like quality.
Halfway up the second side, the leather between two holes split. I kept going, because stopping meant admitting something. The whole seam tore out in a strip, like paper from a spiral notebook.
What I had made was not a pouch. It was a lesson with a fifteen-dollar tuition fee.
The annoying part is that none of it was a skill problem. I had the wrong three numbers, and nobody had told me what they were. Four millimetres from the edge. Three to four millimetres between holes. Thread four times the length of the seam.
Get those right and a saddle stitch is genuinely hard to mess up. Get them wrong and no amount of patience saves you.
So here is the whole thing, start to finish, in the order I wish someone had handed it to me.
What Saddle Stitching Actually Is
A saddle stitch uses one length of thread with a needle on each end. You pass one needle through a hole, then the other needle through the same hole from the opposite side.
That is it. That is the entire trick, and it is also the part beginners get wrong most often.
Because the two threads cross inside every hole, each stitch locks against the one before it. Cut a thread in the middle of the seam and the rest of the seam does not unravel.
A machine stitch, by contrast, is usually a lockstitch. One thread loops around another from underneath, and a broken thread can run. On a bag that gets shoved into a glovebox, that difference matters.
Lacing is the other common shortcut, and it looks charming. But lacing passes over the edge rather than through the leather, so it wears first wherever the pouch rubs.
There is a repair argument too. A saddle stitch can be repaired stitch by stitch, by hand, with the same two needles. You undo four stitches, splice in new thread, and carry on.
Try that with a machine seam on thin leather and you will usually make it worse.
The other thing a saddle stitch gives you is control. You feel the tension in your fingers, one stitch at a time. A machine decides for you, all at once, at speed.
What You Actually Need
You do not need a workshop. You need a flat surface, decent light, and about an hour of quiet.
The leather. One offcut of vegetable-tanned leather, roughly 1.2 to 1.6 mm thick. That is about 3 to 4 oz in the old system. Veg-tan is firm, it holds a crease, and it burnishes.
Chrome-tanned leather, the soft upholstery sort, stretches and will not burnish. It is also what I bought on my first attempt. Learn from my bin.
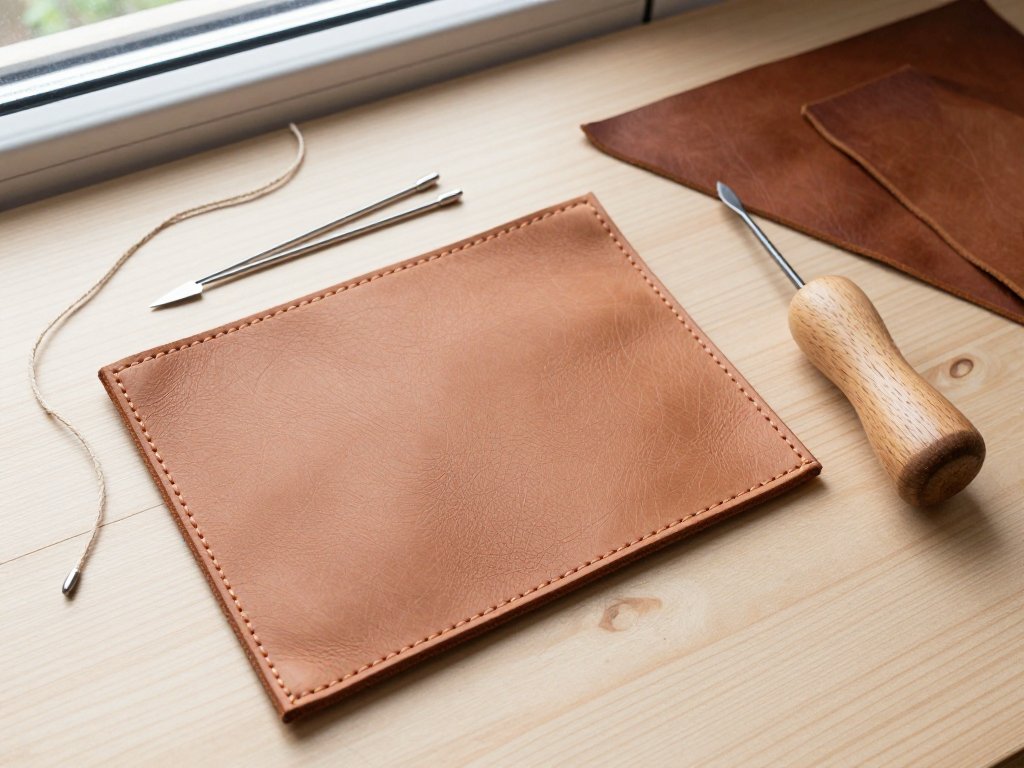
The needles. Two blunt harness needles. Blunt matters — sharp needles catch the thread inside the hole and slice it. Size 0 or 00 suits most pouch work.
The thread. Waxed linen or waxed polyester, about 0.6 to 0.8 mm. The wax is not decoration. It reduces friction, holds the twist, and stops the thread fraying as it drags through the hole.
If you only have unwaxed thread, run it over a block of beeswax a few times. It takes ten seconds and changes the whole experience.
The hole maker. A four-prong stitching chisel is the tool that makes this pleasant. You set it, tap it, and get four evenly spaced holes in one go.
The cheaper alternative is a scratch awl, which is one hole at a time. It works. It is slower, and keeping the spacing even takes more care.
If you go the awl route, mark every hole position with a ruler first. Do not trust your eye. Mine lied consistently.
The rest. A cutting mat, a utility knife with a fresh blade, a mallet, a steel ruler, and something to hold the work.
For holding, a small stitching pony is lovely. A bulldog clip and the edge of a table is nearly as good. I used the clip for two years before I bought the pony.
Finally, beeswax or an edge burnisher. A piece of denim and a wooden spoon handle will do the same job if you would rather not buy one yet.
- Vegetable-tanned offcut, 1.2–1.6 mm thick
- Two blunt harness needles, size 0 or 00
- Waxed linen or polyester thread, 0.6–0.8 mm
- Four-prong stitching chisel, or a scratch awl
- Cutting mat, utility knife, steel ruler
- Mallet, bulldog clip or stitching pony
- Beeswax and an edge burnisher
The Thread Math
This is the part I now check before I cut anything, and it is the part that saved me the most waste.
Thread length should be about four times the length of your seam. Two times for the two needles travelling the seam, and roughly two times again for what gets eaten inside the holes plus a working tail.
Take a pouch with two side seams of six inches each. That is twelve inches of seam. You need about forty-eight inches of thread, or four feet.
Cut it generously. Fifty inches is better than forty-eight, because the last three stitches are where the trouble lives.
Running short mid-seam is the most common beginner disaster, and it is a stupid one. You are eight stitches from the end, the thread is six inches long, and you have three bad options.
You can unpick the whole seam and start again. You can tie a knot in the middle of the seam, which is a hard lump that will wear through the thread beside it. Or you can splice, which takes longer than cutting fresh thread did.
All three cost more than the thread you were trying to save. A spool of waxed linen runs about eight to twelve dollars and holds enough for a dozen pouches. The thread in one pouch is worth pennies.
So the waste is not the money. The waste is the twenty minutes you spend unpicking, and the slight crookedness that stays in the leather where the stressed stitches sat.
A quick way to check yourself: hold the thread across the seam, fold it back on itself twice, and cut there. Then add a hand-span. That is your four times, with the margin already built in.
Hole Spacing and Edge Distance
Two numbers, and both of them are about how much leather sits between the hole and the cut edge.
Space your holes three to four millimetres apart. Closer than that and the leather between holes turns into a row of thin bridges that tear under tension.
Keep every hole at least four millimetres from the edge. Five is safer on soft leather. Six looks generous but holds beautifully.
Here is the mechanism. Each stitch pulls against the leather in front of it. That pull concentrates on the narrowest strip of material, which is the strip between the hole and the edge.
Crowd the hole and you have effectively cut the leather into a perforated tear strip, the same way a stamp is perforated so it tears neatly.
My first pouch had holes at two millimetres. The pull had almost no material to resist it, so the seam unzipped along the perforation.
There is a second reason for the four-millimetre rule. A hole punched too close to the edge can break through when the leather is damp or when your chisel is slightly angled.
You will not notice until you pull the first stitch and the edge lifts. Then the piece is scrap, or it becomes a slightly smaller piece.
If you are unsure, mark your line five millimetres in with a ruler and a fine pen, on the flesh side. Follow the line. Do not follow the vibe.
Sewing the Saddle Stitch, Step by Step
Work on the two panels before you sew anything together. Everything below assumes the holes already exist on both pieces.
- Mark the seam. Draw a line four to five millimetres in from the cut edge, on the side that will face in. Use a ruler.
- Chisel the holes. Set the four-prong chisel on the line, hold it vertical, and tap it with the mallet. Lift, place one prong in the last hole, and repeat. That one shared prong is what keeps the spacing even.
- Punch both panels. Do the front and the back at the same time, in the same session, with the same chisel. Holes punched later rarely line up.
- Thread both ends. Cut one length at four times the seam. Put a needle on each end. Do not cut two threads — one thread, two needles.
- Start with a backstitch. Go through the first hole with needle A, then back through the second hole, then forward again through the second. Two stitches over each other lock the start.
- Push needle A through the next hole from the front face, and let it sit. Do not pull tight yet.
- Push needle B through the same hole from the back face. Same hole. Opposite side. This is the whole stitch.
- Cross and pull. Bring both needles to the same side, cross the threads, and pull evenly until the stitch sits flat and snug in the leather.
- Repeat. Every hole gets the same treatment: A through, B through the same hole from the other side, cross, pull. Each stitch locks the one before.
That step 7 is the single most common mistake, and it deserves its own paragraph. If needle B goes through the next hole along instead of the same hole, you get a running stitch.
A running stitch holds, for a while. It has no lock. One broken thread and the seam opens up like a laced shoe.
You will feel the difference immediately once you get it right. The stitch seats with a small, satisfying click of resistance, and the seam looks like two rows of thread rather than one.
At the end, backstitch the last two holes the same way you started, then take the thread between the layers and trim it flush. No knot on the surface.
Tension: The Part Nobody Warns You About
Every stitch should be pulled with the same steady pressure. Not hard. Steady.
Yanking does three things, none of them good. It stretches the hole into an oval, it pulls the stitch down below the surface, and it makes the seam pucker between holes.
The pucker is permanent. Leather does not spring back the way fabric does, so a seam pulled unevenly stays unevenly.
Pull along the line of the seam rather than away from the leather. You are seating the thread in the hole, not fighting the material.
Every few stitches, hold the work up and look down the seam. You will see the tight ones and the loose ones immediately. Ease the next two or three stitches to match the loose end.
A stitching pony helps more than any technique tip here, because it frees both hands to pull evenly. A bulldog clip on a table edge gets you most of the way there.
And if the leather starts to look bruised around the holes, you are pulling too hard. Back off. The seam will still be strong.
Cutting and Finishing the Pouch
For a pouch that holds a phone and a few cards, cut two rectangles from your offcut.
The front panel: about 4 inches wide by 6.5 inches tall, or 10 by 16.5 centimetres.
The back panel: the same 4 inches wide, but about 9.5 inches tall, or 24 centimetres, so the extra length folds over as the flap.
Lay the front panel on the back panel, align the bottom edges, and check the flap covers about a third of the front. Trim the flap corners round if you like a softer look.
Skive the fold line before you bend it. Skiving means thinning the leather on the inside of the fold with shallow knife passes, so the fold sits flat instead of bulging.
Go slowly and take thin passes. A skived fold that is too thin will crack; a fold that is not skived at all will look like a hinge.
Then mark and punch both side seams through both layers at once, so the holes align by construction rather than by hope.
Sew up one side, backstitching at both ends. Sew the other side the same way, working in the same direction so the stitch slant matches.
For the edges, dampen them slightly with a fingertip and rub with beeswax, then burnish with the burnisher, a denim scrap, or a wooden handle. Friction and a little heat slick the fibres down.
Two minutes per edge. It is the difference between homemade and handmade, and it costs nothing.
When It Goes Wrong
The thread tangles and twists
Almost always the thread is too long. Four times the seam is the rule, not four times the seam plus a generous arm's length.
Wax helps, and so does letting the needle hang free every dozen stitches so the twist can unwind. Polyester has more memory than linen and twists sooner.
The stitch line wanders
Either the chisel was not vertical, or the spacing drifted between strikes. Go back to the shared-prong method: one prong always sits in the previous hole.
On a curve, use a two-prong chisel and smaller steps. A four-prong chisel fights a tight radius.
The holes do not line up
They were punched separately, or the panels shifted between punches. This cannot be fixed after the fact. Punch through both layers at once, with the panels clipped together.
If you have already punched, you can sometimes enlarge one set of holes slightly and accept a slightly larger stitch. It is a patch, not a repair.
The leather stretched
Thin leather plus hard pulling equals a stretched panel, usually around the holes. Dampen the panel slightly, press it flat, and let it dry under a weight.
Next time, use leather a little thicker, and pull less. A stretched pouch will always be a stretched pouch, but it will still hold cards.
You ran out of thread mid-seam
Do not tie a knot in the middle. Backstitch over the last two holes, run the tail between the layers, and trim it. Then start the new thread by backstitching over those same two holes from the other direction.
It adds a small thickening you will notice and nobody else will. It is far stronger than a knot, and it does not wear a hole in its neighbour.
What It Costs, and Why Three Is the Number
Here is the budget version, in approximate numbers, because prices move.
A four-prong chisel is about fifteen to twenty-five dollars. A pack of harness needles is a few dollars. A spool of waxed thread is about eight to twelve and lasts a dozen projects.
A mallet is around ten. A cutting mat and a utility knife you may already own. The leather offcut is the wild card — a pound of veg-tan scraps is often ten to twenty dollars and yields several small projects.
Call it sixty to eighty dollars to be properly set up, less if you already have a mat and a knife, and less again if you start with an awl instead of a chisel.
A comparable small leather pouch in a shop is often thirty to fifty dollars. So the first pouch is not cheaper. It is tuition.
The second one is where the maths turns. By then the tools are paid for, and each pouch is a few dollars of leather and thread plus an evening.
The third one is where it gets interesting, because a single offcut usually yields three panels sets. Three pouches, one material cost, one learning curve.
Three is also the right number for gifts. One for you, one for a friend, one for the person who will ask where you got it.
And it takes less time than you think. My first pouch took most of an afternoon. My fourth took under an hour, including the burnishing.
The Second Pouch Is the One You Keep
Your first pouch will have one seam slightly tighter than the other. The flap will sit a little off-centre. You will be the only person who notices, and you will notice every time.
That is fine. The first one is practice. It is the one that teaches your hands the tension, the angle of the chisel, and how hard to pull.
The second one is the one you keep. By then your hands know the rhythm, and the seam comes out even without you thinking about it.
Keep the first one anyway. Put it in a drawer. In a year it will be the most useful thing you own for remembering how far you have come.
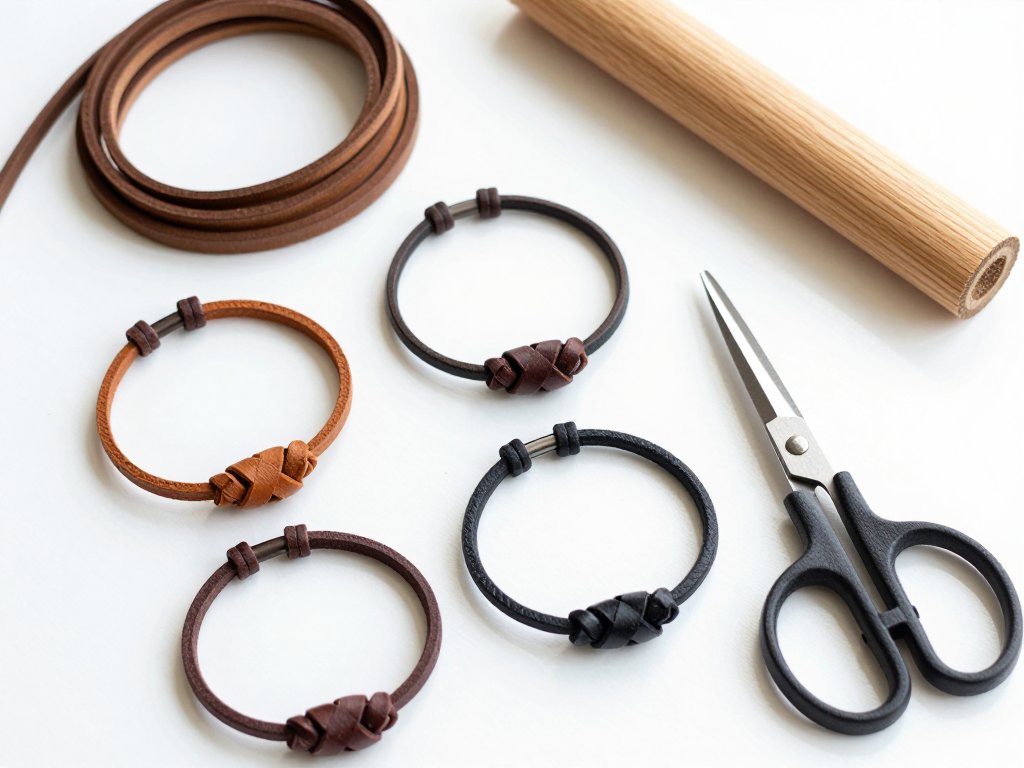
If you want a next project that uses the same two needles and a lot less leather, try these leather cord bracelets. Same tension lesson, smaller stakes, and you can finish one in an evening.
Four millimetres from the edge. Three to four between holes. Four times the seam in thread. Those three numbers are the whole craft, and they cost you nothing to learn the right way.