Introduction
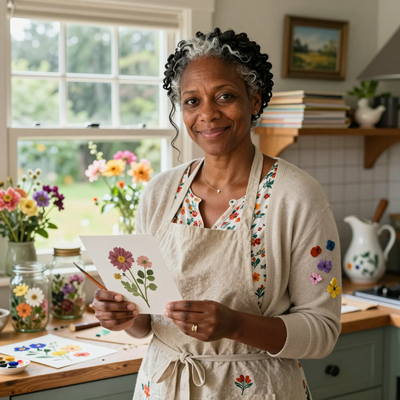
There is something special about gathering around a table decorated with love for the 4th of July.
Whether you are hosting a big backyard barbecue for extended family or a quiet dinner with your immediate crew, the table is where everyone comes together — to eat, to laugh, and to celebrate what makes this holiday meaningful.
The good news is that you do not need to spend a fortune on store-bought decorations to create a tablescape that feels festive and welcoming.
It is a wonderful way to add a personal touch to your celebration and create lasting family memories in the process.
With a few simple supplies, some red, white, and blue creativity, and a couple of hours on a summer afternoon, you can make centerpieces, napkin rings, and table accents that look like they came from a boutique.
And because many of these projects use items from the dollar store, you can set a beautiful table without stretching your budget.
Here are my favorite DIY 4th of July table decor ideas, all designed to be easy enough to make with kids helping nearby.
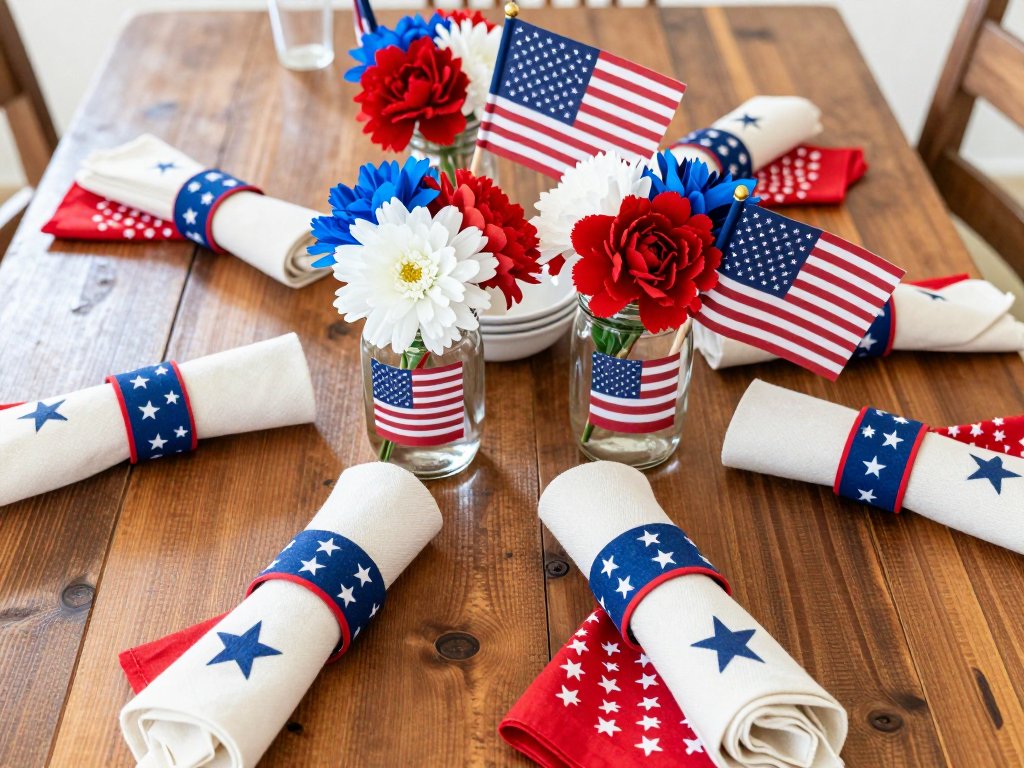
Classic Mason Jar Centerpieces
Mason jar centerpieces are a summer staple for good reason. They cost almost nothing, they work with any style of table, and you can adapt them to fit your color scheme in about fifteen minutes.
For a 4th of July table, start with three to five standard-size mason jars. Wash them thoroughly and remove any labels.
Paint the outside of each jar with red, white, or blue acrylic craft paint, or leave them clear for a more rustic look.
If you want a quicker approach, wrap each jar with red or blue washi tape in stripes around the middle.
Fill the jars with water and add fresh flowers in patriotic colors. White daisies, red carnations, and blue salvia or delphinium are easy to find at any grocery store in the days leading up to the holiday.
Tie a small ribbon or piece of baker's twine around the neck of each jar, and arrange the jars down the center of your table at staggered heights by placing some on small wooden slices or overturned terracotta pots.
For a candlelit evening tablescape, drop a floating tea light into each jar instead of flowers.
The warm glow through the painted glass creates a lovely, intimate atmosphere as the sun goes down.
Stars and Stripes Napkin Rings
Napkin rings are one of those small details that make a table feel intentional and polished.
These DIY versions take about ten minutes to make and cost pennies each. You will need cardboard toilet paper rolls, red and blue acrylic paint or markers, white craft glue, and a handful of star-shaped sequins or wooden star cutouts from the craft store.
Cut each cardboard roll into one-and-a-half-inch-wide rings. You should get three or four rings from each roll.
Paint the rings red or blue and let them dry completely, which takes about twenty minutes.
Once dry, apply a small dot of glue to the back of each star sequin and press it onto the painted ring.
Arrange three or four stars around each ring in a casual cluster. Let the glue dry for another ten minutes, then slide a folded napkin through each ring.
For a variation, wrap the rings with red and white striped baker's twine instead of painting them.
Simply wrap the twine around the cardboard ring, securing the ends with a dab of glue.
Add a single star to the front where the twine ends meet. These napkin rings look just as charming with paper napkins as they do with cloth, so do not feel like you need to buy anything fancy.
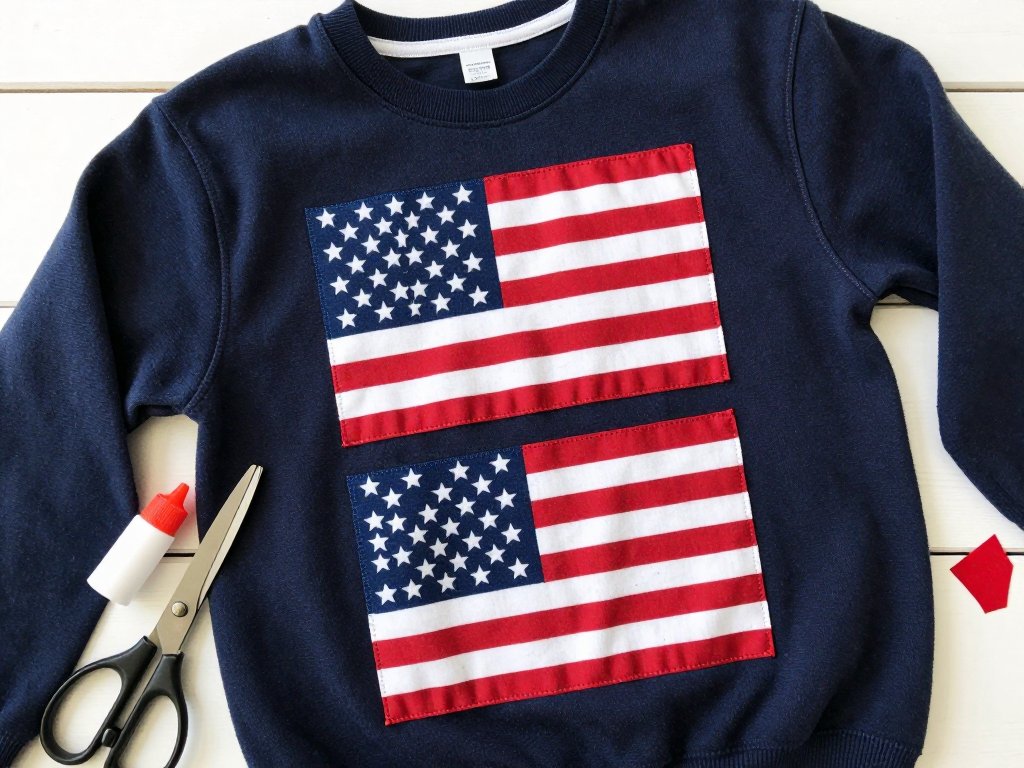
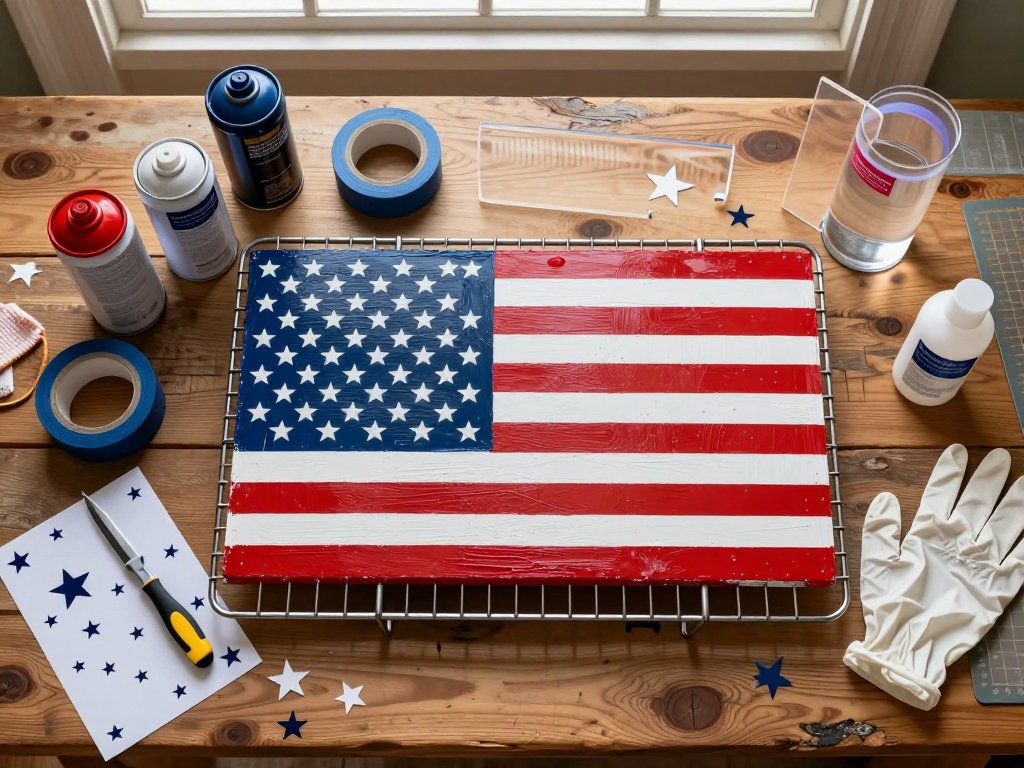
DIY American Flag Table Runner
A table runner anchors the whole tablescape and sets the tone for the meal. This no-sew version uses materials you can find at any craft store, and you can make it in under an hour.
You will need a roll of white craft paper or butcher paper, blue painter's tape, red acrylic paint, a foam brush, and a small paint roller or sponge.
Spread the white paper across your table and cut it to length, leaving an extra six inches on each end to drape over the edges.
Measure a rectangle in the upper left corner for the blue star field — about twelve inches wide by eight inches long for a standard six-foot table.
Mark it lightly with a pencil. Use the painter's tape to mask stripes across the rest of the runner.
Each stripe should be about three inches wide. Alternate taped and open sections so that when you paint, the open sections become red stripes and the taped sections stay white.
Press the tape edges down firmly to prevent paint from bleeding underneath. Roll or sponge the red paint over the open sections, working in long, even strokes.
Let the paint dry for about thirty minutes, then carefully peel off the tape. For the star field, use a star-shaped sponge stamp or a small stencil to add white stars to the blue rectangle.
If you do not have a star stamp, you can draw stars freehand with a white paint pen — they do not need to be perfect.
A rustic, hand-drawn look adds charm. Let the entire runner dry for an hour before placing it on the table.
This runner is reusable if you store it rolled in a poster tube, or you can compost it after the holiday and make a new one next year.
Red, White, and Blue Flower Arrangements
Fresh flowers bring life to any table, and a patriotic color scheme makes them feel purposefully seasonal.
The secret to an impressive-looking arrangement on a small budget is to use a lot of greenery as filler and let a few statement flowers carry the color.
Start with a low ceramic bowl or a wide-mouthed mason jar as your vase. Soak a block of floral foam in water for about five minutes and place it inside the vase.
Begin with a base layer of greenery — eucalyptus, ferns, or lemon leaves all work well — inserted evenly around the edges of the foam.
Next, add your white flowers as the main body of the arrangement. White carnations, stock, or alstroemeria are affordable and long-lasting.
Tuck them in at varying heights so the arrangement looks full and natural. Add your red flowers next, placing them slightly higher than the white flowers for visual contrast.
Red roses are classic, but red tulips or gerbera daisies feel more casual and summer-appropriate.
Finish with small blue accents. Blue eryngium (sea holly), blue salvia, or even spray-painted blue baby's breath add the final patriotic touch without overwhelming the arrangement.
Fill any remaining gaps with more greenery. The finished arrangement should look rounded and abundant, with flowers at different heights creating depth.
Patriotic Place Cards
Place cards are a simple touch that makes each guest feel welcomed and thought of.
These take about five minutes to make per guest, and they double as a small take-home favor.
You will need plain white cardstock, red and blue markers or colored pencils, a star-shaped hole punch if you have one, and baker's twine.
Cut the cardstock into two-by-three-inch rectangles. Fold each rectangle in half widthwise to create a little tent card.
On the front of each card, write your guest's name in blue marker with a small red star or two drawn next to it.
If you have a star hole punch, punch a star in the upper corner of each card and thread a short piece of red or blue baker's twine through the hole, tying it in a small bow.
Set each place card on the center of a dessert plate or tuck it into the fold of a napkin.
For an even easier version, write names on small wooden clothespins and clip them to the rim of a mason jar at each place setting.
This version works especially well if you are serving drinks in the jars and want guests to keep track of their glass throughout the meal.
Kids' Table: Star-Spangled Crafts
If you have children at your celebration, setting up a small kids' craft table keeps them busy and gives them a sense of participation in the decorating.
Cover a small folding table with a white plastic tablecloth and set out supplies for making simple patriotic crafts.
Pipe cleaner stars are a favorite — give each child three red, white, or blue pipe cleaners and show them how to twist them together at the center to form a six-pointed star.
These can be hung from the edge of the kids' table or taken home as souvenirs.
Another easy option is to provide plain white paper plates, red and blue crayons, and star stickers.
Let each child decorate their own paper plate, which they can use for dessert. The plates become both an activity and a functional part of the table setting.
For a no-mess option, set out red, white, and blue LEGO bricks on a building base and let the kids create small flag sculptures or star shapes to display on their table.
The goal is to keep things simple and low-pressure so the children feel included and the adults can enjoy their meal without interruption.
Dollar Store Decor Hacks
The dollar store is an underappreciated resource for 4th of July table decor. A quick trip can yield everything you need for a festive tablescape at a fraction of the cost of a party supply store.
Here are a few of my favorite dollar store finds and how to use them.
Small American flags on sticks make instant centerpiece accents. Tuck them into mason jar arrangements, stick them into a foam block wrapped in red bandana fabric, or place one at each place setting as a festive detail.
Red bandanas sold in three-packs can be folded and used as napkins, tied around silverware as rustic napkin rings, or draped across the table as a casual runner.
Blue glass gems or marbles from the floral section look beautiful scattered down the center of the table or layered in the bottom of clear vases.
They catch the light and add a cool, summery sparkle. Red and blue tissue paper can be fanned out and arranged in a small basket to create a quick, no-floral centerpiece.
Layer the tissue paper in alternating colors, fluff it gently, and place a few battery-operated tea lights on top.
Red plastic tablecloths make excellent backdrops for dessert tables or drink stations. Cut one into a runner for a secondary table or use it as a drop cloth under your main centerpiece for easy cleanup after the meal.
Setting the Full Table
Once you have made your centerpieces, napkin rings, runner, and place cards, it is time to bring everything together into a cohesive tablescape.
Start by laying your table runner down the center of the table, making sure it is straight and evenly draped on both ends.
Arrange your mason jar centerpieces along the runner at evenly spaced intervals — three jars on a six-foot table, five on an eight-foot table.
Scatter a few tea lights or small votive candles in glass holders between the jars.
Place a napkin ring at each setting and a place card on each dessert plate.
If you are using bandana napkins, fold them into a simple rectangle and slide the napkin ring over the center.
Lay your silverware on top of the napkin or beside the plate, depending on your preference.
Fill water glasses and set out drinkware before guests arrive so you are not rushing at the last minute.
Step back and look at the table from the doorway. Everything should feel balanced and festive without being cluttered.
The goal is a table that welcomes people in and makes them excited to sit down and share a meal together.
Final Thoughts
The best 4th of July tables are not the most expensive or the most elaborate.
They are the ones that feel warm, personal, and made with care. A hand-painted table runner, a cluster of mason jar centerpieces, a set of homemade napkin rings — these small touches tell your guests that you put thought into making the day special.
Gather your supplies, enlist a helper or two, and enjoy the process of creating a table that celebrates both the holiday and the people gathered around it.
Happy 4th of July, and happy crafting.