Introduction
My first pit fire cost me eight pots and most of a Saturday. I dug the hole in an afternoon, filled it with sawdust from the cabinet shop down the road, and lit it at noon like a man trying to prove something.
The fire took off fast. Too fast. Flames shot three feet past the lid, and by four o'clock the whole thing had burned down to a grey heap of ash.
I opened it at dusk while it was still warm. Three pots pinged inside a minute, hairline cracks running from the rim down. Two more came out so sooty that I scrubbed them with a scouring pad and took the blush off with the soot.
The pit was not the problem. I had fired pots that were damp in the middle, with walls too thick at the base, then burned them hot and fast and cracked the lid while the clay was still expanding.
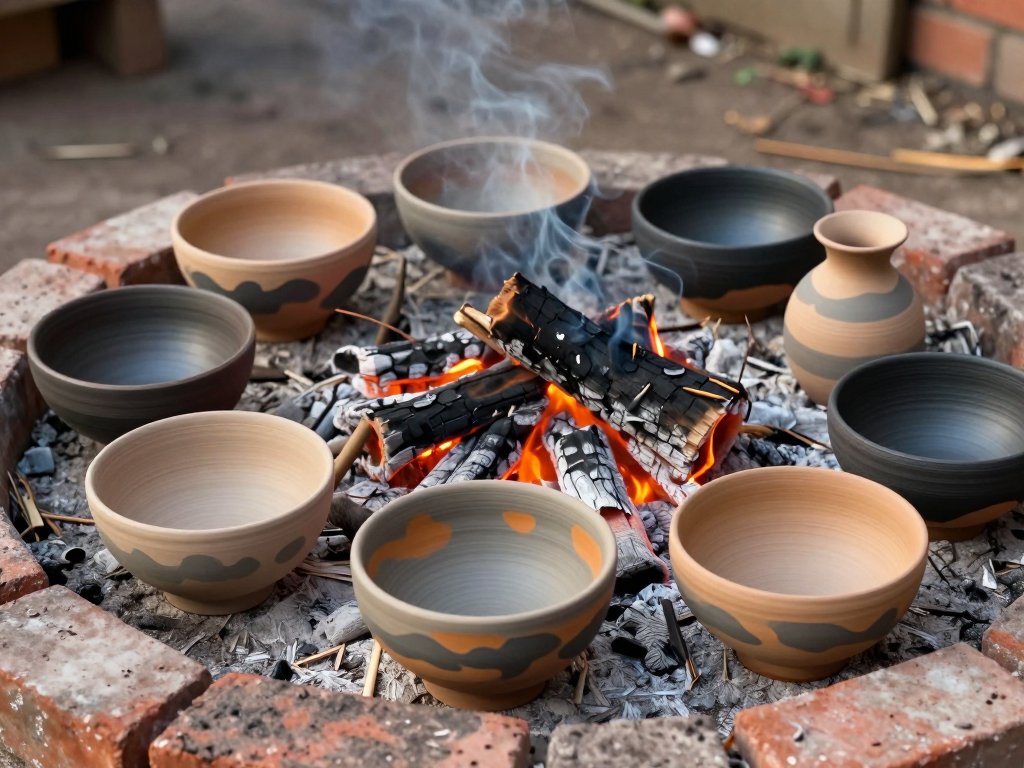
So I did it again. Drier pots, thinner walls, a slower fire, and I waited until morning to look. Four of five pieces came out with smoke clouds that looked like weather sitting on the surface.
Here is the math that kept me going. A small kiln runs $800 to $1,500 before you price the 240-volt circuit and the electrician. A used 55-gallon barrel is about twenty-five dollars. The rest of a pit fire is trash.
What Pit Firing Actually Does to Clay
A pit fire is not a kiln fire with the door left open. It is a different animal, and knowing the difference stops you expecting the wrong result.
A backyard pit tops out somewhere between 1,400 and 1,700°F. That is hot enough to change clay permanently. It is nowhere near the 2,000°F-plus range where stoneware vitrifies and clay particles melt into a glassy, non-porous body.
So the pot stays porous. It stays raw. Nothing in a pit fire seals the surface, because sealing needs a temperature the pit cannot reach and hold.
What you get instead is deposition. Smoke is unburned carbon looking for something to land on, and raw clay is a very good landing strip. The carbon settles into the pores and every fingertip mark.
Alongside it, salts and minerals from your fuel and colorants flash against the clay. They do not melt into a coating. They stain it the way tea stains a cup, and the stain is only as deep as the surface.
That is why the pattern follows the flame. Hard draw gives you a pale streak. Pooled, smouldering smoke gives you a dark cloud. A copper sachet against a bowl's shoulder gives you a green ghost.
No two fires produce the same map. That is the frustration and the whole appeal, in one sentence.
Decorative Finish, Not Dinnerware
Pit-fired pots are not food safe, and no amount of wax changes that. Porous clay absorbs liquid, and a mug that weeps into its own wall is a mug growing things you cannot see.
Glazed ware is food safe because the glaze melts into an impermeable layer at high temperature and the clay beneath it is fully vitrified. That is a kiln job, start to finish.
Pit-fired pots are for dry goods, cut flowers, pencils, keys, and looking at. If you want a mug you can drink from, glaze it and fire it properly. There is no shortcut between the two.
Sealing makes a piece wipe-clean. It does not make it waterproof and it does not make it safe for soup. Keep those ideas separate and you will not ruin anyone's dinner party.
Which Pots Survive the Fire
Most pit failures are decided before the match is lit. The fire only reveals what the pot was already hiding.
Choose a Grogged Body
Use a grogged stoneware or a grogged earthenware. Grog is pre-fired clay crushed and mixed back in, and it does two things: it opens the body so it dries evenly, and it gives a crack somewhere to stop.
A tight, refined body has almost no tolerance for uneven heating. Porcelain in a pit is a coin flip, and the coin is weighted. Save it for the kiln.
If you are buying clay, tell the supplier what you are doing. “Pit fire” is a normal thing to say, and they will hand you a coarse, sandy, open body with a fair price.
Wall Thickness Beats Everything
Aim for walls between a quarter and three-eighths of an inch, the same thickness all the way around and all the way up.
A pot with a thin rim and a fat base holds two expansion rates in one body. It will crack at the transition, usually on the way down in temperature, usually with a sound like a tiny bell.
Thin and even survives. Thick and even survives. Thick in one place and thin in another does not, no matter how patient your fire is.
Bone-Dry or Bisque?
Bone-dry pots can go straight into a pit. Bisque-fired pots are the safer beginner choice, and the reason is water.
Clay that feels dry still holds moisture deep in the wall. Heat that moisture and it turns to steam, and steam needs somewhere to go. It escapes through the wall, which is fine, or through a crack it makes on the way out.
A bisque fire drives that water off slowly and leaves you a stronger pot to handle and pack without chipping a rim. The schedule lives in our guide to kiln firing basics, and I will not duplicate it here.
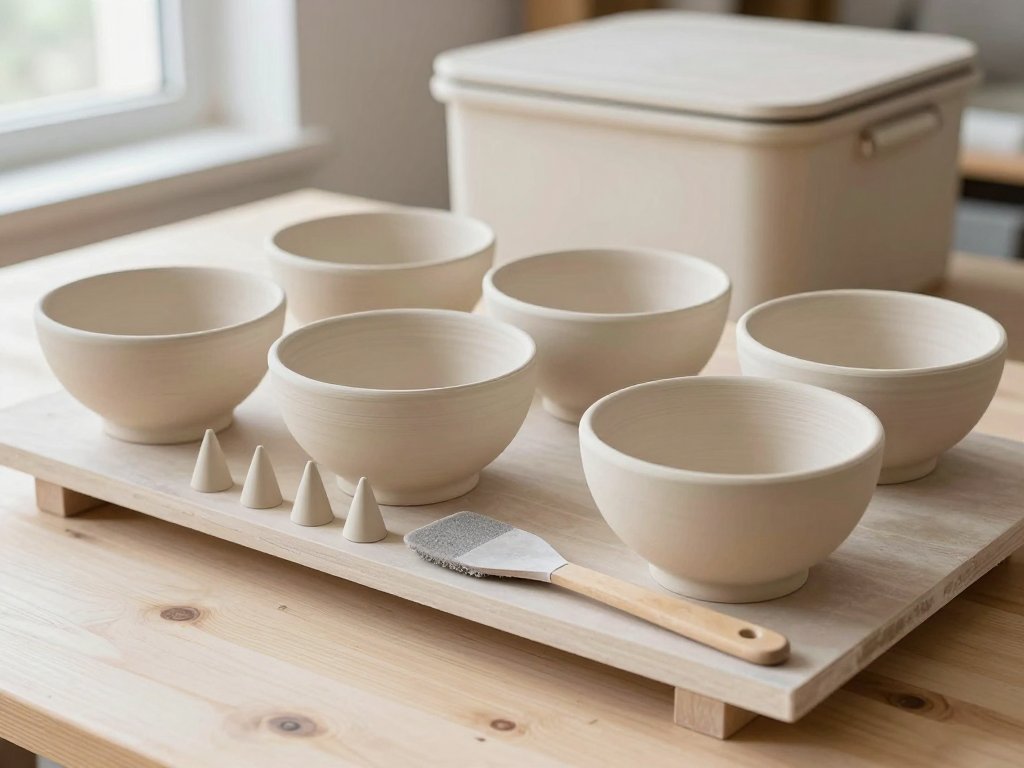
With no kiln access at all, bone-dry works. Give it two full weeks in a warm room, rotate the pots every few days, and stand them on a wire rack so air moves under the foot.
Burnishing and Drying
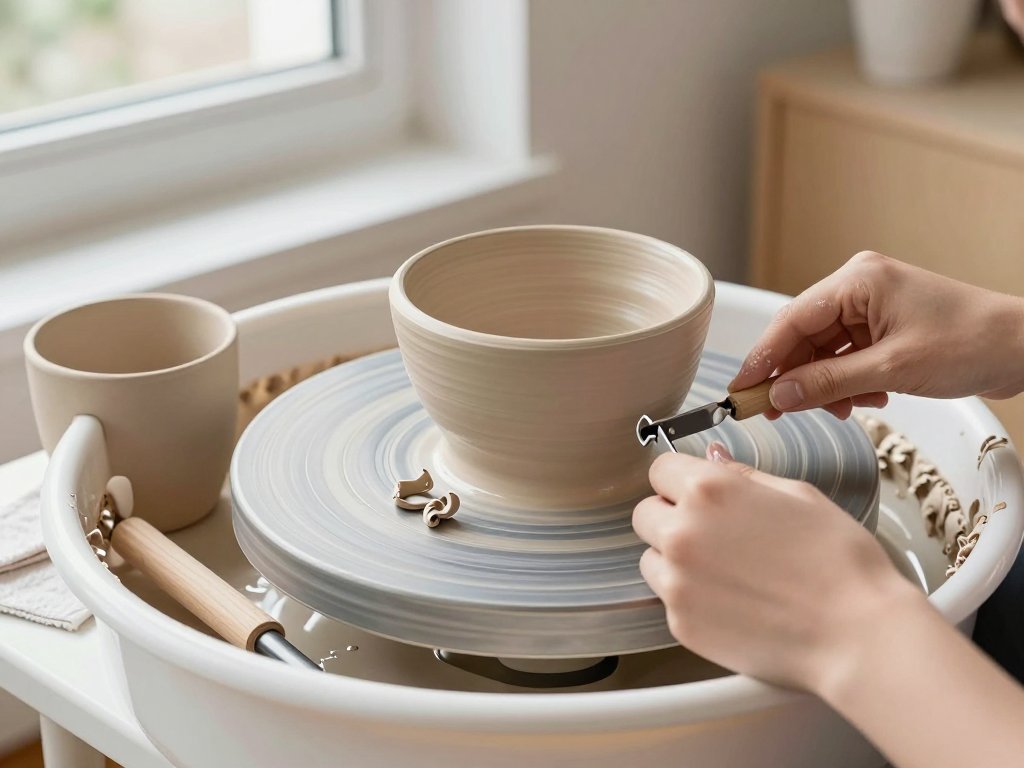
Burnishing means polishing leather-hard clay with the back of a spoon or a smooth stone until it shines. Do it before the pot dries and the smoke reads as a sheen rather than a stain.
Texture does the opposite. Scoring a surface, pressing in coarse cloth or carving shallow lines gives carbon more places to grab, and those lines come out darker than the field around them.
Both are legitimate. Decide which you want before the pot dries, because you cannot change your mind later.
Building the Pit
Two shapes, both cheap, both effective. Pick one based on your yard and how much smoke the neighbours will tolerate.
The Scraped Ground Pit
Dig a hole about eighteen inches deep and two to three feet across. Line it with bricks — red brick or firebrick, not concrete block, which spalls and throws chunks when it heats.
Never line a pit with river rocks. Trapped moisture turns a rock into a small bomb, and I have watched one leave a dent in a shed door.
Ring the rim with a course of bricks so a metal sheet, or a scrap board wrapped in foil, can sit on top with a gap for the draft.
The Barrel Pit
A 55-gallon steel drum or heavy metal trash can is faster, hotter and portable. Punch eight to twelve holes, half an inch to an inch wide, in the bottom and lower third. A step drill is cleanest; a cold chisel works if you are stubborn.
Avoid galvanised cans. The zinc coating gives off fumes you do not want to stand in, and it burns off in a way that leaves a headache and a metallic taste.
The barrel holds heat better than a hole in the ground, uses less fuel, and makes a taller flame column — which matters when you want strong colour on the upper walls of a vase.
Siting It Without Burning the Place Down
Set the pit on bare dirt or gravel, ten feet or more from fences, sheds, dry grass and low branches. Look up before you light. A hedge is a fence with better public relations.
Never fire on concrete or pavers. The surface can spall — chunks flaking off with a bang — and the slab underneath will crack from the heat.
Check the wind before you light, and think about where the smoke lands. Your neighbour's washing line counts as a location.
Have a charged hose and a bucket of sand within arm's reach, plus a shovel. Sand smothers what water only spreads. Tell someone, and check whether your area has a burn ban running.
Keep children and dogs ten feet back. The barrel sides get hot enough to leave a mark on a palm, and the lid is worse.
Packing the Pit, Layer by Layer
Packing is where you design the result. The fire is only the delivery mechanism.
- Bed of sawdust. Three to four inches of sawdust or clean shavings. Ask a cabinet shop or sawmill and most will fill a bag for free. No plywood dust, no MDF, no treated lumber, no varnish.
- Paper and leaves. A loose two-inch layer of twisted newspaper and dry leaves. Loose, not packed. You want air in there, because air is what makes it burn instead of smoulder.
- The pots. An inch or two between pieces, and at least an inch off the barrel wall. Pots that touch leave pale kiss marks where flame could not reach.
- Mouth-up or mouth-down? Mouth-down traps smoke inside the pot and gives a dark interior with a sharp line at the rim. Mouth-up keeps ash out and leaves the inside pale, a strong contrast against a dark exterior.
- Fuel over the top. More sawdust, more twisted paper, dry twigs, a few hardwood scraps. Bank it over the shoulders of the pots but leave the very top loose so heat can move.
- The lid. Barrel lid, metal sheet or roofing tin. Prop one edge with a brick for the first hour so it draws, then close it down.
- Optional blanket. An inch or two of sand or soil over the lid slows the burn and holds heat. Slower burn, more smoke, darker pots.
The order matters less than the gaps. A tight pit burns hot and fast and leaves you grey pots. A loose pit burns long and cool and leaves you black ones. Aim for the middle.
Colorants and What They Do
Colorants are not glaze. They are salts and oxides that flash against raw clay and leave a stain. A quarter teaspoon is a dose; a tablespoon is a mess.
- Copper carbonate. Greens, pinks and sometimes a deep brick red. The one that makes people ask what glaze you used. Too much and you get a metallic crust that flakes.
- Salt. Orange-brown blush and the wet-looking streaks potters call flashing. Plain or rock salt, sprinkled sparingly. Salt spits and pits the surface, so keep it off the parts you care about most.
- Iron oxide. Rust, ochre, deep brown. The beginner's colorant, because it is cheap, forgiving and hard to overdo.
- Seaweed or banana skins. Mottled browns and soft greys with a blotchy, organic edge. Dry the seaweed first — wet seaweed steams and cracks pots.
- Sachets. A spoonful of colorant twisted into newspaper or a coffee filter, tied with wire, tucked against one pot. This is how you get a green cloud on one shoulder instead of a green pit.
Placement is everything. A copper sachet at the foot of a bowl gives green at the base fading to grey at the rim. Tucked at the shoulder, it does the reverse. Scatter the powder loose and you get an even wash with no story in it.
One colour per sachet. Copper and iron in the same twist gives you mud, and not interesting mud.
The Burn: Lighting, Heat and the Long Wait
Light it from the top through a wad of newspaper, or through a bottom vent with a plumber's torch. Top-lighting makes the fire burn downward, which draws smoke through the whole stack instead of pushing it out the vent in ten minutes.
The first twenty minutes are smoke and doubt. Then it catches, and you get real flames licking two or three feet above the vent.
Temperature climbs fast in the first hour — call it 800 to 1,000°F — then eases toward its ceiling as the fuel bed burns down. You cannot read a pit reliably with a pyrometer, so go by flame colour and the sound of the draw.
Active burning runs two to four hours. Add lighting and settling and that is four to six hours of a fire you cannot walk away from.
Then it burns down to coals, and coals hold heat for hours more. That is the part doing the colour work: the smouldering stage, not the flames.
Do Not Open It Hot
Opening a hot pit is the most common way to lose a good pot. You are introducing cool air to a piece sitting well over 1,000°F. That is thermal shock, and thermal shock is a crack.
You also get a flare-up when oxygen hits the coals, and a face full of ash if the wind is wrong.
Wait. Twelve hours minimum, twenty-four is better. Put the back of your hand near the barrel. If it is warm at all, it is not ready. Go and do something else.
This is also why a pit fire suits a weekend. Light it Saturday morning, unpack it Sunday.
Unpacking and Cleaning
Unpack outside in gloves and a dust mask. Ash is fine silica dust and you do not want it in your lungs. Set pots on grass or cardboard, not a cold concrete step.
Brush first, dry, with a soft brush — a cheap chip brush or a shoe brush. Dry brushing lifts loose ash without taking the carbon that has bonded into the clay.
No water until the piece is completely cool. Water on a warm pot can crack it. Water on a fresh pot lifts unsettled carbon, which is how you wash a pattern down the drain.
Once it is cool and dry, rinse with a soft sponge and plain water, then let it dry fully again.
A stiff brush or 0000 steel wool is for places you want less soot: a rim you want to show, a foot ring, the inside of a bowl. It takes the blush with the soot. Test on the base first, every time.
Know when to stop. Some soot is the finish. My best bowl lost its best cloud because I kept going one pass too many, chasing a clean rim I did not actually want.
Sealing the Finish
Sealing holds the pattern and stops soot transferring onto hands, shelves and whatever you set the pot on. It also changes how the piece behaves, so decide with your eyes open.
Paste wax is the traditional choice. Rub on a thin coat, wait twenty minutes, buff with a soft cloth. It deepens the clay a shade and makes the smoke look wet and rich rather than dusty.
A thin matte sealer — acrylic matte medium or stone sealer — gives a flatter, more modern look and slightly better resistance. Two thin coats beat one thick coat, which pools and dries cloudy.
What it changes: the pot becomes wipe-clean, so you can dust it with a damp cloth. It does not become waterproof, dishwasher safe, microwave safe or food safe. Wax needs refreshing yearly and can feel tacky in a hot room.
Seal the inside of a vessel as well as the outside if you want soot to stop marking things. Skip the inside if you like the dry, chalky look.
When It Goes Wrong
It will go wrong. Here is what each failure is telling you.
- Cracks. Almost always damp clay or uneven wall thickness, not the fire. Check base thickness on your next batch and give everything two extra weeks to dry.
- Soot that flakes off. Too cool and too fuel-rich, so carbon sat on top instead of bonding. Burn hotter and longer, and close the lid later.
- No colour at all. The fire was too clean — too much air, too little fuel — or you scrubbed it off, or the clay is a pale, tight body that will not take a stain.
- Uneven smoke. Pots touching, or a draft coming in one side of the pit. Keep the gaps, and rotate which side each pot sits on between fires.
- Too dark. Too much sawdust, lid sealed for the whole burn, too low for too long. Open the vent earlier and swap some sawdust for newspaper, which flames instead of smouldering.
None of these are permanent problems. They are settings, and you change them on the next fire. That is the whole loop of this craft.
The Honest Math
Let me be straight about the trade, because the pretty photos online are not the whole story.
A pit fire takes a full day of your attention. Not hard attention — you can weed the garden twenty feet away — but you cannot leave. Four to six hours of glancing at a barrel, an overnight wait, an hour of unpacking.
You will lose pieces. I still lose roughly one in five, and I have done this more times than I can count. Same clay, same packing, different result, because a fire is a weather system and not a machine.
Now the kiln. A small new one is $800 to $1,500, plus a 240-volt circuit that may run $300 to $600 with an electrician and a permit. A used one is cheaper and comes with someone else's problems. Studio time runs $60 to $120 a month.
A pit costs a barrel and a bag of colorants — call it thirty to sixty dollars, once, for years of fires.
The trade is control for money. You give up repeatability and gain a finish no kiln produces, for the price of a takeaway dinner. If you want consistent mugs, buy the kiln. If you want pots that look like they came out of the ground, dig the hole.
What to Do With Your First Batch
Do not judge the first fire. Judge the third. The first teaches you how your pit draws, how fast your fuel burns, and how much soot is too much for your taste.
Keep notes. Fuel, timing, where each pot sat, which sachets went where. It sounds fussy until the fourth fire, when you want to repeat something.
Then push it. Try a sagger — a rough clay box packed with sawdust and colorant, holding one pot — to isolate a piece from the general smoke. Try mouth-down on half the batch and mouth-up on the rest.
The pit does not care about your plans. That is the frustrating part and, once you stop fighting it, the reason you keep walking out to the yard with a bucket of sand and a bag of sawdust.