Introduction
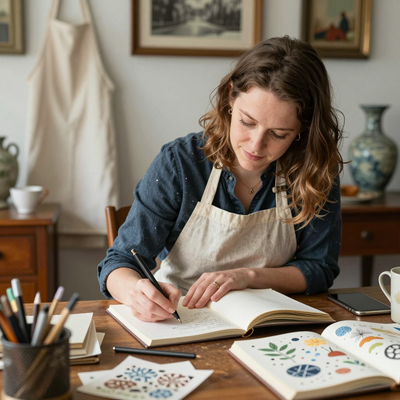
There is something deeply satisfying about wearing jewelry you made yourself. The compliments, the unique design, the knowledge that no one else owns anything quite like it.
Polymer clay jewelry has become wildly popular in recent years, and for good reason. The material is forgiving, the tools are minimal, and the possibilities are nearly endless.
If you have ever admired a pair of polymer clay earrings on Etsy or Instagram and wondered if you could make them yourself, the answer is a resounding yes.
This guide walks you through everything you need to know, from choosing your clay to creating your first finished pair of earrings or pendant.
By the end, you will have a piece of jewelry you can wear with pride.
Understanding Polymer Clay
Polymer clay is a modeling material made from PVC resin and a liquid plasticizer. When you bake it at a low temperature, the plasticizer evaporates and the clay hardens into a durable, lightweight material that resembles ceramic but is far less fragile.
Unlike air-dry clay, polymer clay does not shrink or crack as it cures. This makes it ideal for jewelry, where precise sizing matters. You can also sand and polish it after baking for a smooth, professional finish.
The most popular brands for jewelry making are Sculpey, Fimo, and Cernit. Each has slightly different characteristics.
Sculpey III is soft and easy to work with, making it excellent for beginners. Fimo Professional is firmer and holds crisp detail better for intricate designs.
Cernit has a porcelain-like finish when baked and is beloved for its smooth texture. Start with Sculpey III or Fimo Soft for your first projects.
They are forgiving, widely available, and affordable.
Polymer clay is sold in small blocks, usually two ounces each. Jewelry projects use small amounts of clay, so a single block of several colors can last for multiple projects.
You can also mix colors to create custom shades, which is one of the most rewarding aspects of working with this medium.
Essential Tools and Supplies
One of the best things about polymer clay jewelry is the minimal tool investment. Here is everything you need to get started.
Polymer clay in your chosen colors. Start with two or three colors that complement each other. White, black, and one accent color is a great beginner palette.
A clean work surface. A ceramic tile, a glass cutting board, or a sheet of printer paper works well. Avoid working directly on wood or plastic surfaces, as the plasticizer in the clay can react with them over time.
An acrylic roller or pasta machine. An acrylic roller is inexpensive and gives you good control. A dedicated pasta machine (used only for clay, not food) creates perfectly even sheets in seconds. It is the single best investment you can make if you decide to continue with polymer clay.
A sharp blade. A craft knife or a dedicated polymer clay blade is essential for clean cuts. A tissue blade, which is extremely thin and flexible, allows you to slice through delicate cane patterns without distortion.
Cookie cutters or shape cutters. Simple geometric shapes like circles, ovals, and teardrops are perfect for early projects. Metal cutter sets designed for polymer clay are available for about ten dollars.
A toothpick or clay needle tool. You will use this for making holes, adding texture, and positioning small pieces. A simple toothpick works perfectly for beginners.
Sandpaper or sanding sponges. Fine-grit sandpaper in 400, 600, and 1000 grit will take your finished pieces from matte to glossy.
Jewelry findings. You need earring posts or hooks, jump rings, and pendant bails. These are available at any craft store or online. Choose hypoallergenic options like surgical steel or niobium if you have sensitive ears.
An oven. A conventional or toaster oven works. An oven thermometer is strongly recommended, as inaccurate oven temperatures are the most common cause of failed polymer clay projects.
Step 1: Conditioning Your Clay
Before you can shape polymer clay, you must condition it. Conditioning warms the clay and makes it pliable by working the plasticizer evenly through the material. Unconditioned clay is stiff and prone to cracking.
To condition by hand, take a block of clay and knead it like bread dough.
Roll it into a snake, fold it, and roll again. Within two to three minutes, the clay should feel soft and smooth, like warm taffy.
If your hands get tired, you can use a pasta machine instead. Run the clay through on the thickest setting, fold it in half, and run it through again.
Repeat ten to fifteen times until the clay is uniformly soft.
A useful test: roll a small piece into a ball. If the surface is smooth with no cracks, your clay is properly conditioned. If you see cracks along the edges, keep conditioning.
Conditioned clay can be stored in plastic wrap for weeks. If it gets stiff again, simply recondition it.
Step 2: Creating Your First Earring Shapes
For your first project, try making a pair of simple round stud earrings or teardrop dangle earrings. These shapes are classic, easy to execute, and introduce you to the fundamental techniques.
Round stud earrings. Roll a small amount of conditioned clay into a smooth ball about the size of a pea.
Flatten it slightly between your fingers so the bottom is flat and the top is domed.
Place it on your work surface and press gently to create a flat base. Use a toothpick to create a small hole in the center of the flat side for the earring post.
Repeat for the second earring, making sure both are the same size and shape. A simple trick is to roll both balls at the same time, one in each hand, so they develop evenly.
Teardrop pendants. Roll conditioned clay into a ball, then shape it into a teardrop by rolling one side into a point while keeping the opposite end rounded.
Flatten it gently to about one-eighth inch thick. Use a toothpick to create a hole at the pointed end for the jump ring or bail.
Smooth the edges with your finger to remove any fingerprints or ridges.
Do not worry about perfection on your first try. Polymer clay is forgiving. If you do not like the shape, simply ball up the clay and start again. It costs nothing but a minute of your time.
Step 3: Adding Texture and Pattern
Once you are comfortable with basic shapes, you can explore surface design. Texture is what transforms simple clay pieces into jewelry that looks handmade and artisanal.
Stamping. Press a textured object into the surface of your clay. Lace, burlap, leaves, rubber stamps, and textured rolling pins all create beautiful patterns. Press gently for a subtle impression or firmly for a deeper one. The clay holds the texture perfectly.
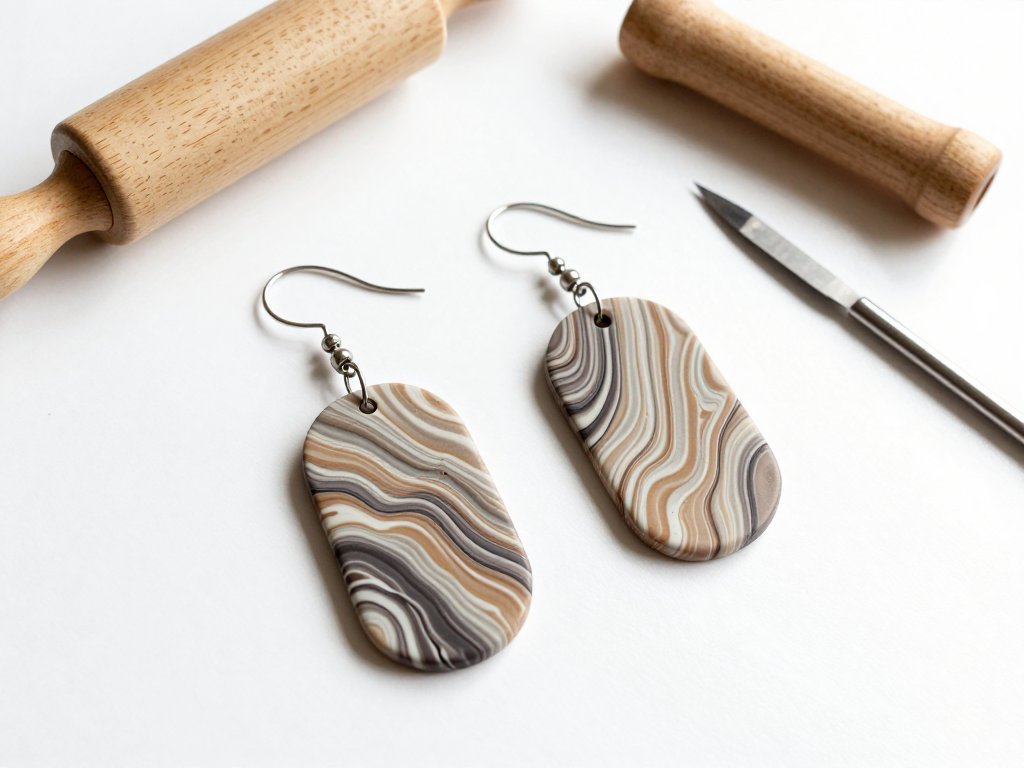
Marbling. Choose two or three colors of conditioned clay. Roll each into a snake, twist them together, and fold the bundle.
Roll it out into a sheet and fold again. Stop when you see the marbled pattern you like.
The fewer folds, the more distinct each color remains. More folds create a finer, more blended marble.
Cane slices. A cane is a log of clay with a pattern running through the middle, like a log of colorful dough.
When you slice it, each slice reveals the same pattern. To make a simple polka dot cane, roll a thin snake of contrasting color and wrap it in a sheet of your base color.
Roll the log gently to fuse the layers, then slice into thin rounds. Each slice is a perfect polka dot ready to apply to your earring base.
Gold leaf accents. Apply a thin layer of liquid polymer clay or translucent gel to your piece, then press a piece of gold or silver leaf onto it.
Gently burnish with your finger and bake as usual. The metallic accents catch the light beautifully and make your jewelry look much more expensive than the materials cost.
Step 4: Baking and Curing
Baking is the stage where your careful work becomes permanent. Follow these guidelines for reliable results every time.
Preheat your oven. Set your oven to the temperature specified on your clay package, typically 275 degrees Fahrenheit for most brands.
Place an oven thermometer next to your pieces to confirm the actual temperature. Many ovens run hot or cold by twenty degrees or more.
An inaccurate oven is the most common cause of under-baked or burned clay.
Place your pieces on a baking surface. A ceramic tile, a glass baking dish, or a piece of parchment paper on a metal baking sheet all work well. Do not use the same pans you use for food.
Bake for the recommended time. Most polymer clays require fifteen to thirty minutes per quarter-inch of thickness.
A standard earring about one-eighth inch thick needs about fifteen minutes. Thicker pendants need thirty minutes or more.
When in doubt, err on the side of longer baking. Polymer clay does not burn easily at the correct temperature, and longer baking actually strengthens the material.
Cool completely before handling. The clay is fragile while it is hot. Let your pieces cool on the baking sheet for at least fifteen minutes. You will hear a faint clicking sound as they cool, which is normal.
After cooling, test the bake by pressing a fingernail into an inconspicuous spot. Properly baked clay is firm with a slight spring. If it feels soft or crumbly, return it to the oven for another ten minutes.
Step 5: Sanding and Finishing
Sanding is the step that separates amateur-looking jewelry from professional pieces. Properly sanded polymer clay has a smooth, polished surface that catches the light evenly and looks like ceramic or glass.
Start with 400-grit sandpaper and wet-sand the piece under running water. Use a circular motion and sand evenly across the entire surface.
Rinse the piece and switch to 600-grit, then 800-grit, and finally 1000-grit. At each step, you are removing the scratches from the previous grit.
The process takes about five minutes per piece and is absolutely worth the effort.
After sanding, buff the piece with a soft cloth. You will already see a noticeable shine.
For a high-gloss finish, apply a polymer clay gloss varnish or use a dedicated buffing wheel on a low-speed rotary tool.
Several thin coats of gloss varnish, allowed to dry between each coat, create a deep, glass-like finish.
If you prefer a matte finish, stop after the 1000-grit sanding and buff with a soft cloth. The surface will be smooth and velvety without being shiny.
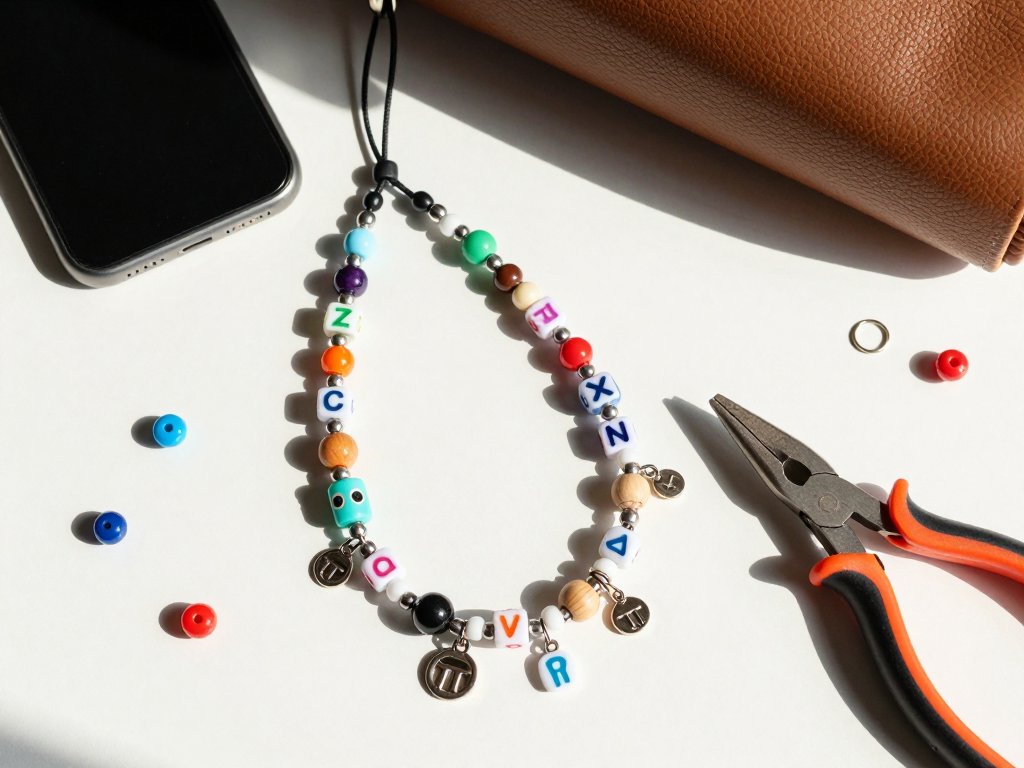
Step 6: Assembling Your Jewelry
Once your clay pieces are baked, sanded, and finished, it is time to turn them into wearable jewelry.
For earrings with posts. Apply a small drop of jewelry-grade epoxy or super glue to the flat back of your earring shape. Press the earring post into the glue and hold for thirty seconds. Let the glue cure for twenty-four hours before wearing.
For earrings with hooks. Open a jump ring using two pairs of pliers. Slide the jump ring through the hole in your clay piece, then through the loop on the earring hook. Close the jump ring firmly with the pliers.
For pendants. Thread a jump ring through the hole at the top of your pendant. Attach a bail or a chain directly. If your pendant is heavy, use a thicker gauge jump ring and a sturdy chain.
For earrings with posts. Apply a small drop of jewelry-grade epoxy or super glue to the flat back of your earring shape. Press the earring post into the glue and hold for thirty seconds. Let the glue cure for twenty-four hours before wearing.
Design Ideas for Your First Projects
Here are a few project ideas that build on the techniques above. Each introduces a new skill while remaining accessible to a beginner.
Marbled stud earrings. Condition two colors, twist them together, and roll into a sheet. Cut small circles with a round cutter. Bake, sand, and attach posts. These are quick to make and always look sophisticated.
Textured pendant with gold accent. Shape a teardrop pendant. Press a piece of lace into the surface for texture. Add a small piece of gold leaf to one corner. Bake, sand, and attach a bail. The contrast between the matte texture and the gold leaf is striking.
Polka dot dangle earrings. Make a simple polka dot cane in two colors. Slice it into thin rounds and apply each slice to a round clay base. Roll gently to fuse. Bake, sand, and attach hooks. Each earring will have identical polka dots, which feels remarkably satisfying.
Geometric cluster earrings. Roll conditioned clay into thin sheets. Cut small triangles, squares, and circles. Arrange them into a cluster pattern on a base shape. Press gently to fuse. Bake, sand, and attach posts. These modern designs are very popular on social media and sell well at craft fairs.
Common Mistakes and How to Avoid Them
Every polymer clay artist makes mistakes at first. Here is how to avoid the most common ones.
Burned clay. Your oven was too hot. Always use an oven thermometer. If you smell a sharp, chemical odor, the temperature is too high. Remove the pieces immediately and lower the temperature.
Brittle or crumbly clay after baking. The clay was not conditioned enough before shaping, or it was under-baked. Spend more time conditioning and bake for the full recommended time.
Fingerprints on the surface. Polymer clay picks up oils and prints easily. Wash your hands thoroughly before working with light-colored clay. Use a soft cloth or a glove to handle pieces during assembly. A light sanding after baking removes most surface imperfections.
Cracking during baking. The clay was too thin in one area or had an air bubble trapped inside. Roll more evenly and poke air bubbles with a needle before baking.
Clay stuck to your work surface. Roll on a ceramic tile or a piece of printer paper. If the clay sticks, it is usually because the surface is too porous or the clay is too warm. Let it cool briefly or move to a smoother surface.
Caring for Your Polymer Clay Jewelry
Polymer clay jewelry is durable but not indestructible. With proper care, your pieces will last for years.
Store polymer clay jewelry in a soft pouch or a jewelry box away from direct sunlight.
Prolonged exposure to UV light can cause fading over time. Keep pieces separate from metal jewelry to prevent scratches.
Clean them with a soft, damp cloth. Do not soak them in water or use harsh chemicals.
Avoid exposing polymer clay to temperatures above 350 degrees Fahrenheit, such as leaving it in a hot car on a summer day.
The clay will soften and warp at high temperatures.
With these simple precautions, your handmade polymer clay jewelry will remain beautiful for many seasons.
Where to Go from Here
You now have all the foundation skills you need to explore polymer clay jewelry making on your own terms.
The next step is simply to practice. Make the same pair of earrings three times.
Each time, you will notice your technique improving. The shapes will become more precise, the sanding smoother, the assembly cleaner.
Experiment with color combinations that speak to you. Try incorporating other materials like resin beads, metal charms, or dried flowers. Look at jewelry you admire online and reverse-engineer how it was made. You will be surprised how quickly you can recreate professional-looking designs.
The polymer clay community is generous and welcoming. Search for beginner tutorials on YouTube, join a Facebook group for polymer clay artists, or follow hashtags like polymerclayjewelry and polymerclaybeginners on Instagram. You will find endless inspiration and helpful advice from makers around the world.
Final Thoughts
Making polymer clay jewelry is one of those rare crafts where your very first project can be genuinely wearable.
The skills build on each other naturally, and there is always something new to try.
Whether you make jewelry for yourself, for gifts, or to sell at local markets, the process is deeply rewarding.
Start with a simple pair of earrings. Take your time with each step, especially conditioning and sanding. And remember that every piece you make teaches you something. Your tenth pair will be better than your first, and your fiftieth will be better still.
So pick up some clay, clear your kitchen table, and give yourself an evening to create. Your jewelry box is about to get a lot more interesting.