Introduction
Have you ever admired the tidy, woven look of a knitted scarf and wished you could make one, only to feel daunted by two needles, dropped stitches, and the mysterious business of casting on?
You are not alone. So many of us have stood in the yarn aisle, holding a ball of soft worsted wool, and quietly talked ourselves out of knitting.
Here is the good news: there is a way to get that same knitted look with a single hook and a rhythm that feels almost meditative.
It is called Tunisian crochet, and the stitch we are going to learn today — the Tunisian knit stitch — is the one that makes people do a double take and ask, "Wait, did you knit that?"
In this guide, we will walk through the history of this lovely old technique, gather the few simple tools it asks for, and then work the knit stitch together, row by gentle row.
By the end, you will have a finished swatch you can be proud of, plus the confidence to cast on your first real project.
Take a deep breath, put the kettle on, and let us begin.
What Is Tunisian Crochet?
Before we pick up our hooks, it helps to understand where this craft came from — because once you know its story, the way it works makes perfect sense.
Tunisian crochet is a cousin of both knitting and crochet. It uses a hook, like crochet, but the hook is longer than a standard one and has a little stopper at the end, like a knitting needle.
Each row is worked in two passes: a forward pass, where you pick up a loop in every stitch, and a return pass, where you work those loops off the hook, one pair at a time.
The result is a dense, drapey fabric that does not look quite like either parent craft — it looks like its own thing.
The technique is sometimes called afghan crochet, because for generations it was the way families worked those warm, patterned afghan blankets that lived on the back of the sofa.
The name "Tunisian" hints at an older story: many textile historians trace the technique to North Africa and the Middle East, where similar hooked tools were used for centuries.
It found its way to Europe in the nineteenth century and charmed Victorian crafters, who gave it affectionate nicknames — in some places it was called the railway stitch, because the portable hook and simple rhythm made it perfect for a long train journey, and in others shepherd's knitting, for the quiet hours shepherds spent with their flocks.
For a long time, Tunisian crochet lived in the shadow of its flashier relatives. But crafters today have rediscovered it, and you will see its distinctive fabric everywhere: in modern sweaters, market bags, baby blankets, and cozy cowls.
When you learn it, you are joining a tradition that spans continents and centuries — and the knit stitch is the perfect place to start.
Why Start with the Knit Stitch?
Tunisian crochet has a whole family of stitches, just like regular crochet does. There is the Tunisian simple stitch, the purl stitch, the honeycomb, the star stitch, and many more. But the knit stitch is the one most teachers recommend to beginners, and for good reason.
First, it is genuinely easy to see. The knit stitch is worked between the vertical bars of the fabric, and those bars are clear and well defined, even in dim light.
When you are learning, being able to see exactly where the hook should go is more than half the battle.
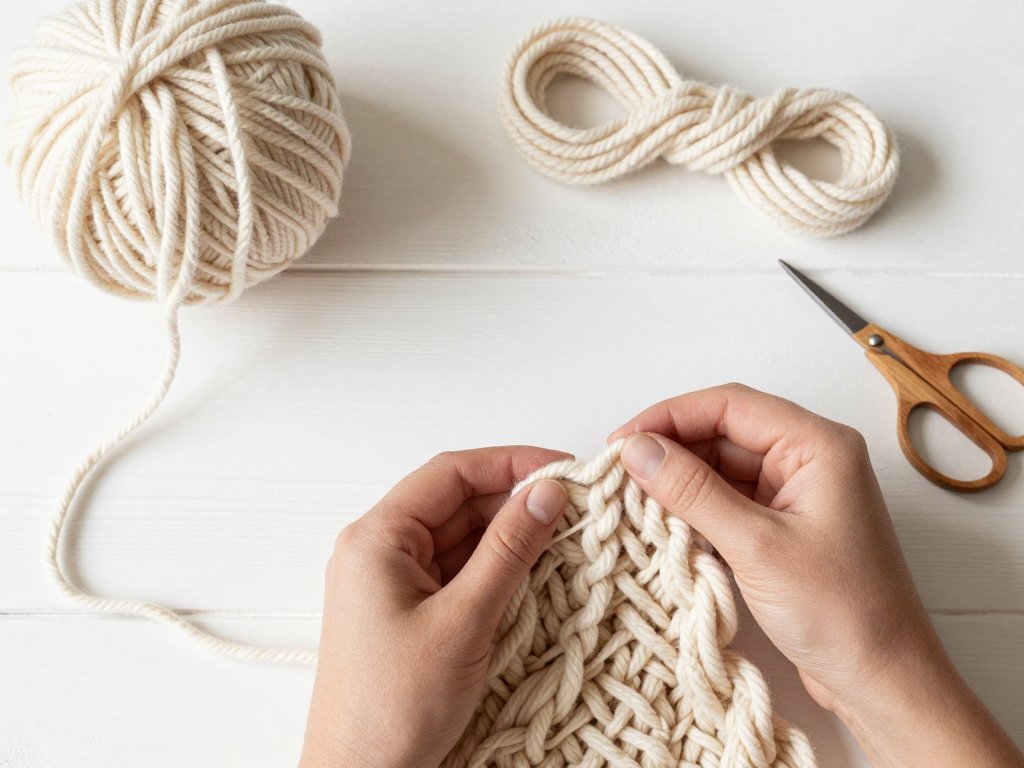
Second, it produces the look people actually want. When the Tunisian knit stitch is worked in rows, it creates a fabric of little "V" shapes that is nearly identical to the stockinette stitch of knitting.
If you have ever wanted to knit but been scared off by the needles, this is your gentle back door: the look of knitting, with the single-hook simplicity of crochet.
And third, it is forgiving. Because the fabric is dense, small mistakes are easy to hide, and because every row ends with a neat selvedge edge, your work looks tidy even while you are still practicing. You will feel like a maker from your very first row.
Tools and Yarn: A Modest Shopping List
One of the lovely things about this craft is how little it demands. Chances are you already own most of what you need.
The hook. A Tunisian hook looks like a crochet hook that grew up and went to finishing school.
It has a hook on one end and a smooth stopper on the other, so your loops do not slide off.
Hooks come in many lengths; for flat pieces like scarves and dishcloths, a standard-length Tunisian hook is plenty.
For very wide pieces, like blankets, there are cabled Tunisian hooks with a flexible cord in the middle, which hold the loops the way circular knitting needles do.
If you are not ready to invest, do not worry — a set of Tunisian hooks is inexpensive, and many craft stores sell a single starter hook for just a few dollars.
You can also try your first swatch with a regular hook that is long enough for a narrow practice piece, though a true Tunisian hook makes the whole experience more comfortable.
The yarn. For your first swatch, choose a smooth, medium-weight yarn in a light color.
Worsted weight, which you will see labeled as a 4 on the yarn band, is ideal.
Smooth yarns let you see your stitches clearly; fuzzy or textured yarns hide them, which is wonderful later but frustrating now.
A light color makes the "V" shapes easy to spot against the hook. Cotton is a lovely choice for dishcloths and summer projects; soft acrylic is forgiving, affordable, and machine washable — perfect for practice.
The extras. You will want a pair of scissors, a tapestry needle for weaving in ends, and perhaps a small notebook to jot down your gauge. That is genuinely all. Set everything in a basket by your favorite chair, and you are ready.
Your Foundation Row
Every piece of Tunisian crochet begins with a foundation row, which is worked a little differently from a regular crochet foundation. Let us take it slowly.
Step 1: Chain. Make a slip knot and place it on your hook. Chain as many stitches as you would like your swatch to be wide — for practice, about fifteen to twenty chains is a lovely size.
If you want a dishcloth, thirty chains will give you a nice width.
Step 2: The forward pass. This is where Tunisian crochet starts to feel different. Instead of turning your work, you will insert your hook into the second chain from the hook, yarn over, and pull up a loop — but do not finish the stitch.
Leave that loop on the hook. Move to the next chain, insert the hook, yarn over, pull up another loop, and leave it on the hook too.
Continue across the whole row. When you finish, your hook will be holding a row of loops, one for every chain, and the work will feel strange and wonderful, like a caterpillar halfway to becoming a butterfly.
Step 3: The return pass. Now you work those loops off. Yarn over and pull through just one loop on your hook — this is your turning chain, the anchor that keeps your row from collapsing.
Then yarn over again and pull through two loops. Keep going: yarn over, pull through two loops, yarn over, pull through two loops, until only one loop remains on your hook.
That single loop is the first stitch of your next row. Congratulations — you have just completed your first full row of Tunisian crochet.
Look at what you made. A neat row of vertical bars, sitting together like pickets in a fence. Those bars are the secret to everything that comes next.
Working the Tunisian Knit Stitch
Now for the stitch that gives this article its name. The Tunisian knit stitch is worked on that foundation we just made, and once you feel the rhythm, it will become second nature.
Step 1: Begin the forward pass. Hold your work with the right side facing you.
Your hook already holds one loop, which is your edge stitch. Working from right to left, skip the very first vertical bar — that one is the selvedge, and it will form your tidy edge.
Instead, insert your hook between the two vertical bars of the next stitch, going from front to back.
You will feel the hook slip under the top of the "V".
Step 2: Pull up a loop. Yarn over and pull the yarn through, drawing up a loop that matches the height of the loops already on your hook. Leave it there. Move to the next stitch, insert the hook between its two bars, yarn over, and pull up another loop.
Step 3: The last stitch. When you reach the end of the row, work the final stitch a little differently.
The last vertical bar is actually the edge loop from the previous row; to keep your edge neat, insert your hook under both loops of this edge stitch, yarn over, and pull up a loop.
This little detail is what gives Tunisian work its clean, finished sides.
Step 4: The return pass. Now work the loops off, exactly as you did in the foundation row. Yarn over and pull through one loop, then yarn over and pull through two loops, all the way across, until one loop remains.
Repeat these four steps, row after row, and you will watch your fabric grow. The forward pass gathers; the return pass settles. Gather, settle, gather, settle — there is something deeply soothing about the two-beat rhythm, like breathing, or the sound of waves.
Reading Your Fabric and Your Tension
As your swatch grows, take a moment now and then to hold it up and look at it. You are not just making fabric; you are learning to read a language.
The front of your Tunisian knit stitch fabric shows a field of neat "V" shapes, exactly like knitted stockinette.
If you gently stretch the fabric sideways, you will see the vertical bars separate, revealing where your hook travels on the next row.
Understanding this map — the Vs on the surface, the bars beneath — is the difference between following instructions and truly knowing the stitch.
Tension deserves a few honest words, because it is the thing that frustrates beginners most.
Tunisian crochet naturally produces a denser, heavier fabric than regular crochet, and the yarn may pull tighter than you expect.
The single most common beginner mistake is holding the yarn too tightly, which makes the work stiff and makes the return pass a battle.
If your hand aches or your stitches look pinched, loosen your grip and relax your shoulders.
Let the hook do the work.
Here is a practical tip: Tunisian crochet usually calls for a hook one or two sizes larger than the yarn label recommends for regular crochet.
The label's suggestion is for ordinary crochet, which needs a tighter gauge; Tunisian work needs room for all those loops to travel.
If you find your fabric curling stubbornly at the edges, a larger hook is often the simplest cure.
Curling deserves its own mention, because nearly every beginner worries about it. Tunisian fabric has a strong tendency to curl at the edges, especially in knit stitch.
This is normal — it is the nature of the stitch, not a sign that you have done something wrong.
Blocking your finished piece, adding a border of regular crochet stitches, or simply using a larger hook will tame most of it.
For now, just notice it and smile; you are seeing the fabric's personality.
Common Beginner Mistakes (and Gentle Fixes)
Every craft has its little pitfalls, and Tunisian crochet is no exception. Here are the ones that catch most beginners, along with the kind fix for each.
"My edges are growing." If your work is getting wider row by row, you are probably adding a stitch at the beginning of each row — usually by working into the first vertical bar instead of skipping it.
Count your stitches every few rows until your hands learn the pattern. A stitch marker on the first stitch of each row is a wonderful helper.
"My edges are shrinking." The opposite problem happens when the last edge stitch is missed. Remember that little loop at the end of the row: it is easy to overlook, especially in soft yarn. Work it under both loops, and your edges will stay straight.
"My return pass is a fight." This usually means your forward pass picked up loops that are too tight.
When you pull up each loop, match the height of the loops already on your hook rather than yanking it tight.
Looser loops on the forward pass make the return pass feel like gliding.
"I lost my place." It happens to all of us. Unlike knitting, Tunisian crochet is easy to unravel safely: just pull the hook out and gently pull the yarn, and the whole row lets go without damage.
Then thread the hook back through the remaining loops and begin again. There is no shame in a do-over — it is how every experienced maker learned.
"The color changes look lumpy." If you are working stripes, change colors on the return pass, at the very end, when only one loop remains on the hook. Pull the new color through that last loop, and your stripes will lie flat and clean.
Easy Projects to Practice
Once your swatch feels comfortable, it is time to make something real. Start small — small projects mean quick wins, and quick wins build the confidence to keep going.
A dishcloth. Chain thirty stitches in cotton yarn, work the knit stitch until your square reaches about nine inches, and bind off.
This is the classic first project for a reason: it is useful, forgiving, and washes beautifully.
Make a set of four and tie them with ribbon for a heartfelt handmade gift.
A scarf or cowl. Chain about twenty stitches in a soft worsted yarn and work the knit stitch until the scarf reaches the length you love.
Because the fabric is dense, a Tunisian scarf is wonderfully warm — you will feel the difference the first time the wind blows.
A cowl worked in the round is a lovely next step if you want to try joining your work.
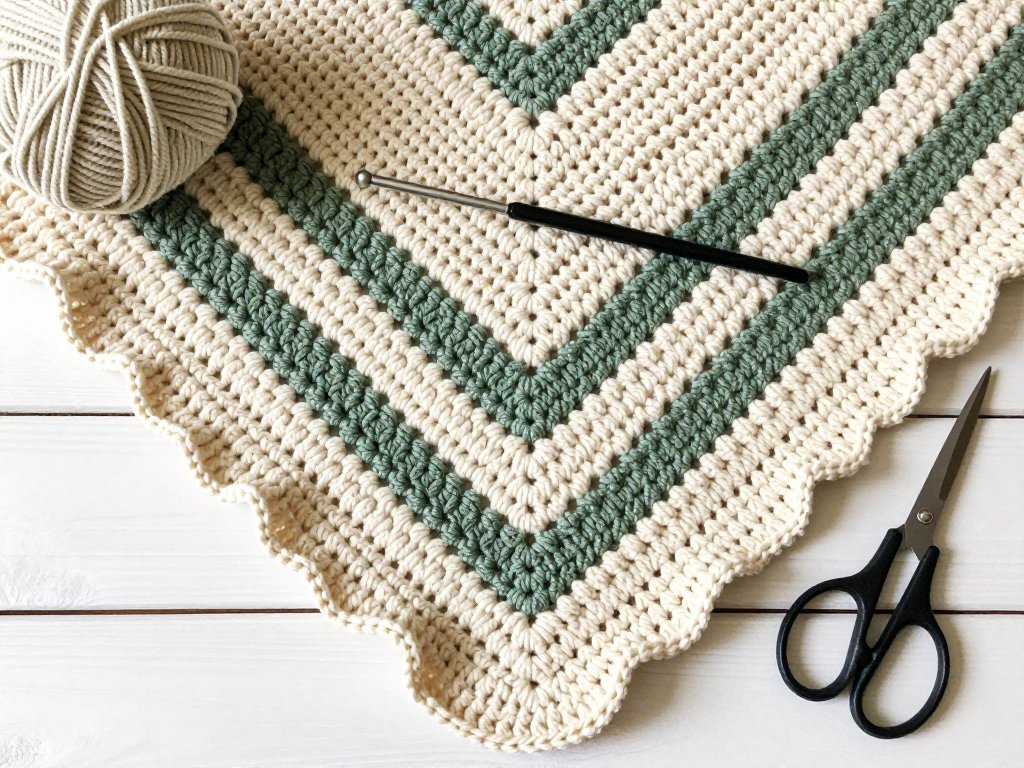
A baby blanket. This is the project that made the technique famous. Choose a machine-washable soft yarn, chain as many stitches as you like, and let the two-beat rhythm carry you through the evening hours.
The dense knit-stitch fabric is cozy and safe for little ones, and the finished blanket becomes a family heirloom.
A market or produce bag. Worked in cotton, the knit stitch makes a sturdy little bag that stretches just enough to be useful. A few rows of a contrasting color at the top, a simple cord, and you have a bag that feels both modern and timeless.
Whichever you choose, remember the golden rule of the beginning maker: the project is not a test. It is a conversation between your hands and your yarn, and every row teaches you something.
A Closing Word
We have traveled a long way together in a short time — from the railway carriages of nineteenth-century Europe to your own armchair, with a hook in your hand and a row of tidy "V" shapes growing beneath your fingers.
The Tunisian knit stitch is more than a technique. It is a quiet craft, a two-beat rhythm that slows the mind and steadies the hands.
In a busy household, twenty minutes of Tunisian crochet can feel like a small holiday.
The fabric you make is dense with patience, and every finished piece carries the calm of the hours that went into it.
So keep your swatch where you can see it. Touch it now and then, and remember how strange it felt at first and how natural it feels now.
Then, when you are ready, chain a few stitches and try a dishcloth, a scarf, a blanket — whatever your heart asks for.
You already have everything you need: a hook, some yarn, and a rhythm that has comforted makers for two hundred years.
Happy hooking, and welcome to the long, lovely tradition of Tunisian crochet.