Introduction
I threw out nine canvases in a single year. Not finished paintings — canvases I had started, worked for three or four evenings, and then scraped down because the whole thing had gone dead on me.
Every one of them had the same problem. I had started painting straight onto bare white canvas, chasing color before any value existed on the surface.
Let me put a number on that, because I am the guy who does the math. Nine 16x20 canvases at roughly nine dollars each is eighty-one dollars of support material alone.
Then add the paint. I was laying down expensive cadmiums and quinacridones onto bare white, hour after hour, trying to force them to read.
Call it twenty dollars of paint per failure. That is over two hundred and sixty dollars and roughly ninety evenings, spent repainting the same wrong start.
Three years of that before an older painter glanced at my palette and asked one question: what color is your ground?
I did not have one. That was the entire answer.
Underpainting is the first layer, laid down before you care about detail. It is the cheapest hour you will ever spend on a painting.
Here is what it does, how to do it without overthinking it, and how it keeps expensive pigment on the palette instead of buried under mud.
What Underpainting Actually Does
An underpainting is a thin first layer of paint that establishes two things at once: the value structure and the general color temperature of the picture.
Value is how light or dark something is, independent of its color. It is the skeleton of every painting that reads well at a distance.
Here is the mechanism most beginners miss. Your eye does not judge color in isolation. It judges every color against whatever surrounds it.
Put a cool grey swatch on bare white canvas and it reads as dark, heavy, and cold. Put that same grey on a warm ochre ground and it suddenly reads as cool and airy.
That is not a trick of studio lighting. It is how the visual system works, which means a white canvas is the worst possible background for judging color against.
The second thing underpainting does is kill the white. Bare primed canvas is the brightest value on your surface, and it fights every midtone you place near it.
Cover the canvas with a middle value — burnt umber, raw sienna, or a neutral grey — and every later layer gets a fair fight instead of an uphill one.
Now the cost angle. When you paint on white, you compensate by painting thicker and more opaque than the picture actually needs.
Thick opaque layers mean more pigment per square inch. That is money leaving your palette on every single block-in pass.
An underpainting flips that order. You lay down a cheap, thin, low-value base, then you only need thin layers above to make the color sing.
There is a third benefit that has nothing to do with how it looks. An underpainting catches your composition mistakes while they are still cheap to fix.
If the horizon sits in the wrong place, you discover it in ten minutes, not after four careful evenings of work you have to scrape off.
Ask yourself honestly: how many of your abandoned canvases died from a bad drawing you did not notice until it was expensive to change?
For anyone selling work, this matters twice over. Rework costs you paint, and at a craft fair your cost per piece decides whether the booth was worth the weekend.
An underpainting is where you spend five dollars of cheap paint to protect forty dollars of good paint.
The Three Underpaintings That Matter
You do not need a complicated system. Almost everything you will ever want falls into three approaches, and each one does a slightly different job.
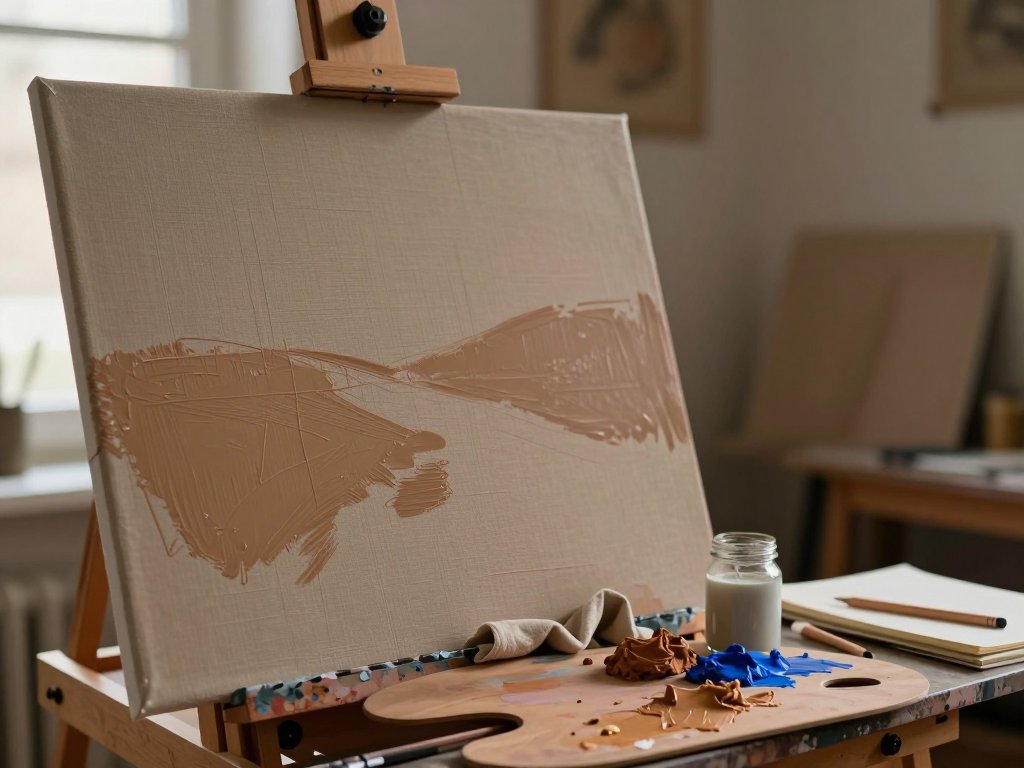
One: the single-tone imprimatura. This is the classic. You scrub one transparent color thinly across the whole canvas, usually a warm brown or a neutral grey.
Burnt umber thinned with odorless mineral spirits is the traditional choice for oils. For acrylics, a raw sienna wash does exactly the same job.
The result is a toned surface with no white showing and a value sitting roughly in the middle. Paint a light sky and a dark tree against it and both read instantly.
This is the one to learn first. It takes three minutes, costs almost nothing, and it fixes the white-canvas problem in a single pass.
Two: the complementary or warm ground. Here you choose the ground color on purpose, so that the layers above it vibrate.
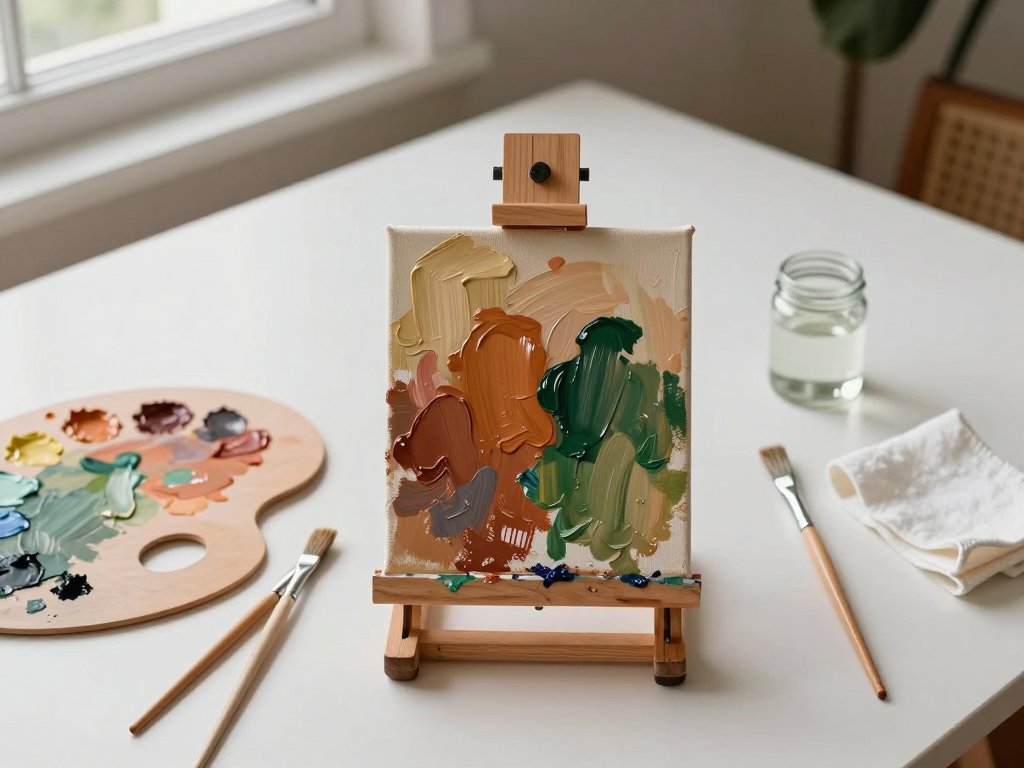
Paint a warm ground — burnt sienna, transparent oxide red, or a warm yellow ochre — and then lay cool blues and greens over the top.
Wherever the top layer is thin, a little warmth comes through from underneath, and the cool color gains a life it would never have on white.
The opposite works just as well. A cool grey-blue ground under warm flesh or warm foliage makes skin tones and leaves glow from within.
Landscape painters use a warm ground constantly for this reason. The gaps between brushstrokes do a lot of the atmospheric work for you, free of charge.
Three: the grisaille. This is a full grey-and-white tonal study, painted from a dark base up to your lightest lights, before any color goes on at all.
Grisaille is the patient option. You solve the drawing, the values, and the light direction in neutral greys, then glaze transparent color over the top.
It is slower, but for figure work and still life it is close to unbeatable, because color problems and value problems get solved separately instead of at once.
If your still lifes keep coming out flat and chalky, grisaille is usually the fix. It forces you to commit to a light source before you fall in love with a color.
Which one should you use? Match the underpainting to the risk. A quick sketch wants a single tone. A vibrant landscape wants a warm ground. A serious still life wants grisaille.
You can also combine them. Many painters lay a single tone down first, then develop a partial grisaille on top of the dry base once the composition is locked.
How to Do It Without Overthinking It
The biggest mistake beginners make with underpainting is turning it into a second painting. It is not. It is a stain with a plan.
Here is the whole process, start to finish. None of it takes long, and none of it requires expensive materials.
- Thin the paint hard. Mix your ground color to the consistency of weak tea or skim milk, using odorless mineral spirits for oils or water plus a drop of medium for acrylics.
- Pick one or two values, maximum. A single mid-tone across the whole canvas is plenty. If you need a dark, block it in with the same pigment, just thicker in places.
- Work big shapes to small. Cover the entire canvas first with a broad brush, then carve in the major masses — sky, ground, the largest shadow — and stop there.
- Keep the drawing loose. You are mapping where things live, not tracing them. If you can see the outline of an eye, you have already gone too far.
- Wipe out your lights. A rag or your fingertip lifts paint back off the surface, giving you instant light shapes. This is the fastest way to find a composition.
- Let it dry completely. Oils may take a day or two to touch-dry. Acrylics dry fast, but give them at least an hour and check the thickest spots with your knuckle.
- Judge it from a distance. Step back, squint, and ask one question: do the values read as a picture yet? If yes, you are done with this layer.
That is the entire method. Notice that every step is about restraint, not effort. Each one is telling you to do less than you want to.
Here is the habit that makes it click: treat the underpainting as a rough map, not a finished destination. You are allowed to change everything on top of it.
If your ground layer ends up almost abstract, you did it right. The details belong to the layers above, and they will land far more easily on a toned surface.
The drying step is the one people skip, and it is the one that ruins paintings. Wet underpaint will lift, mix, and muddy every layer you put on top of it.
Patience here pays compound interest. A dry ground is a stable ground, and a stable ground means you can build translucent layers without fighting the surface underneath.
If you want to build color in thin translucent passes over that dry base, the same rules that govern acrylic glazing apply here — thin layers, dry in between, and transparency doing the real work.
Cheap Habits That Save Expensive Paint
Now the part that pays for the whole habit. Underpainting is the single best place to spend cheap paint so that you never waste expensive paint.
Start with what is already on your palette. At the end of a session you always have leftover piles drying into crusts. Scrape them together, add a touch of medium, and tone a canvas in ten minutes.
That leftover paint was heading for the bin anyway. Toning a canvas turns waste into a foundation you can build on all week.
Second habit: buy one cheap tube on purpose. A student-grade burnt umber, a jar of raw sienna, or a basic neutral grey is plenty. You are making a ground, not a masterpiece.
A scribbled, scraped-down cheap tube is fine for a ground layer. Nobody sees the ground itself. They see only what you build on top of it.
Third, and this is the real saving: an underpainting genuinely cuts the number of expensive top layers you need.
Count it honestly. On bare white, getting a rich dark green over a light area often takes three or four opaque passes of good paint, scrubbed in thickly.
Over a warm toned ground, one or two thin translucent passes will do the same job, because the dark base is already there doing the work underneath.
Here is what that looks like in real dollars. A quality tube of quinacridone or cadmium can run fifteen to forty dollars. Halving the passes you need roughly doubles the paintings you get from that tube.
For an Etsy seller or a craft-fair vendor, that is direct margin. Your cost per piece drops, and your hours per piece drop right along with it.
A ten-dollar canvas and thirty dollars of paint in one failed attempt is forty dollars gone. The same canvas with a five-dollar underpainting is far likelier to succeed the first time.
Cheap paint down low, expensive paint up high. That order is the entire cost strategy in one sentence.
Common Mistakes
Most underpainting problems come from doing too much, too thick, too fast. Here are the three I see constantly, and how to avoid each one.
- Too thick. A heavy wet ground never dries properly and lifts the moment you paint over it, turning every layer above into grey mud. Keep it thin and let it set.
- Too much contrast. If you paint near-black and near-white into the ground, there is nothing left for the top layers to do. Stay in the midtones.
- Too detailed. If you draw the whole subject into the underpainting, you have painted the picture twice. Block the shapes and stop there.
The mud problem is worth repeating, because it is the one that kills the most paintings. Thick wet underpaint plus fresh layers on top equals grey soup.
Contrast is the subtle one. A ground with too much range leaves you nowhere to go later. Save your darkest darks and lightest lights for the final layers.
And detail is the tempting one. It feels productive to draw everything early. It is actually the fastest way to spend your energy twice on one canvas.
One more habit that prevents all three: work small sometimes. A six-by-eight study lets you test a ground and a composition in twenty minutes for pennies.
Treat those small studies as rehearsal. Your expensive canvases then receive your best, already-rehearsed version of the idea instead of a first attempt at it.
If a ground goes wrong, you lose almost nothing. Scrape it back or simply paint over it with a new toned layer once it is dry. Nothing is precious at this stage.
Conclusion
Nine canvases and about ninety evenings. That is what it cost me to learn a lesson that a three-minute underpainting would have taught me for free.
Now the first thing I do in the studio is tone the canvas. Sometimes burnt umber. Sometimes a warm burnt sienna for a landscape. Sometimes a cool grey when the light is going to be warm.
My failure rate did not just drop. My paint bill dropped too, and my time per finished painting fell with it, because I stopped repainting the same dead start over and over.
If you have a stack of canvases that never quite finished, an underpainting habit may be the only thing they were missing.
Try it on your next piece, even a small one. One thin layer, one or two values, dried completely before you go on. Then judge the result by what the layers above it can finally do.
That first coat looks like nothing on its own. Everything after it looks better because it exists.