Introduction
There is something almost alchemical about pulling a glowing-hot piece of pottery from the kiln with tongs, watching it smoke and crackle in an open container of sawdust, and uncovering — once it has cooled and been scrubbed clean — a surface unlike anything you have seen before. That is raku. And within the raku tradition, there is a particularly mesmerizing process called naked raku, where the clay itself becomes the canvas.
If you are new to ceramics, naked raku might sound intimidating. The dramatic temperature swings, the open flames, the possibility of breakage — it is not your typical wheel-throwing evening. But here is the truth: naked raku is one of the most forgiving and rewarding techniques for a beginner potter to try. The very qualities that make it unpredictable also make it forgiving. Cracks become features. Smoke patterns become art. And the whole process, from kiln to smoke bath to final reveal, takes less than an hour.
In this guide, we will walk through everything you need for your first naked raku firing. You will learn what makes this technique different from traditional raku, how to prepare your pieces, what equipment you need, and how to set up your reduction chamber at home or in a community studio. By the end, you will feel confident enough to schedule your first firing session. Let us begin.
What Is Naked Raku?
Before we dive into the process, it helps to understand what makes naked raku distinct. In traditional glazed raku, the potter applies a glaze to the bisque-fired piece, fires it to around 1,800°F (980°C), and then places it in a reduction chamber filled with combustible material. The smoke and lack of oxygen create crackle patterns and metallic lusters in the glaze. The result is beautiful, but the glaze does much of the work.
Naked raku, by contrast, leaves the clay largely unglazed. The potter applies a slip — a thin layer of liquid clay — to parts of the piece before firing. This slip eventually flakes off, revealing the raw clay body beneath, which has been darkened by smoke absorption. The areas that were covered by the slip remain lighter, while exposed clay turns deep charcoal or black. The contrast is stark, organic, and completely unique to each piece.
The term "naked" refers to the fact that the final surface is bare clay. There is no glossy glaze layer between you and the texture of the pottery. You can feel every ridge, every fingerprint, every mark of the hand that shaped it. That tactile quality is what draws so many potters to this technique.
Why Beginners Should Try Naked Raku
If you are still building confidence on the wheel or perfecting your hand-building skills, naked raku offers several advantages over standard glazing and firing:
- Forgiveness of flaws: Small surface imperfections that would ruin a glossy glazed piece become interesting texture in naked raku. The smoke pattern draws the eye away from uneven edges, and hairline cracks fill with carbon, creating a beautiful spiderweb effect.
- Fast results: A naked raku firing takes about thirty minutes from kiln to cool. Compare that to a standard glaze firing, which requires a kiln to slowly reach temperature, hold, and cool — often taking eight to twelve hours. For impatient beginners, the immediacy is addictive.
- Low material cost: You do not need specialty glazes. A simple slip made from the same clay body you use for your pots, a metal trash can for reduction, and some sawdust or newspaper are all you need beyond the kiln itself.
- One piece at a time: Unlike a glaze firing that packs the whole kiln, raku is typically done one piece at a time. This means you can perfect your technique incrementally without risking an entire kiln load.
What You Will Need
Let us go over the equipment and materials for your first naked raku session. You may already have some of these items if you work in a community studio.
Clay Body
Not every clay is suitable for raku firing. The thermal shock of going from a 1,800°F kiln to open air requires a clay body formulated for raku. Raku clay typically contains grog (fired clay particles) that helps the piece withstand rapid temperature change. Look for a commercial raku clay body from any major ceramics supplier. Standard stoneware or earthenware clays are likely to crack or explode. A 25-pound bag costs about fifteen to twenty dollars and will last you many pieces.
Kiln
You need a kiln that can reach at least 1,800°F and that you are willing to open while it is hot. This rules out most electric kilns used for bisque and glaze firing, which are designed to be opened only when cool. Dedicated raku kilns are available, but many beginners start with a propane-fired raku kiln or even a modified top-loading electric kiln with a raku lid switch. If you work in a community studio, ask if they offer raku firing sessions. Many studios host monthly raku nights where you can fire pieces for a small fee.
Kiln Furniture and Tools
You will need a set of heavy-duty kiln tongs — at least thirty inches long — to handle the hot piece. A stainless-steel basket or kiln shelf on which to place the piece inside the kiln is also essential. You will also need heat-resistant gloves, a face shield, and natural-fiber clothing (synthetics melt at high temperatures). Do not skimp on safety gear.
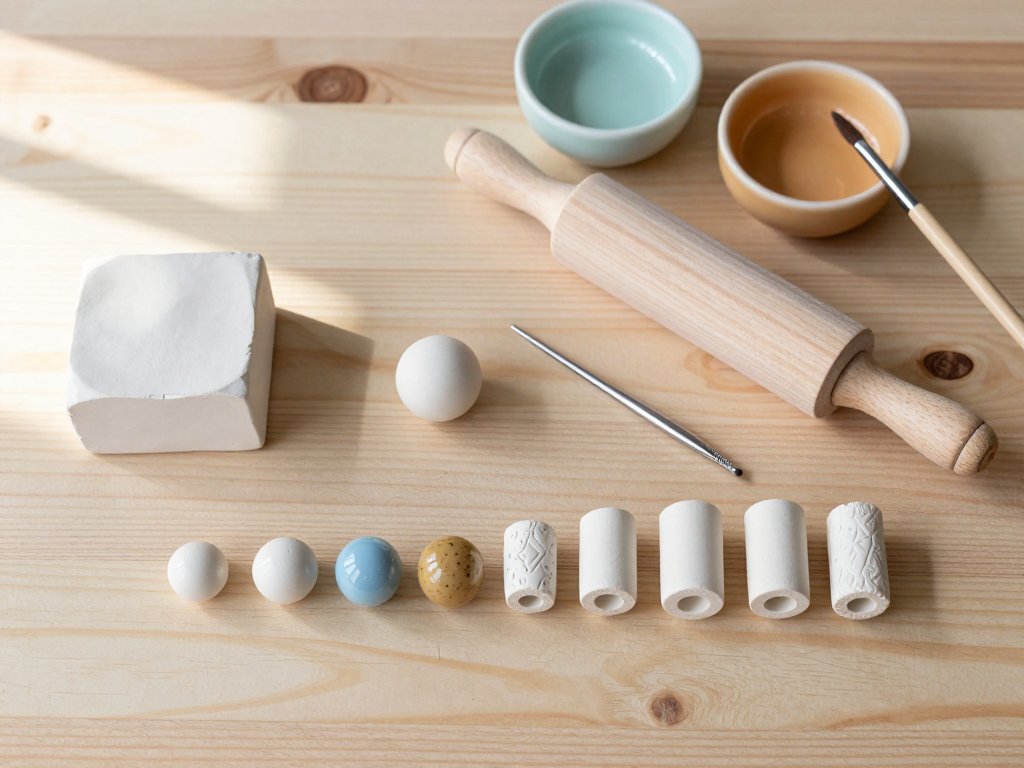
Slip and Application Tools
Your slip should be made from the same clay body as your piece, thinned with water to the consistency of heavy cream. You will need brushes for application, as well as tape, wax resist, or latex resist for masking areas you want to remain exposed. Latex resist is the most common; it peels off easily after the slip dries.
Reduction Chamber
This is simply a metal container with a lid — a galvanized steel trash can works perfectly. Drill a few small holes near the bottom for airflow. Line the bottom with three to four inches of combustible material: sawdust, straw, dried leaves, or shredded newspaper all work well. The reduction chamber is where the magic happens.
Water Bucket
You will need a bucket of water large enough to submerge your piece. This is used for the final cooling and for loosening the slip layer after reduction. A five-gallon bucket filled three-quarters full is sufficient.
Preparing Your Pieces
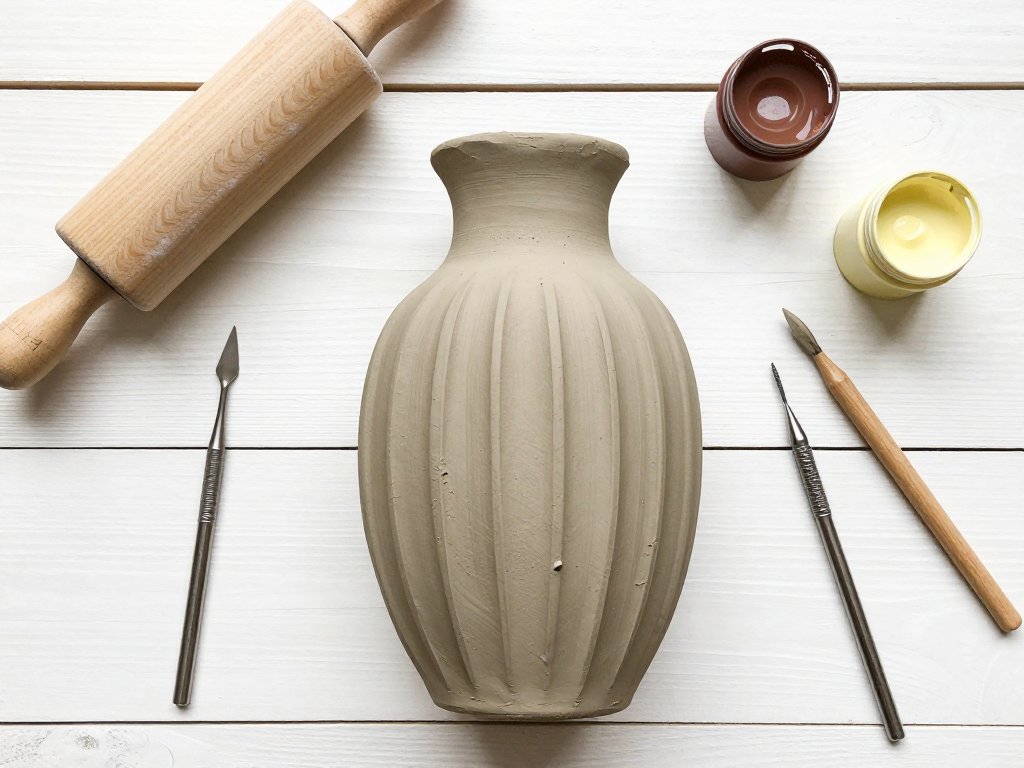
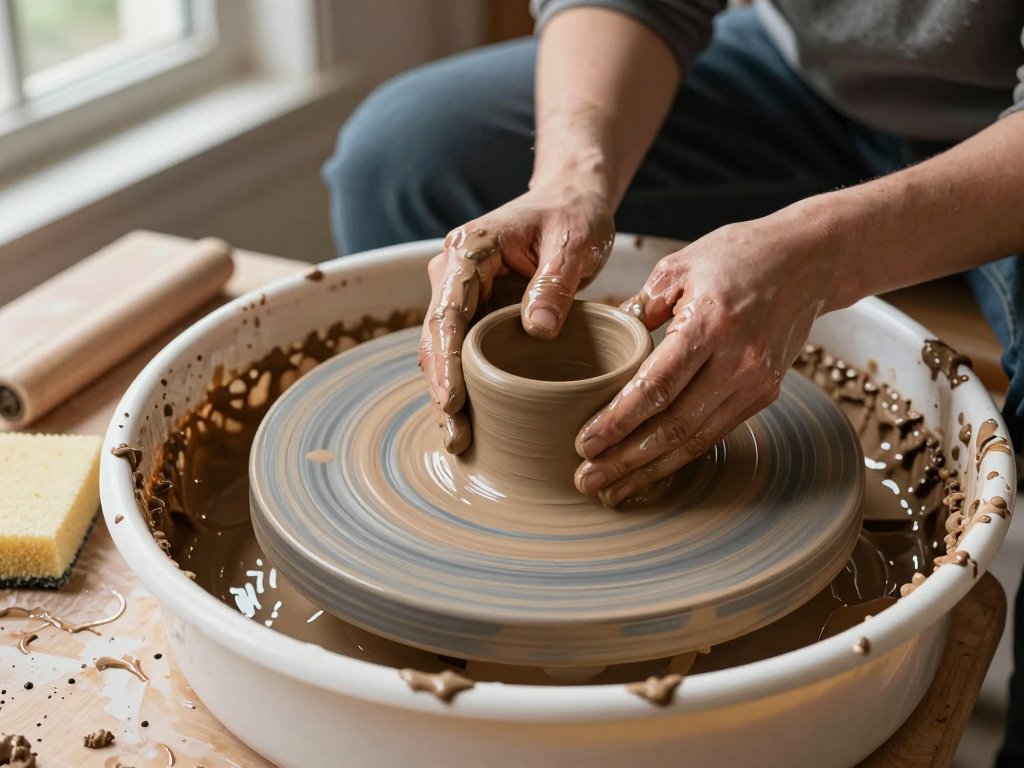
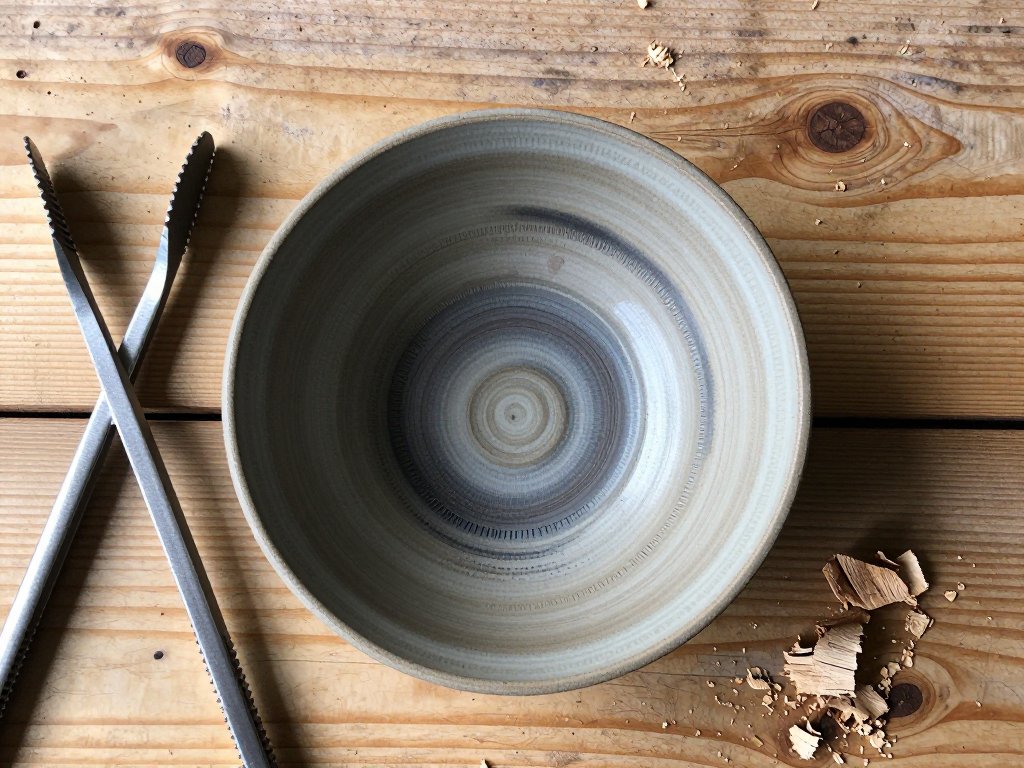
Your first naked raku piece should be simple. Think small, rounded forms — a pinch pot, a small bowl, or a cylinder. Keep walls relatively even and avoid sharp corners, which are prone to cracking under thermal stress.
Step 1: Bisque Fire
Before you can apply slip and do a raku firing, your piece must be bisque-fired to cone 04 (about 1,945°F). This makes the clay hard and porous, ready to absorb the slip and later the smoke. Allow the bisque-fire to cool completely before handling.
Step 2: Apply Resist
Decide which areas of your piece you want to remain exposed — these will turn black during reduction. Apply latex resist to those areas using a brush. You can create stripes, organic shapes, or geometric patterns. Let the latex dry completely, which takes about fifteen to twenty minutes.
Step 3: Apply Slip
Brush a generous layer of your slip over the ENTIRE piece, including the areas with latex resist. The slip should be thick enough to cover completely but not so thick that it drips. Set the piece aside to dry. This takes thirty to sixty minutes depending on humidity. The slip is ready when it feels dry to the touch but is not yet cracked.
Step 4: Peel the Resist
Once the slip is dry, carefully peel away the latex resist. The slip covering the resist will come away with it, revealing the bare clay beneath. You now have a pattern of bare clay and slip-covered clay. The slip-covered areas will stay light; the bare areas will absorb smoke and turn dark.
The Firing Process
This is where things get exciting. If you are doing this in a community studio, a studio technician will likely operate the kiln. If you are working independently, here is the sequence.
Step 1: Load the Kiln
Place your piece on a kiln shelf inside the raku kiln. The kiln should already be preheated to around 1,800°F. Use your tongs and wear your full safety gear. Close the kiln lid or door.
Step 2: Monitor the Firing
Watch through the kiln peephole. The piece will first glow dull red, then bright orange. You are looking for two signs that it is ready: the piece reaches an even orange color (about 1,800°F), and the slip begins to appear slightly shiny or vitrified. This typically takes fifteen to twenty minutes.
Step 3: Move to Reduction
Using your tongs, carefully remove the glowing piece from the kiln and place it directly into the reduction chamber (your metal trash can filled with sawdust). Close the lid immediately. The sawdust will ignite from the heat and produce thick smoke. The reduction time depends on how dark you want the exposed areas: five minutes gives a light gray, fifteen minutes produces deep charcoal. Set a timer.
Step 4: Cool and Quench
Using your tongs, remove the piece from the reduction chamber. It will still be very hot and smoking. Place it in the water bucket to cool. You will hear a loud sizzle and see steam. Let it sit in the water for three to five minutes.
Step 5: Clean Off the Slip
Remove the piece from the water. The slip layer should now be loose and flaking off. Under running water or in a second bucket, gently rub the slip away with your fingers or a soft sponge. Do not use anything abrasive, or you will scratch the darkened surface underneath. As the slip comes off, the lighter clay body beneath is revealed, creating the signature naked raku contrast.
Allow the piece to dry completely. You will notice that the exposed areas are now dark charcoal to black, while the slip-covered areas remain the natural color of the clay body. The line between them is never perfectly sharp — it bleeds and feathers in a way that gives each piece its own fingerprint.
Troubleshooting Your First Firing
Not everything will go perfectly on the first try, and that is part of the beauty. Here are common issues and how to handle them.
Cracking
If your piece cracks during firing, the most likely cause is thermal shock from uneven heating or cooling. Next time, let the piece preheat in a warm kiln (200°F) for ten minutes before moving it to the hot kiln. Also ensure your walls are even in thickness.
Slip Does Not Come Off
If the slip is stubborn after quenching, the piece may not have been hot enough when it went into the reduction chamber, or the slip was applied too thickly. Try soaking the piece in water for ten to fifteen minutes and gently scrubbing with a nylon brush. If that does not work, the slip has fused to the clay body, and the piece will keep its white covering — which can still be beautiful.
Uneven Smoke Absorption
Some areas of the exposed clay may be darker than others. This is normal and desirable. If you want more even coverage, rotate the piece in the reduction chamber halfway through the process. You can also try a finer sawdust that produces more consistent smoke.
Piece Explodes in the Kiln
This is rare but dramatic. It happens when moisture trapped inside the clay turns to steam faster than it can escape. Make absolutely sure your bisque-fired piece is bone dry before the raku firing. If you live in a humid climate, set your bisque pieces in a warm oven (200°F) for an hour before the raku session.
Sealing and Finishing Your Piece
Naked raku pieces are porous. The darkened surface is carbon that has been deposited into the clay body, but it can rub off over time with handling. To preserve your work, apply a sealant. A food-safe acrylic spray or a thin coat of matte furniture wax works well. For decorative pieces that will not hold food or water, you can also use a clear matte varnish.
Apply two thin coats, allowing each to dry completely. This will lock in the carbon pattern and give the piece a subtle sheen. Avoid glossy finishes — they detract from the raw, organic feel that makes naked raku so distinctive.
Beyond Your First Piece
Once you have successfully completed your first naked raku firing, a world of possibilities opens up. You can experiment with multiple layers of slip, apply slip in thinner or thicker coats for varied effects, or combine naked raku with small areas of traditional raku glaze for accent. Some potters embed copper wire or metal oxides into the slip before firing, creating unpredictable but beautiful color shifts during reduction.
The real joy of naked raku is that you never quite know what you will get. The same piece, fired at the same temperature, with the same reduction time, can look completely different on a Tuesday than it did on a Monday. That element of surrender — of letting the fire and smoke have their say — is rare in a craft where we usually strive for control. For a beginner, it is a wonderful lesson in letting go.
Conclusion
Your first attempt at naked raku may not produce a masterpiece. You might crack a piece, or the slip might refuse to come off, or the smoke pattern might look like a Rorschach test that no one can interpret. But you will open the kiln, hold a piece that was on fire twenty minutes ago, and see a surface that no other technique could produce. That alone is worth the smoke and the heat and the uncertainty.
Find a studio that offers raku firings, gather your materials, and make your first piece. The clay will remember the flame, and so will you.