Introduction
Have you ever wanted a quiet hobby that fits into the cracks of a busy day? Something that calms your mind without requiring a big setup, expensive supplies, or an hour of uninterrupted time? Zentangle might be exactly what you are looking for.
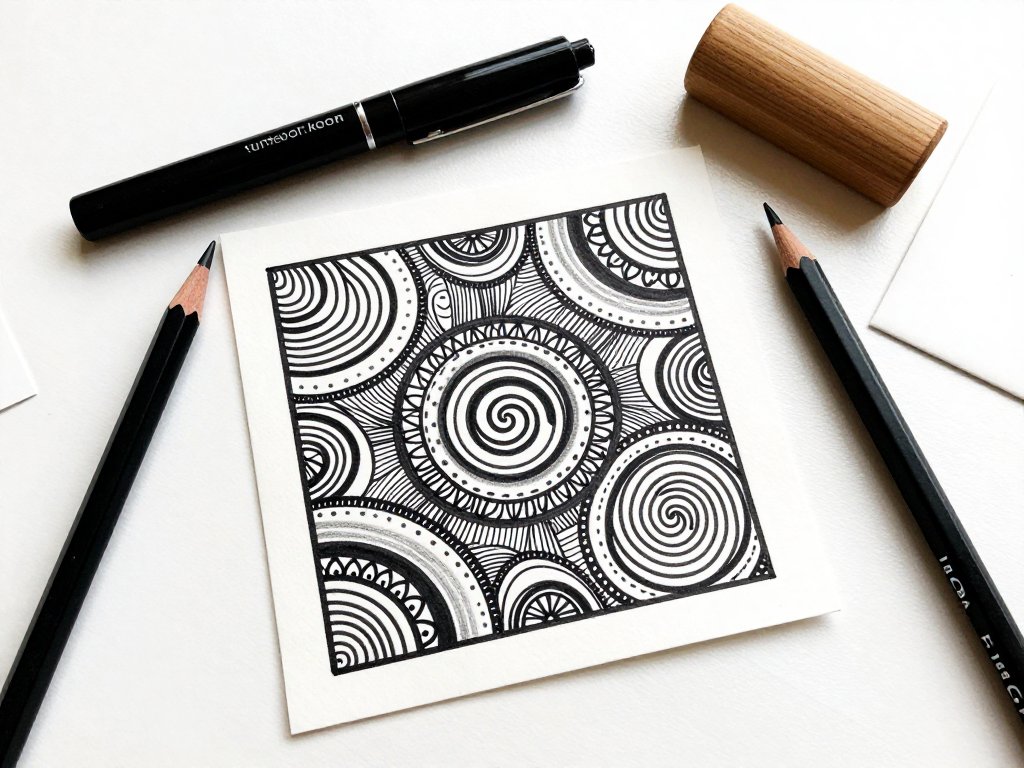
Zentangle is a method of drawing structured patterns, called tangles, inside small tiles of paper.
It was created by Rick Roberts and Maria Thomas in 2003, and it has helped millions of people relax, focus, and rediscover the joy of making marks on paper.
You do not need to be artistic. You do not need talent. You need a pen, a pencil, and a willingness to draw one line at a time.
In this guide, I will walk you through everything you need to start: what zentangle is, the tiny supply list, the simple three-step method, and three beginner tangles you can learn today.
I will also share a twenty-minute session you can fit into nap time, quiet time, or the last stretch of the evening.
By the end, you will have a finished tile and a new little ritual to call your own.
What Is Zentangle, Really?
Zentangle is the practice of drawing deliberate, repetitive patterns within a defined space. The space is usually a tile — a small square of paper about three and a half inches on each side.
Because the tile is small, a session never feels overwhelming. You are never staring at a vast blank page.
The method has a few gentle rules that make it special:
- No mistakes. In zentangle, there are no erasers and no errors. Every line becomes part of the pattern.
- One stroke at a time. You build patterns slowly, stroke by stroke, which naturally slows your breathing and your thoughts.
- No planning ahead. You do not decide the whole tile in advance. You let each tangle lead to the next.
- Focus on the process. The goal is not a beautiful finished drawing, though that is a lovely bonus. The goal is the calm, focused state you reach while drawing.
It sounds simple, and it is. That simplicity is the whole point. Zentangle gives your mind one small, pleasant thing to do, which leaves no room for the worries that usually crowd in.
Why Zentangle Works for Busy Moms
Let me be honest about why this particular hobby fits a mother's life so well. I have tried plenty of crafts that sounded relaxing but secretly required a whole afternoon and a clean kitchen table. Zentangle is different.
First, it is genuinely portable. A tile and a pen fit in a pencil case, a diaper bag, or a coat pocket. You can draw while waiting at the doctor's office, sitting on the sidelines at soccer practice, or watching a show after the kids are asleep.
Second, it is forgiving of interruptions. If a child wakes up mid-pattern, you simply put the tile down. When you come back, you pick up where you left off. There is no glue drying, no paint that must be finished, no seam that will show if you stop.
Third, it actually calms you down. Studies on repetitive drawing and coloring suggest that focused, rhythmic hand movements can lower stress and quiet racing thoughts. Many zentangle practitioners describe the feeling as a moving meditation — your hands are busy, but your mind gets to rest.
And fourth, it builds confidence. Because there are no mistakes, every tile is a success. That feeling of "I made something, and it looks good" is powerful, especially on days when the rest of your to-do list feels endless.
The Only Supplies You Need
Here is the best part: you can start with things you probably already own. The official zentangle supplies are lovely, but they are not required.
- Paper tiles. Small squares of smooth, sturdy paper — three and a half inches is the classic size. You can also cut a piece of cardstock or use the corner of a sketchbook page.
- A fine-tip pen. A black gel pen or a fine-liner in 0.3 to 0.5 millimeter works beautifully. Look for one that flows smoothly and does not smear.
- A pencil. Any soft pencil, like a 2B, for shading and for drawing your starting lines.
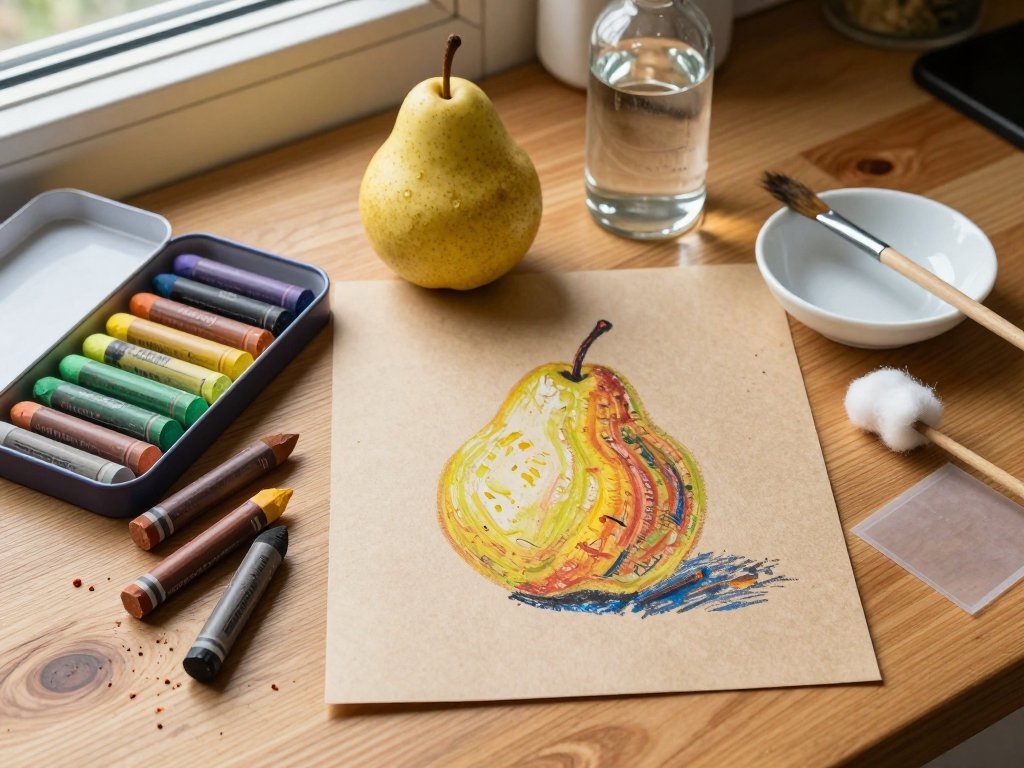
- Something to smudge with. A tortillon, a cotton swab, or even your fingertip will soften pencil shading.
- Good light and a flat surface. That is it.
That is the whole list. You will not need to buy special paper before your first session. Use what you have, and upgrade later if you fall in love with the practice.
The Zentangle Method: String, Tangle, Shade
The zentangle method follows a simple rhythm: string, tangle, shade. Once you learn these three words, you know how to start any tile.
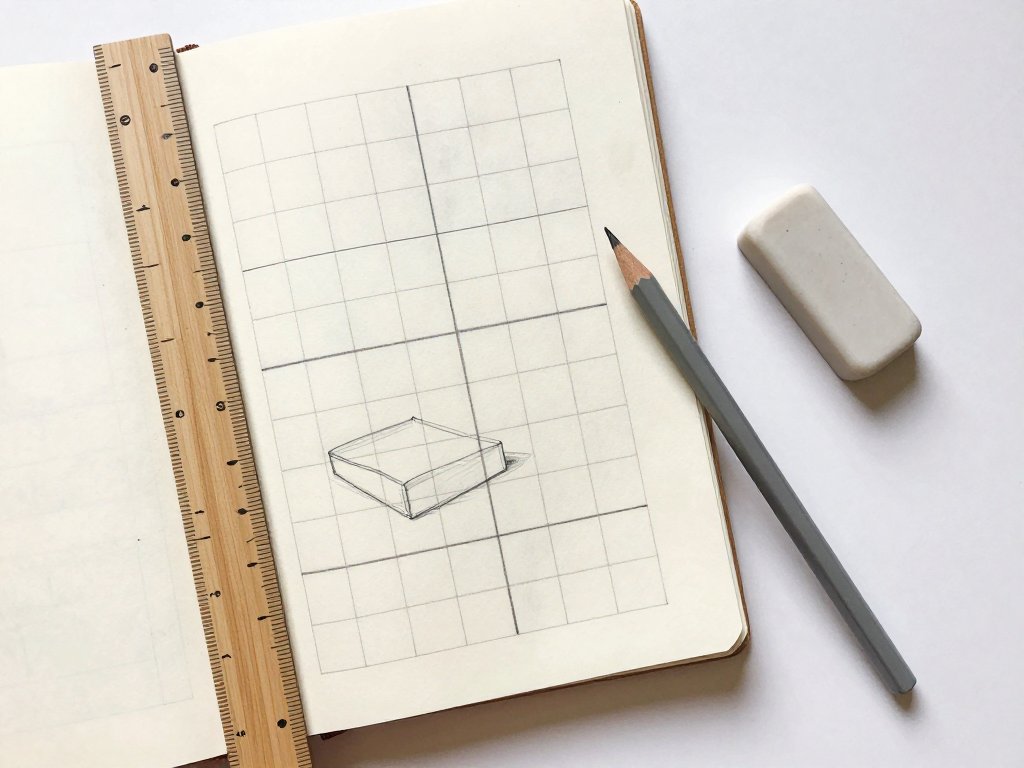
Step 1: Draw a string. Lightly pencil a few curved or straight lines across your tile.
They divide the space into a few sections, like a map of imaginary shapes. You do not plan it — just let your pencil wander.
Most tanglers draw two or three lines that cross or curve.
Step 2: Fill each section with a tangle. A tangle is a pattern made from a short sequence of repeated strokes. You choose one pattern for one section, draw it slowly, then move to the next section and choose another. You can repeat the same tangle or use different ones.
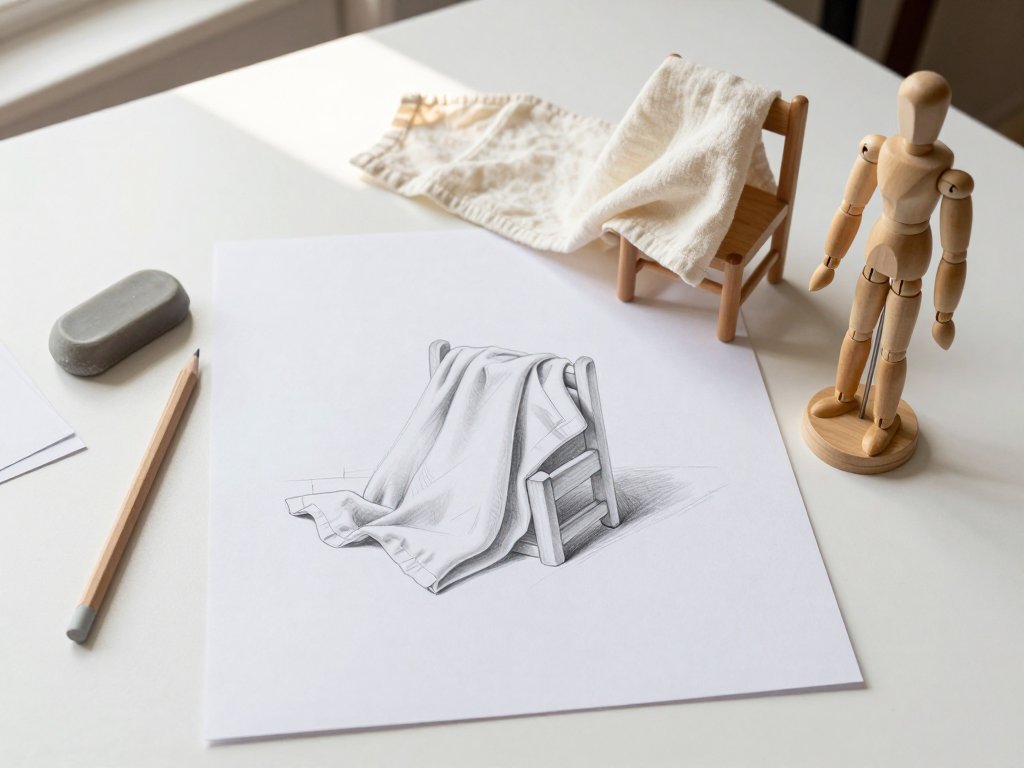
Step 3: Add pencil shading. Once the ink is dry, add soft pencil shading along the edges of sections, under curves, or in corners. Then smudge it gently with your tortillon. Shading is what makes a flat pattern feel dimensional and alive.
That is the entire method. String, tangle, shade — then admire your tile. It takes about fifteen to twenty minutes and leaves you with something genuinely pretty.
Your First Tangle: Crescent Moon
Let us learn a real tangle together. Crescent Moon is a classic beginner pattern, and it is perfect for your first tile.
Step 1: Draw a few long, gently curved lines across your tile in pencil — your string. Crescent Moon looks wonderful in long, swooping sections.
Step 2: In one section, draw a row of crescent shapes. Each crescent is like a curved parenthesis: start at the top, curve down and around, and come back up. Leave a little space between each one.
Step 3: Add a second row of crescents, tucked between the first row's gaps. The pattern builds like fish scales or roof tiles.
Step 4: Fill the rest of the section the same way. The crescents do not need to be even. Their wobbles become part of the charm.
Step 5: Shade along one side of each crescent with your pencil, then smudge. The shading makes each crescent look like it is curling away from the paper.
That is Crescent Moon. Notice how simple each individual stroke was? You never had to draw anything complicated — you just repeated a small, easy shape over and over. That is the secret of every tangle.
More Beginner Tangles to Try
Once Crescent Moon feels comfortable, here are three more tangles that are just as friendly. Learn them one at a time, and soon you will have a little library of patterns to mix and match.
Printemps. This is a spiral tangle. Draw a small spiral, then another spiral beside it, then another, until the section fills up. Keep the spirals small and close together for a lovely woven look. Printemps is calming to draw and works in any shape of section.
Hollibaugh. This one is made of straight lines that turn corners. Draw a line, then at its end draw a new line at a right angle, like drawing the path of a maze.
Keep turning corners and filling the section. It feels like building a little labyrinth, and the result is modern and architectural.
Paradox. Paradox is a little trickier but worth learning. Inside a triangle or square shape, draw lines parallel to each edge, moving inward. The lines create a twisting optical effect. Start with a simple triangle section and take it slowly.
When you are ready for more, search for tangle pattern libraries online or pick up a zentangle book from your local library. There are hundreds of named patterns, and each one is just a sequence of simple strokes.
A Twenty-Minute Zentangle Session
Here is a complete session you can do right now, timed for a busy day. Set a timer for twenty minutes if you like, or just let yourself drift.
Minutes 1-2: Settle in. Sit somewhere comfortable. Place your tile and pen in front of you. Take three slow breaths. This is your time.
Minutes 2-4: Draw your string. Pencil two or three curved lines across the tile. Do not think — just draw.
Minutes 4-12: Tangle the first section. Fill the largest section with Crescent Moon. Stroke by stroke, let the pattern grow. If your mind wanders, gently bring it back to the pen.
Minutes 12-17: Tangle the second section. Fill another section with Printemps spirals. Notice how the two patterns feel different.
Minutes 17-19: Shade. Add pencil shading along the edges and smudge it softly.
Minutes 19-20: Admire. Hold your tile up. You made that. Sign the back with your initials and the date, the way tanglers do.
Twenty minutes, one finished tile. If that felt good, try it again tomorrow. You will find that the ritual itself becomes something you look forward to.
If you only have five minutes, you can still tangle a single section. One small pattern, drawn slowly, is a complete session. Some of my favorite tiles were made in stolen five-minute moments.
Common Beginner Questions
When I share zentangle with friends, the same questions come up every time. Here are my honest answers.
"I can't draw — will I be able to do this?" Yes. You are not drawing pictures; you are repeating tiny strokes. If you can write your name, you can tangle.
"What if my patterns look messy?" Then they look like hand-drawn patterns, which is exactly right. Remember the first rule of zentangle: there are no mistakes.
"How is this different from doodling?" Zentangle is deliberate and structured. You work in a defined space, follow a method, and typically finish a whole tile. It is doodling with intention and a ritual around it.
"Do I need to buy official supplies?" No. Start with what you have. If you love the practice, treat yourself to nice tiles and pens later.
"How often should I practice?" As often as you enjoy it. Some people tangle daily; others once a week. There is no requirement, which is part of its appeal.
Zentangle with Kids
Zentangle is a wonderful activity to share with children, and it teaches them something valuable: that making marks on paper can be calm and joyful, not stressful.
Young children can start with simple repeating shapes — circles, loops, or zigzags — inside sections you draw for them. Older kids can learn Crescent Moon and Printemps right alongside you. Many children take to the patterns naturally and create surprisingly sophisticated tiles.
A few tips for family tangle time:
- Keep it short. Ten minutes is plenty for little ones.
- Praise the process. Comment on how focused they looked, not just how the tile turned out.
- Draw your own tile. When you tangle alongside them, you model the calm you want them to feel.
- Frame their favorites. A finished tile in a tiny frame makes a sweet gift for grandparents.
You might be surprised how quickly the family quiet time becomes a favorite part of the week.
Conclusion
Zentangle is a small practice with a big gift: it gives you a few quiet minutes to breathe, draw, and be kind to yourself. You do not need talent, time, or a craft room. You need a pen, a piece of paper, and permission to make imperfect lines.
Start tonight with a single tile. Draw a string, tangle a section of crescents, add a little shading, and see how your shoulders feel when you finish.
Then keep your tile somewhere you will see it — on the fridge, on your desk, in your bag.
Let it remind you that you made something beautiful from simple strokes.
And when you are ready, teach someone else. Pass the calm along. That is how the practice grows, one small tile and one quiet moment at a time. Happy tangling!