Introduction
Every knitter remembers the first time they saw a cabled sweater. Those braided ridges twist across the yarn like carved stone, elegant and ancient, the kind of work that seems to belong to grandmothers and master artisans.
Here is the lovely secret of cable knitting. Every cable, from a simple rope to an elaborate Celtic knot, comes from one basic move. You knit stitches out of order, holding some aside while you work the others, then return to finish the set.
That single move creates the illusion of braided strands weaving over and under one another. Once your hands learn it, a whole language of texture opens up to you.
This guide walks you through the anatomy of a cable, the tools that make it easy, and two practice panels that build real skill. You will finish with a weekend project you can wear with pride.
The Anatomy of a Cable
Imagine braiding three strands of yarn with your fingers. Each strand crosses over its neighbor in turn, and the finished braid holds its shape because of that crossing.
A knitted cable works the same way, except the strands are columns of stitches. When you cross a group of stitches over an adjacent group, the fabric twists into a raised braid.
The crossing happens on a single row, called the cable row. Between cable rows you knit plain fabric, letting the twist settle. Most beginner cables cross every fourth, sixth, or eighth row.
Why does the braid stand out from the background? The stitches around it are purled. Purl bumps recede, while the crossed knit stitches pop forward, giving cables their sculpted relief.
Yarn and Needles That Show Off Cables
Cables deserve yarn that lets the pattern speak. Smooth, round yarns with good stitch definition make every twist crisp and readable.
Choose a light color for your first project. Pale yarns show shadow and depth far better than dark ones, which can swallow a cable's relief. Save the charcoal for later, when your eye knows what to look for.
A worsted or aran weight yarn is ideal for learning. It is thick enough to read clearly and knits up quickly enough to keep you motivated. Look for a smooth wool or wool blend; wool's springiness helps cables hold their shape.
Needle size follows your yarn label, usually 4.5 to 5.5 millimeters for worsted weight. Swatch first, because tension changes everything in cabled fabric. The goal is a fabric that is firm but not stiff.
One honest warning before you begin. Cables pull the fabric together, so they use noticeably more yarn than plain stockinette.
For a cabled garment, add twenty to thirty percent to your usual estimate, or run your numbers through the yardage calculator before you commit to a project.
Meet the Cable Needle
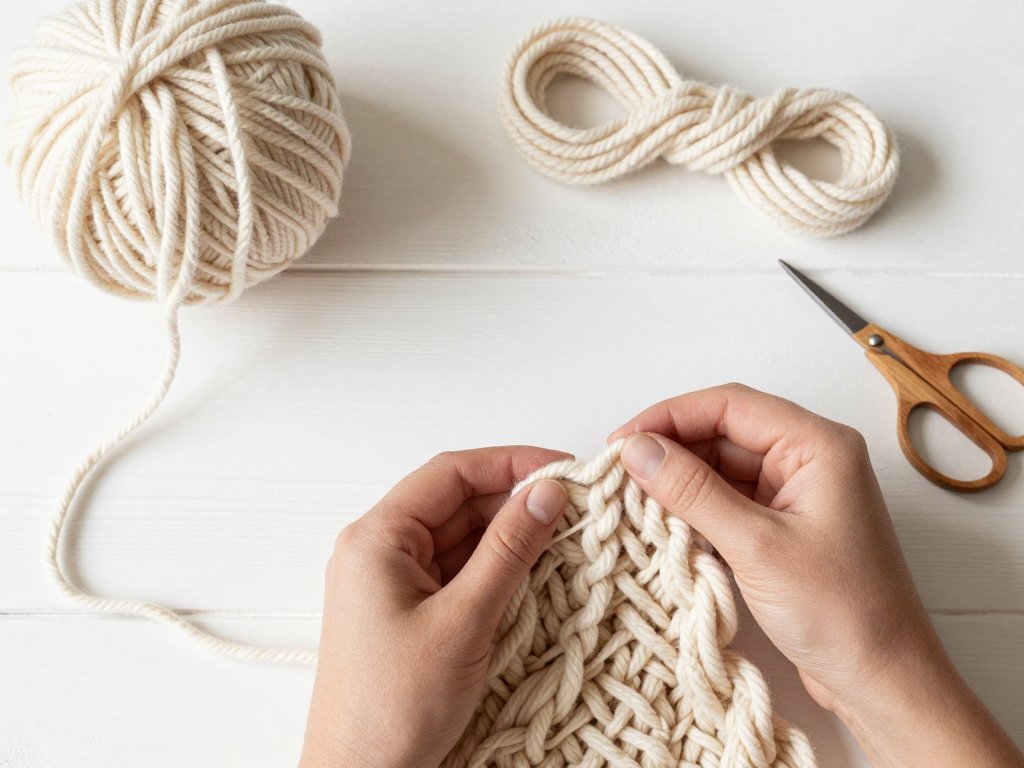
A cable needle is a short, double-pointed stick with a bend or groove in the middle. It holds stitches aside while you knit around them.
Cable needles come in straight, U-shaped, and hook-shaped designs. The curved shapes are popular because the stitches are less likely to slide off the ends.
Choose a cable needle close in diameter to your knitting needles. A much thinner one makes the held stitches uncomfortably tight, while a thicker one stretches them.
Do not own one yet? A spare double-pointed needle in the same size works perfectly. Even a large safety pin can hold a small cable in a pinch, though it is less comfortable to knit from.
The Core Move: C4F and C4B
All cable notation builds on two directions. C4F means cable four front, and C4B means cable four back. The number tells you how many stitches are in the cable.
Let us break C4F into steps. First, slip the next two stitches onto your cable needle and hold the needle in front of your work. Knit the next two stitches from your left needle, then knit the two stitches from the cable needle.
Because the held stitches crossed in front, the column leans to the left. The resulting twist looks like a rope winding upward.
C4B is the mirror image. Slip two stitches to the cable needle and hold it in back of your work. Knit the next two stitches, then knit the two from the cable needle. This column leans to the right.
Practice both directions until they feel natural. The motion is simply knitting stitches in a different order; nothing else changes. Hold the cable needle gently, and keep your tension relaxed across the crossing.
Reading Cable Language
Cable patterns look cryptic until you learn the alphabet. Once you can decode a few abbreviations, any pattern book opens to you.
C4F, C6B, and C8F all follow the same logic. The letter tells the direction, and the number tells the total stitches involved. C6F means six stitches: three held in front, three knitted, then the three held stitches.
Some patterns write the move out longhand, like slip 3 to cable needle and hold in front. Others use charts, where a slanted line or hook marks each crossing. Charts show the right side of the work, and each square is one stitch.
The repeat is the heart of the pattern. A line like work rows one through eight, then repeat tells you the rhythm of the cable. Most cables follow the same quiet pulse: plain rows, then a crossing, then plain rows again.
Swatching for Cables
Cables deserve a swatch, and not just any swatch. A plain stockinette sample will lie to you, because cables pull the fabric inward and change the gauge.
Cast on enough stitches for one full repeat of your cable plus its borders, about eighteen to twenty-four stitches. Work at least two cable repeats, then measure the result.
Measure your swatch before and after blocking. Wool relaxes and grows when it is wet, so the blocked measurement is the one that matters for sizing.
Count stitches and rows over four inches in the center of the swatch, away from the edges. Write the numbers on a tag and keep it with your yarn for reference.
Yes, swatching takes an evening. It also saves you from knitting a whole garment that does not fit, which takes far longer.
Practice Panel 1: The Rope Cable
The rope cable is the purest introduction to cabled texture. It crosses the same direction every time, so the fabric twists into a continuous spiral like a ship's rope.
Cast on eighteen stitches. Work a simple six-stitch rope cable in the center, framed by stockinette and garter edges that keep the panel flat.
Row 1 and every right side row until the cable row: knit four, purl two, knit six, purl two, knit four.
Row 2 and every wrong side row: purl four, knit two, purl six, knit two, purl four.
On the sixth row, work the crossing. Knit four, purl two, then C6F: slip three stitches to the cable needle held in front, knit three, knit the three held stitches. Finish with purl two, knit four.
Repeat these six rows, and watch the rope emerge. Each crossing stacks on the last, spiraling the same way like a strand of licorice twist.
Knit the panel until it measures about six inches, then bind off in pattern. You have just made your first true cable, and it is beautiful.
Practice Panel 2: The Braided Cable
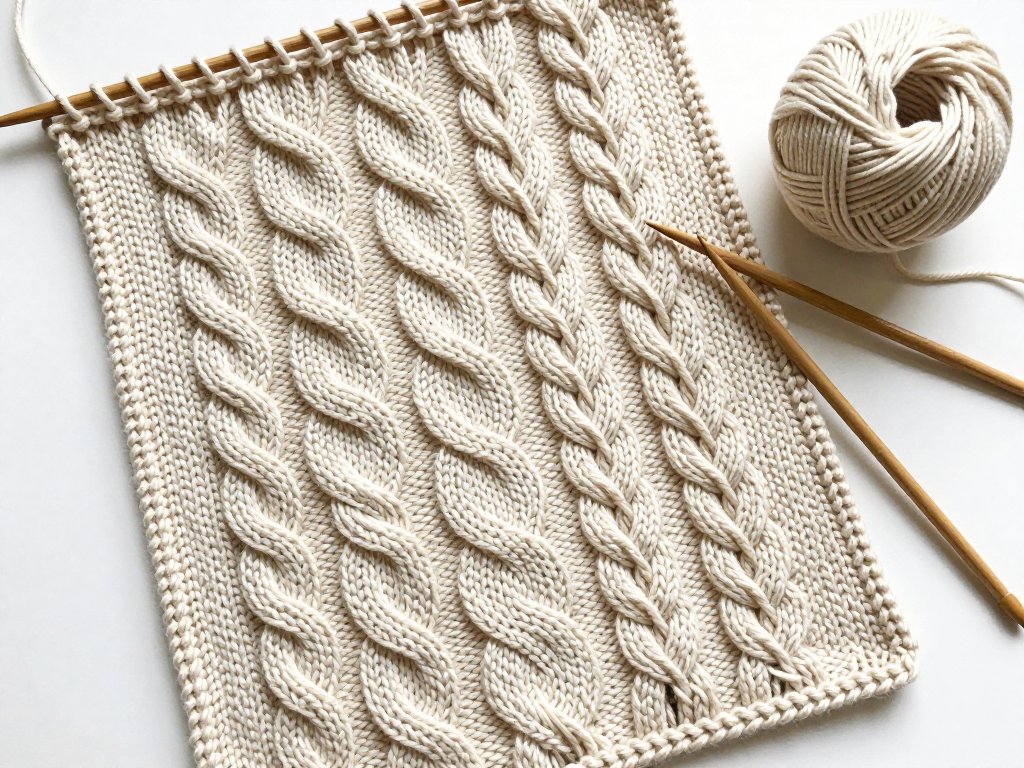
Now for the pattern that gives this article its name. A braided cable alternates its crossing direction, so two columns weave over and under each other like a plait.
Cast on eighteen stitches again, using the same frame as before. The difference lives entirely in the direction of the crossing.
Work the first cable row as C6F, holding the three slipped stitches in front. Then work six plain rows exactly as you did for the rope cable.
On the next cable row, work C6B instead. Slip three stitches to the cable needle held in back, knit three, then knit the three held stitches.
Keep alternating front and back crossings every six rows. The fabric will not spiral; it will weave. One column leans left, then right, then left again, braiding against its neighbor like strands of hair.
This is the motion behind the classic braided and horseshoe cables in Aran sweaters. Once you feel the rhythm of alternating direction, you can knit any of them.
Weekend Project: Your First Cabled Headband
You have practiced the moves. Now put them to work in a small, satisfying project that uses every skill from this guide.
A cabled headband is the perfect first cable garment. It needs less than a hundred yards of worsted yarn, takes an evening to knit, and shows off a rope cable beautifully.
You will need: worsted weight yarn in a light color, 5 millimeter needles, a cable needle, and a yarn needle for finishing.
Cast on eighteen stitches. The pattern is the rope cable panel from earlier, worked until the band reaches the length you need.
Knit rows one through six as written for the rope cable, repeating until the headband measures about eighteen inches, or two inches less than your head circumference. Bind off in pattern, leaving a long tail.
Fold the headband so the two cast-on and bind-off edges meet. Sew them together with the tail, weaving the yarn through the edge stitches. Turn the seam to the inside.
Block the finished headband gently. Wet blocking relaxes the cable and evens the stitches, turning a good headband into a great one. Lay it flat to dry.
Wear it on your next walk, or wrap it as a gift. You have graduated from cable curious to cable confident.
Common Challenges and Gentle Fixes
Every cable knitter meets a few snags on the way. Here is how to untangle the most common ones.
Stitches too tight after a crossing. This is the classic beginner complaint. The held stitches stretch when you work around them, so the next row feels stiff. Loosen your tension on the row after a cable, and block the finished piece; blocking performs small miracles.
A dropped stitch near the cable. Do not panic. Pick the stitch up with a crochet hook and ladder it back up, one rung at a time. If the stitch laddered across a cable row, follow the crossing carefully rather than the straight column.
The twist leans the wrong way. You held the cable needle in front when the pattern said back, or the reverse.
The fabric is not ruined; a cable that leans the opposite direction simply looks different.
Decide whether you like it, unravel to the cable row if you do not, and cross again.
Curling edges. Stockinette curls by nature. The garter and purl borders in these patterns exist to stop that curl, so trust the framing. If a project still rolls, a seam or edging will tame it.
Losing your place in the repeat. Mark your cable rows with a removable stitch marker or a row counter. When life interrupts, you will know exactly where to resume.
The cable needle keeps sliding out. Choose a curved cable needle, which grips held stitches far better than a straight one. You can also pinch the held stitches gently between your fingers while you knit the first stitches of the crossing.
Cables in the Round
Many beloved cabled knits, from hats to cowls to sweater sleeves, are worked in the round. The good news is that cables may be even easier there.
In the round you never turn the work, so every row is a right side row. The crossings always happen on the front, and the purl background becomes a simple repeating rhythm.
Place a stitch marker at the start of the round and another before each cable panel. When you reach a marker, you know a crossing is approaching.
Work the same number of plain rounds between crossings as you would rows on a flat piece. The quiet pulse of the cable stays exactly the same.
Where Cables Can Take You
You now hold the key to one of knitting's most beloved traditions. Rope cables, braids, horseshoes, diamonds, and honeycombs all grow from the crossing you learned today.
Try placing a cable panel down the center of a simple scarf, or frame a braided cable with seed stitch for a modern look. Each new project teaches your hands a slightly different rhythm.
Cabled garments are also wonderful gifts, because they look far more difficult than they are. A cabled headband or cowl says I made this for you with care, and the braided texture carries that warmth.
When you are ready for another quick knit, explore our guide to the trending triangle scarf, a shape that pairs beautifully with cabled panels.
For now, wind a skein of soft yarn in a color you love, and cast on. The braids are waiting, and they are far easier than they look.