Introduction
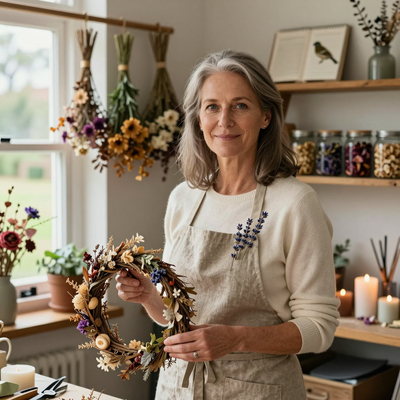
There is something quietly magical about a bouquet that never droops. Real flowers bring joy into a room, no question about it — but their beauty is fleeting.
You have a few glorious days, maybe a week if you are lucky, and then the petals drop, the stems soften, and you find yourself sweeping dried leaves off the kitchen counter.
Crochet flower bouquets offer something different. They hold their shape through birthday parties, rainy afternoons, and the long stretch of winter when fresh blooms grow scarce.
And the best part? You make them yourself, one stitch at a time, with yarn that costs a fraction of what you would spend at the florist.
This craft has been gaining quiet momentum for the past two seasons, and it is not hard to see why.
A crochet bouquet sits at the perfect intersection of the calm, repetitive rhythm of handwork and the instant gratification of watching something beautiful take shape.
You do not need years of crochet experience. If you can make a chain stitch and a single crochet, you already have the foundation for a whole garden of flowers.
In this article we will walk through everything you need to know to create your own crochet flower bouquet: the supplies, the basic stitches, the most popular flower patterns, and how to assemble everything into a bouquet that looks like it came from a thoughtful artisan — because, of course, it did.
A Brief History: Why Crochet Flowers Endure
Crocheted flowers are far from a new trend. The craft of making decorative flowers from thread and yarn dates back to the mid-nineteenth century, when Irish crochet lace flowers became a staple of Victorian fashion.
Women would stitch delicate rose motifs and floral medallions to trim collars, cuffs, and bonnets.
In the early twentieth century, crochet flowers appeared on everything from tea cosies to baby blankets, passed down as heirloom pieces.
What has changed in recent years is the way we think about them. Rather than a small floral trim on a larger garment, the flower itself has become the focal point.
Modern makers are creating oversized blossoms, sculptural petals, and full bouquets that stand alone as home decor.
Social media platforms have played a role, with crafters sharing their garden-inspired arrangements under trending hashtags, but the appeal goes deeper than any algorithm.
There is a reason this craft has survived for over a century and a half: it works.
A well-made crochet flower is sturdy, flexible, and endlessly customisable.
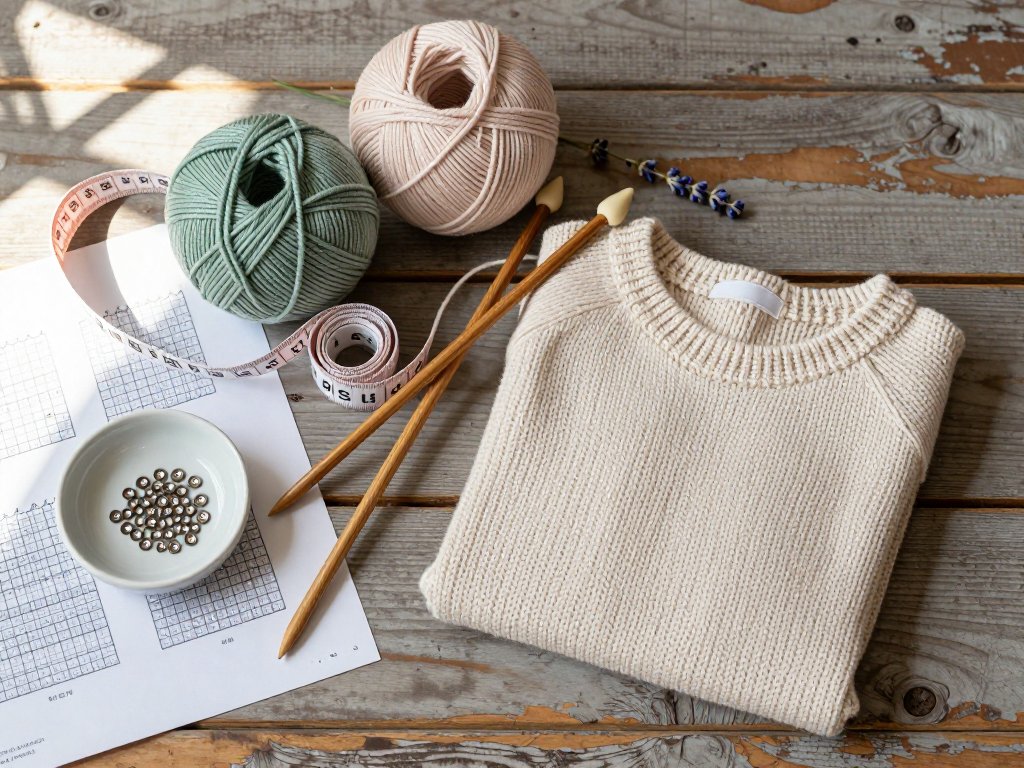
What You Will Need
Before we begin, let us gather the supplies. You likely already own most of these if you do any kind of yarn craft.
For a first bouquet I recommend choosing four or five different flower patterns and making two to three of each.
That gives you a lush, full arrangement without overwhelming a beginner.
Yarn
The type of yarn you choose determines how your flowers will look and feel. For flowers with crisp, defined petals, use a sport-weight or DK-weight cotton yarn.
Cotton holds its shape beautifully and does not stretch out over time the way acrylic can.
Brands like Lily Sugar'n Cream, Paintbox Yarns Cotton DK, and Lion Brand 24/7 Cotton are reliable choices that come in a wide range of colours.
For a softer, more romantic look you can use a lightweight acrylic or a cotton-acrylic blend.
You will need small amounts of each colour — a single 50-gram ball is enough for several flowers. For the stems, you will want green yarn in one or two shades. Do not worry too much about matching exact shades. A bouquet looks more natural when the greens vary slightly.
Hook
Most flower patterns call for a hook between 2.5 mm and 4 mm. A 3 mm or 3.5 mm hook is a good starting point for DK-weight yarn. If you want tighter, more structured petals, go down half a millimetre. For looser, drapier petals, go up.
Other Supplies
- Floral wire (18-gauge or 20-gauge) — this gives the stems structure and allows you to bend and arrange the flowers.
- Floral tape — wraps the wire and hides the join between the flower and stem.
- Scissors and a tapestry needle — for weaving in ends.
- Stitch markers — helpful for keeping track of rounds, especially when working in the round for layered petals.
- Hot glue gun — optional, but useful for securing the flower to the stem if you do not want to sew it.
- A small vase or jar — something to place your finished bouquet in so you can admire it as you go.
The Stitches You Will Need
If you are new to crochet, do not let the idea of making a flower intimidate you. Most crochet flower patterns use only three or four basic stitches. Here they are, explained simply.
Chain (ch)
The foundation of nearly every crochet project. Make a slip knot, yarn over, and pull through. That is one chain. Keep going until you have the number specified in your pattern.
Single Crochet (sc)
Insert your hook into the stitch, yarn over, pull up a loop, yarn over again, and pull through both loops on your hook. Single crochet creates a dense, tight fabric that works well for small petals and centres.
Half Double Crochet (hdc)
Yarn over, insert your hook, yarn over, pull up a loop (three loops on hook), yarn over, and pull through all three loops. Half double crochet is taller than single but shorter than double, making it ideal for petals that need a gentle arc.
Double Crochet (dc)
Yarn over, insert your hook, yarn over, pull up a loop (three loops on hook), yarn over, pull through two loops, yarn over, pull through the remaining two loops. Double crochet creates the height needed for larger, more dramatic petals.
Slip Stitch (sl st)
Insert your hook, yarn over, and pull through both the stitch and the loop on your hook. Slip stitches are used to join rounds and create smooth edges.
That is it. If you can do these five stitches, you can make nearly any crochet flower pattern you will find.
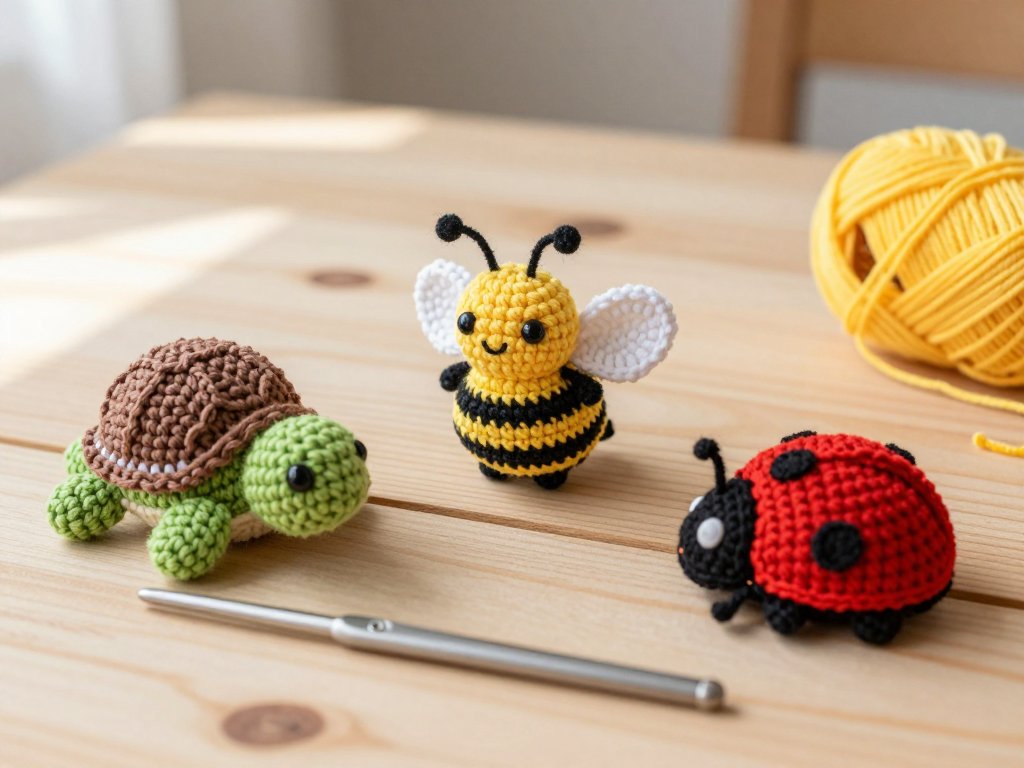
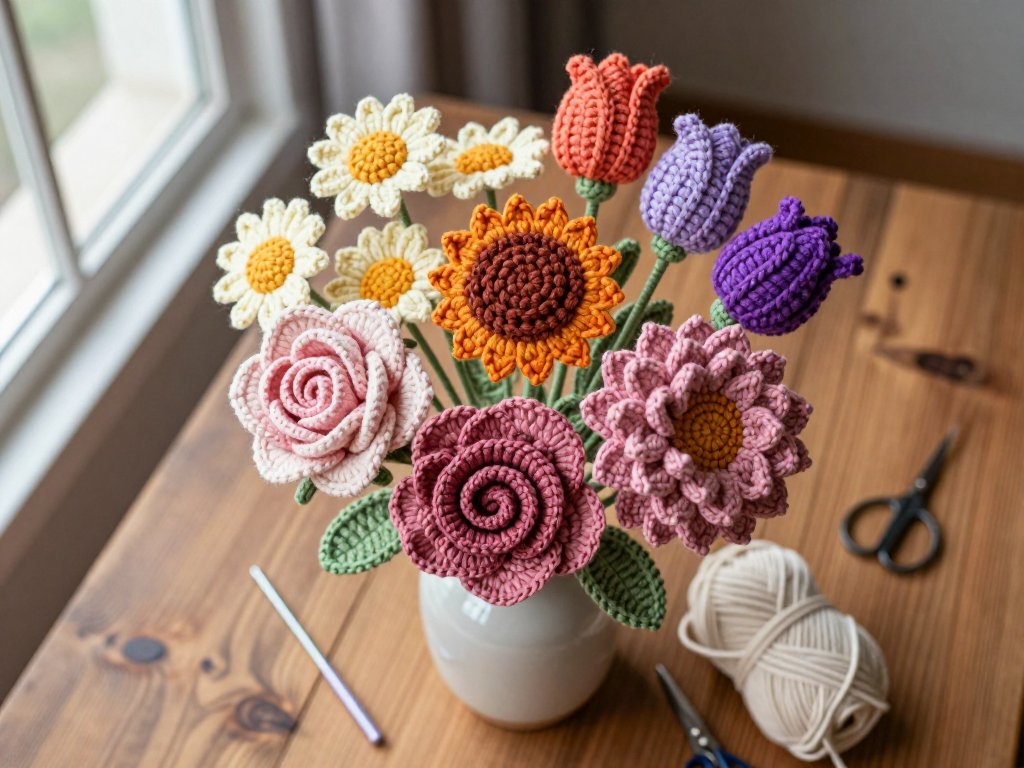
Five Flowers to Start Your Bouquet
Every bouquet needs variety. Here are five classic crochet flowers, arranged from easiest to slightly more involved. Make two or three of each, and you will have a gorgeous arrangement.
1. The Simple Spiral Rose
The spiral rose is the flower that convinced countless beginners they could make something beautiful.
It is worked in a continuous spiral, starting from the centre and growing outward in a specific increase pattern that naturally curls the work into a rose shape.
When you finish, you simply coil the strip into a flower and sew it at the base to hold the shape.
The technique is forgiving — if the spiral looks uneven at first, you can adjust the coiling to hide minor imperfections.
Choose a deep red, blush pink, or warm cream for a classic look.
2. Five-Petal Flower
This is the simplest individual-petal flower. You start with a magic ring (or a small chain circle), work a round of single crochet, and then create five petals by working a combination of single, half double, and double crochet stitches into each of five foundation stitches.
The result is a flat, cheerful flower that resembles a blossom or a daisy. These are quick — each one takes about ten minutes once you have the rhythm — and they look wonderful clustered together in a small vase.
3. Layered Sunburst
The sunburst flower builds petals in two or three concentric layers. You work the first layer in a contrasting colour (a pale yellow or white centre, for example), then switch colours for the second and third layers.
Each layer is worked into the front loops of the previous round, which creates a raised, dimensional effect.
The finished flower has real depth and catches the light beautifully. Use a bright yellow, burnt orange, or soft lavender for the outer petals.
4. Tulip Bell
Tulips bring an entirely different silhouette to a bouquet. Rather than flat petals, the tulip is worked as a small cup or bell shape.
You start with a circle, increase a few rounds to widen the cup, and then work even rounds to create height.
A small amount of stuffing at the base gives it shape. The petals are formed by working several stitches into the same stitch at the top edge, which creates a subtle scalloped rim.
Tulips look stunning in deep purple, coral, or pale pink.
5. Textured Dahlia
The dahlia is the showstopper of the crochet flower world. It requires a bit more patience, but the result is absolutely worth it.
You work a flat circle for the centre, then create dozens of narrow petals by working chain loops and single crochet stitches around the edge.
Each petal is a thin strip that curls slightly. The effect is dense, frilly, and incredibly textured — just like a real dahlia.
Use a single colour for a subtle look or two closely matched shades for a gradient effect.
A single dahlia can be the centrepiece of an entire bouquet.
Adding Leaves and Filler
A bouquet of flowers alone can look sparse. Leaves and filler elements give the arrangement volume and a natural feel.
The simplest leaf is a worked chain of about ten to fifteen stitches, with single crochet stitches worked back along the chain and a small picot at the tip for a pointed shape.
Make six to eight leaves in two shades of green.
For filler, consider tiny crochet buds — small unopened flowers made from a few stitches in a contrasting colour — or simple loops of green yarn that mimic the texture of ferns.
Even a few strands of narrow ribbon threaded through the bouquet can add movement and softness.
Do not be afraid to let the filler take up space. In a natural bouquet, the greenery is as important as the blooms.
Assembling Your Bouquet
This is where your flowers become a bouquet. Lay all your pieces on a table and arrange them as you would real flowers: tallest blooms in the centre or back, shorter flowers and filler around the edges and front.
Do not overthink it. Move pieces around until the arrangement looks balanced from all angles.
To attach the stems, cut a length of floral wire about thirty centimetres long for each flower.
Fold the top few millimetres into a small hook to grip the flower base, then thread the wire through the centre of the flower.
If you used a hot glue gun for the flower base, press the hook into the warm glue.
Otherwise, sew the wire in place with a few stitches using your tapestry needle and matching thread.
Wrap the wire and the base of the flower tightly with floral tape, stretching the tape slightly as you wind to activate the wax.
This hides the wire and secures everything in place.
Once all flowers and leaves have stems, gather them together. Hold the bouquet in one hand and add stems one at a time, wrapping floral tape around the bundle as you go.
Start just below the flower heads and work your way down. When you reach the bottom, trim the wires to a uniform length, about fifteen to twenty centimetres.
Wrap the entire handle with ribbon if you like, or leave the floral tape exposed for a rustic look.
Caring for Your Crochet Bouquet
One of the great pleasures of a crochet bouquet is how little maintenance it needs.
Unlike fresh flowers, it does not require water, trimming, or special placement away from sunlight.
That said, a few simple habits will keep it looking its best. Dust the flowers gently with a soft brush or a low-setting hairdryer every few weeks.
If the yarn becomes dusty or dingy over time, you can hand wash the flowers in cool water with a mild wool wash, reshape them while damp, and let them air dry flat.
Cotton yarns hold up particularly well to washing. Avoid wringing or twisting the flowers, as this can distort the petal shapes.
Beyond the Bouquet: Creative Variations
Once you have made your first bouquet, you might find yourself looking for excuses to make more.
Crochet flowers can be used in countless ways beyond a vase arrangement. Attach a pin back to a small flower and you have a handmade brooch.
Sew several flowers to a plain headband for a whimsical accessory. String flowers on a length of ribbon to create a bunting for a nursery or a birthday party.
Attach a magnet to the back of a small flower for an instant fridge decoration — a wonderful small gift for teachers, neighbours, or friends going through a difficult time.
You can also experiment with different yarn textures. Try a velvet yarn for ultra-soft petals, a metallic thread for holiday flowers, or a variegated yarn that shifts colour as you work.
Each material gives the same pattern a completely different personality. That is the magic of this craft: one pattern, infinite variations.
Final Thoughts
Crochet flower bouquets belong to that rare category of craft projects that are both deeply satisfying to make and genuinely useful when finished.
They do not sit in a drawer waiting for a purpose. They live on your dining table, on your desk, on a shelf in the entryway where you see them every time you walk past.
And every time you do, you will remember the quiet afternoon you spent looping yarn over your hook, building petals one stitch at a time.
That is a kind of joy no florist can replicate.
Whether you are making a bouquet for your own home, as a gift for a friend, or simply because you wanted to see if you could, the process itself is the reward. Start with one flower. See where it takes you.