Introduction
There is something deeply satisfying about a blanket you can finish in an afternoon. Not next week, not next month — this afternoon. That is the promise of the chunky knit blanket, and it is why this particular craft has captured the hearts of makers everywhere, from seasoned knitters to absolute beginners who have never held a pair of knitting needles in their lives.
The chunky knit blanket is a relatively recent phenomenon in the long history of textile crafts, but it has roots that stretch back centuries. Arm knitting — the technique that makes these blankets possible — has ancestors in the finger-loop braiding traditions of indigenous North American cultures and the frame knitting practiced in medieval Europe. What is new is the material: the extraordinarily thick roving wool that allows a blanket to work up in an hour or two rather than the weeks a traditional knitted blanket might require.
In this guide, I will walk you through everything you need to know to make your first chunky knit blanket, from choosing the right yarn to mastering the arm-knit technique. Whether you are making one for your own couch or as a gift that will be remembered for years, you will find the process surprisingly simple and the result deeply rewarding.
Why Chunky Knit Blankets Are Perfect for Beginners
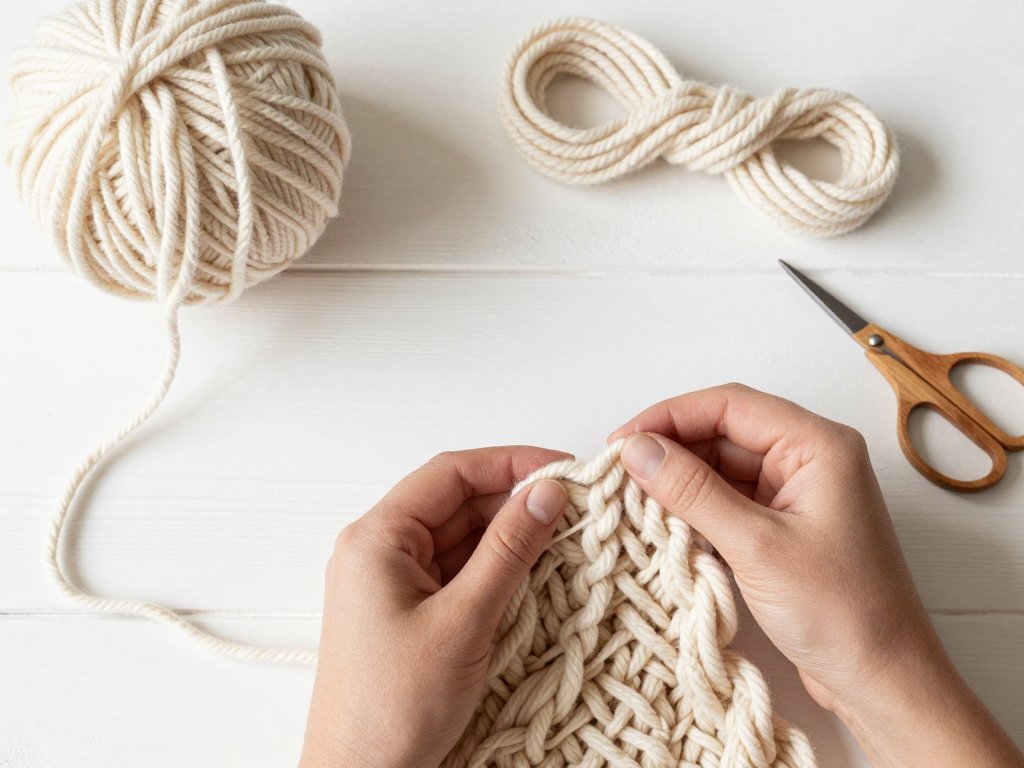
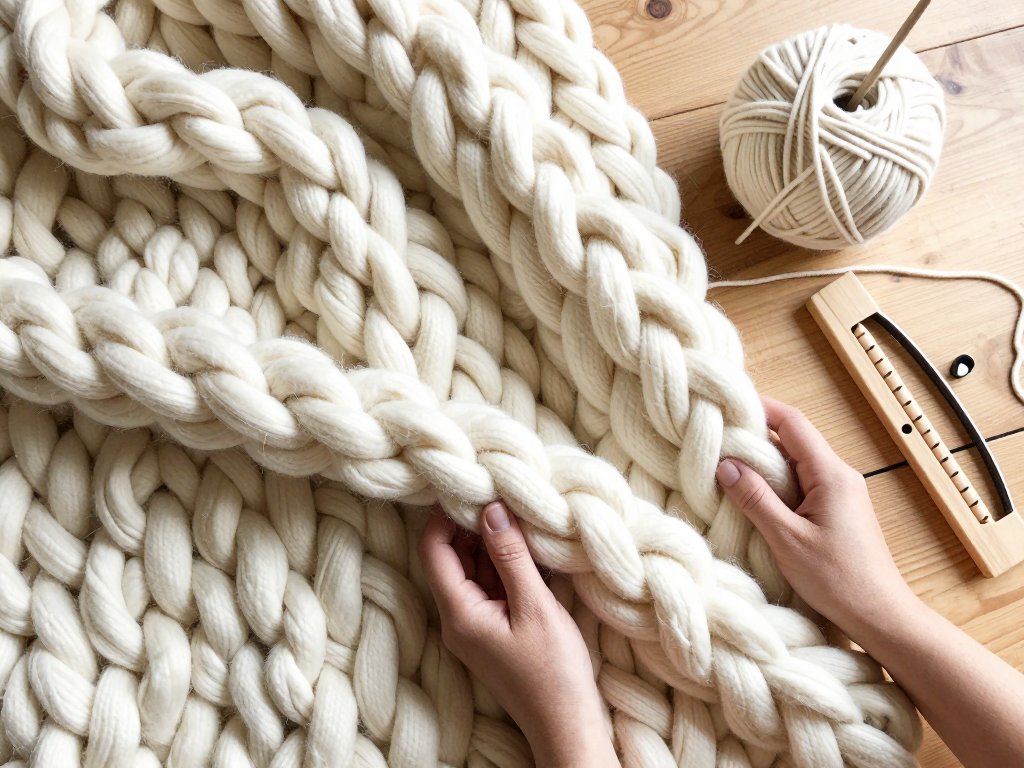
The chunky knit blanket owes its popularity to one simple fact: it uses the thickest possible yarn and the simplest possible technique. Instead of knitting needles, you use your own arms as the knitting apparatus. The stitches are enormous — sometimes two or three inches wide — so a blanket that would require hundreds of rows with standard yarn takes only twelve to fifteen rows using the arm-knit method.
For the beginner, this means you see real progress within minutes. There is no struggling with tiny needles, no intricate pattern to follow, no counting stitches under your breath. You sit down with a skein of roving wool, and two hours later you have a finished blanket. That kind of immediate payoff is rare in the craft world, and it is exactly what makes this project so appealing to busy makers who want to create something beautiful without committing to a weeks-long process.
The economic appeal is strong too. A completed chunky knit blanket sells for anywhere from one hundred to two hundred dollars at craft fairs and on Etsy, while the materials cost roughly forty to sixty dollars. That is a healthy margin for a project that takes an afternoon. Many makers find that once they have made one, they want to make several — for gifts, for their home, and for sale.
Choosing the Right Yarn
The success of your chunky knit blanket depends almost entirely on the yarn you choose. Not all thick yarns are created equal, and using the wrong material can lead to a blanket that stretches out of shape, sheds excessively, or simply does not hold its structure.
Roving Wool vs. Rolled Wool
There are two main types of yarn suitable for chunky knit blankets, and understanding the difference is crucial.
Roving wool is wool fiber that has been cleaned, carded, and drawn into a thick continuous strand but not twisted into a traditional yarn. It is incredibly soft and fluffy, which makes it a dream to work with. The downside is that roving wool is delicate — it can pill, felt, and stretch over time. A roving wool blanket requires gentle hand washing and careful storage.
Rolled wool (sometimes called felted wool or wool strips) is made by cutting wool fabric into strips and rolling them into a yarn-like form. It is more durable than roving, holds its shape better, and can sometimes be machine washed on a gentle cycle. The trade-off is that it is slightly less soft and can feel heavier.
For your first blanket, I recommend starting with a medium-quality roving wool. It will be soft against your skin and easy to work with, and by the time it shows signs of wear, you will have made several more blankets and will be ready to try rolled wool.
How Much Yarn Do You Need?
The amount of yarn you need depends on the size of blanket you want to make. A typical throw blanket (roughly 50 by 60 inches) requires about four to six pounds of roving wool. A larger blanket that covers a queen-size bed needs eight to ten pounds.
Before you buy your yarn, use the Yardage Calculator to estimate exactly how much you need based on your desired blanket dimensions. This tool accounts for the specific thickness of chunky yarn and gives you a much more accurate estimate than general blanket yardage charts. It is the same tool professional craft sellers use when planning their production runs, and it will save you from buying too little yarn mid-project or overspending on material you do not need.
The Arm-Knit Technique: Step by Step
The arm-knit method is the most popular technique for making chunky knit blankets, and for good reason: it requires no tools beyond your own arms. Here is how to do it.
Casting On
- Pull the end of your yarn and make a simple slip knot about six inches from the end.
- Place the slip knot on your right wrist as if it were a loose bracelet.
- With your left hand, pull a loop of yarn through the slip knot and place it on your left wrist.
- Continue alternating, pulling a loop through the previous loop and placing it on your wrist, until you have the desired number of stitches. A standard throw blanket uses twelve to fifteen stitches.
This process will feel awkward at first. Your stitches will be uneven, and the loops on your arms will seem too loose. That is normal. The beauty of arm knitting is that the finished fabric is forgiving — those uneven stitches will settle into place once the blanket is complete.
Knitting the Rows
- Hold your working yarn (the strand connected to the skein) in your right hand.
- With your palms facing you, reach your right hand through the first loop on your left wrist, grab the working yarn, and pull a new loop through.
- Slip the old loop off your left wrist and place the new loop on your left wrist.
- Repeat across all stitches. This completes one row.
- Switch hands and repeat in the opposite direction for the next row.
Continue until the blanket reaches your desired length. For a throw blanket, twelve to fifteen rows is usually enough. The blanket will look small and narrow at first — do not worry. It stretches significantly as you work.
Binding Off
- Knit the first two stitches of your final row normally.
- Take the first stitch (the one farther from your hand) and pull it over the second stitch and off your wrist.
- Knit one more stitch so you have two stitches on your wrist again.
- Repeat the process — pull the first stitch over the second — across the entire row.
- When one stitch remains, cut the yarn leaving a twelve-inch tail, pull it through the final loop, and tighten.
Weave in the loose ends by tucking them into the nearest stitches. No sewing is required.
Alternative Methods and Variations
Once you have mastered the basic arm-knit technique, you may want to explore variations that produce different effects.
The Loom Method
A knitting loom designed for chunky yarn produces a tighter, more uniform stitch than arm knitting. The loom consists of a frame with pegs around which you wrap the yarn. This method is slightly slower than arm knitting but produces a more polished result. Looms are inexpensive — typically fifteen to thirty dollars — and can be reused for dozens of projects.
The Hand-Knit Method
Hand knitting uses the fingers of one hand as needles, similar to arm knitting but more compact. The stitches are smaller, and the blanket takes somewhat longer to complete, but the result is a denser fabric that holds its shape better. This method is a good middle ground between arm knitting and traditional needle knitting.
Adding Color
Most chunky knit blankets use a single color, but you can create stripes by joining a new color at the start of a row. Simply tie the new color to the working yarn and continue knitting. The join will be visible but looks intentional and adds visual interest. Two-tone blankets — cream and blush, gray and mustard, navy and natural — are especially popular in modern home decor.
Caring for Your Chunky Knit Blanket
Chunky knit blankets require gentle care to maintain their shape and softness. Here are the essential rules:
- Do not machine wash — especially if you used roving wool. The agitation will felt the fibers, turning your soft blanket into a stiff, shrunken mat.
- Hand wash in cool water with a small amount of wool-specific detergent. Submerge the blanket and gently press it to distribute the soap. Do not wring or twist.
- Rinse thoroughly in cool water until all soap is gone. Again, press — do not wring.
- Dry flat on a towel, reshaping the blanket to its original dimensions. Avoid hanging it, as the weight of the wet wool will stretch it out of shape.
- Store flat or rolled rather than folded, to avoid permanent crease lines.
With proper care, a roving wool chunky knit blanket will last for years. Some makers report their blankets still looking beautiful after five or six years of regular use.
Troubleshooting Common Problems
My stitches are too tight
This is the most common beginner issue. Tight stitches make it difficult to work the yarn through and can lead to hand fatigue. The fix is simple: pull each stitch a bit larger as you create it. Aim for stitches that are roughly three inches wide. Looser is better than tighter when you are learning.
My blanket is growing unevenly
Uneven edges happen when you occasionally add or drop a stitch. Count your stitches at the end of each row until the technique feels natural. If you notice an extra stitch, simply knit two stitches together on the next row to correct the count.
My yarn is shedding everywhere
Roving wool naturally sheds loose fibers, especially when it is new. This is normal and will decrease over time. You can reduce shedding by giving the finished blanket a gentle shake outdoors and using a fabric shaver to remove any pills that form.
My blanket stretched after the first use
Chunky knit blankets stretch under their own weight, especially after being draped over a bed or couch for a few days. This is expected. To restore the original shape, gently wash and reshape the blanket as described above. The fibers will contract slightly as they dry.
Pricing Your Chunky Knit Blankets for Sale
If you decide to sell your blankets, accurate pricing is essential. The two biggest mistakes new sellers make are undervaluing their time and underestimating their material costs.
To price correctly, start by calculating your total material cost. If a throw blanket requires five pounds of roving wool at twelve dollars per pound, your material cost is sixty dollars. Add your labor — two hours at fifteen dollars per hour is thirty dollars. Add overhead (packaging, platform fees) of about ten percent. Your base price should be approximately one hundred to one hundred thirty dollars.
To get an accurate material estimate for any blanket size, use the Yardage Calculator before you buy your yarn. Enter your desired dimensions and yarn weight to find out exactly how much roving wool you need. This prevents the costly mistake of buying too little and having to match dye lots mid-project, or buying too much and tying up money in unused material.
Conclusion
The chunky knit blanket is more than a craft trend — it is a gateway project that introduces new makers to the joy of working with fiber. In a single afternoon, you can go from never having knitted a stitch to holding a finished blanket that will keep someone warm for years.
There is a reason this craft has spread so quickly through social media and craft fairs. It delivers results that feel disproportionate to the effort required. That is not cheating — it is working smarter, using the materials and techniques that make the most of your time.
I hope this guide gives you the confidence to try your first chunky knit blanket. Check the Yardage Calculator for your material needs, pick up a skein of soft roving wool, and give yourself an afternoon to create something beautiful. Your hands know what to do — they have been waiting for a project like this.