Introduction
There is something quietly magical about preserving a flower at the peak of its bloom.
A perfect petunia from the garden, a sprig of lavender from a friend's cutting, a tiny wildflower spotted on a family hike — pressed flower art lets you capture those small, beautiful moments and display them where you can see them every day.
It is a craft that asks very little of you: no expensive equipment, no special skills, and no more than an afternoon of gentle, focused time.
In return, it gives you something that a store-bought print never could — a piece of nature that you gathered, pressed, and arranged with your own hands.
Whether you are looking for a quiet summer project to share with your children or a meaningful way to preserve a bouquet from a special occasion, pressed flower art is a lovely place to start.
What Is Pressed Flower Art?
Pressed flower art, also known as oshibana, is the practice of drying flowers and leaves under pressure and then arranging them into artistic compositions.
The technique dates back to 16th-century Japan, where it was practiced as a discipline to cultivate patience, harmony with nature, and powers of concentration.
During the Victorian era, the art form spread to Europe, where ladies of the household would press flowers from their gardens and arrange them in albums as a genteel pastime.
Today, pressed flower art has enjoyed a beautiful resurgence as crafters rediscover the joy of working with natural materials in an increasingly digital world.
The appeal is easy to understand: the materials cost next to nothing, the process is meditative and slow, and the results are genuinely stunning.
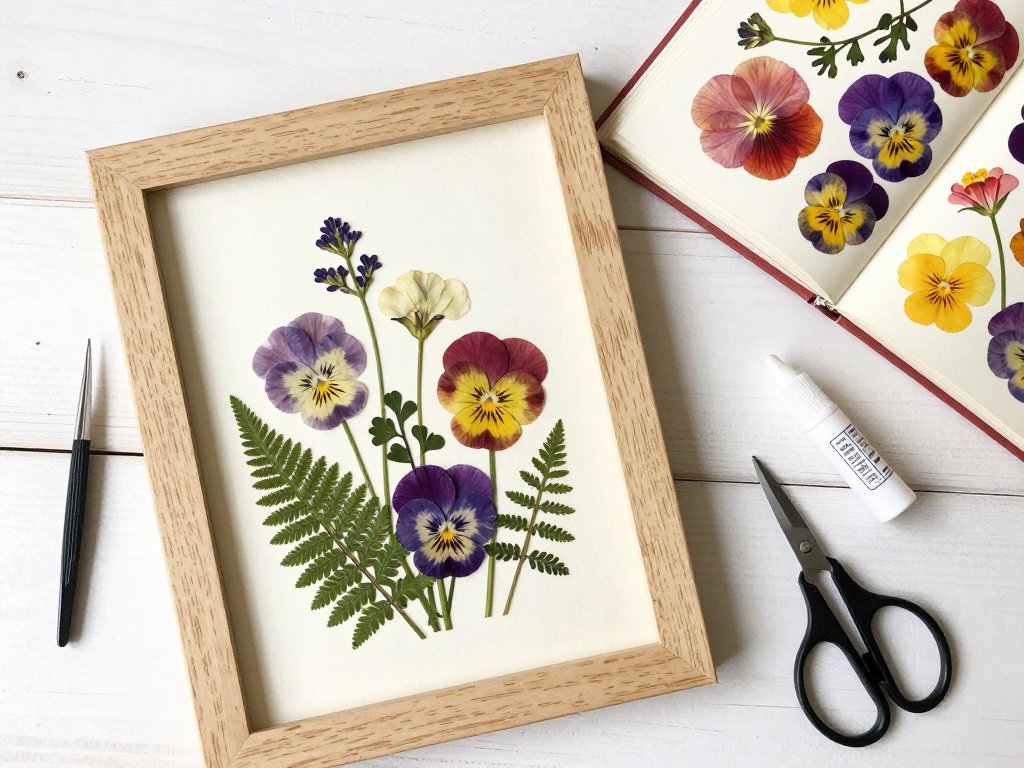
A simple arrangement of pressed pansies in a basic frame can look like a botanical illustration from a museum gift shop.
And unlike fresh flowers, which fade within a week, pressed flower art lasts for years with proper care.
Choosing and Collecting Flowers
The first and most enjoyable step is gathering your flowers. Almost any flower can be pressed, but some yield better results than others.
The best candidates have flat, open faces and relatively thin petals. Think of pansies, violas, daisies, cosmos, zinnias, ferns, and Queen Anne's lace.
Roses can be pressed, but they work best if you separate the petals and press them individually rather than attempting to press the whole bloom.
Leaves, ferns, and herbs like lavender and rosemary press beautifully and add wonderful texture to your compositions.
For summer pressing, pick your flowers on a dry morning after the dew has evaporated but before the afternoon sun has wilted them.
Choose specimens that are fully open but not yet past their prime — a flower that is already dropping petals will not hold up well during pressing.
If you are gathering from your own garden, cut the stems at an angle and place them in water immediately.
If you are foraging from public spaces, take only what you need and leave plenty behind.
Press your flowers as soon as possible after picking — even a few hours in a warm car can cause wilting that no amount of pressing will fix.
The Two Best Pressing Methods
You have two excellent options for pressing your flowers, and neither requires any special equipment beyond what you probably already own.
Method 1: The Classic Book Press. This is the method that most of us remember from childhood, and it works beautifully.
Open a heavy book — an old encyclopedia, a phone book, or a thick hardcover novel are all ideal — and line the pages with a sheet of absorbent paper such as unbleached coffee filter, blotting paper, or plain printer paper.
Arrange your flowers face-down on the paper, making sure none of the petals overlap. Close the book gently, place several more heavy books on top, and leave everything undisturbed for seven to fourteen days.
The weight of the books provides the pressure, while the absorbent paper draws moisture out of the petals.
Check after one week — if the flowers feel papery and dry, they are ready.
If they still feel cool or pliable, give them another week. The beauty of this method is its simplicity.
You can start pressing flowers today with nothing more than a book from your shelf.
Method 2: The Microwave Press. If you want quicker results, a microwave flower press is a wonderful option.
You can buy one online for around twenty dollars, or you can make your own using two flat ceramic tiles, two rubber bands, and a few layers of blotting paper.
Layer your flowers between blotting paper inside the tiles, secure the tiles with rubber bands, and microwave in thirty-second bursts.
Let the press cool completely between bursts, checking the flowers each time. Most flowers dry in two to four minutes total.
This method preserves color better than book pressing for many flowers, especially bright yellows and purples.
The trade-off is that microwave-pressed flowers can be more brittle, so handle them gently when arranging.
For your first project, I recommend starting with the book method — the slow pace is part of the pleasure, and the results are reliably beautiful.
Essential Supplies for Arranging
Once your flowers are pressed and ready, you will need a few basic supplies to turn them into art. Here is a practical list of what to gather.
Frames. Standard picture frames from the craft store work perfectly. Look for frames with at least one-quarter inch of depth to accommodate the thickness of the flowers and the backing paper.
Shadow box frames are ideal because they provide extra depth and protect the delicate petals from being crushed by the glass.
For a first project, a simple 8-by-10-inch frame is a manageable size to work with.
Paper. The paper you use as your background sets the tone for your entire piece.
Acid-free cardstock or watercolor paper in cream, white, or soft gray are classic choices that let the flowers take center stage.
You can also experiment with handmade paper, book pages, sheet music, or soft pastel papers for a more whimsical look.
Cut your paper to fit the frame before you begin arranging.
Adhesive. Clear-drying craft glue or a glue stick works for most flowers. For very delicate petals, use a tiny dot of glue applied with the tip of a toothpick.
Some artists prefer tweezers and a small brush for precise placement. Avoid white school glue, which dries cloudy and can show through thin petals.
Acid-free archival glue is ideal if you want your artwork to last for many years.
Tweezers and a Soft Brush. A pair of fine-tipped tweezers lets you handle delicate petals without crushing them. A clean, soft paintbrush is useful for gently nudging petals into position and for brushing away dust or loose pollen.
Sealant (Optional). To protect your finished arrangement, you can spray it with a UV-resistant archival sealant.
This prevents the colors from fading over time and adds a subtle sheen to the petals.
Test the sealant on a spare pressed petal first, as some sealants can cause certain flower colors to bleed or darken.
Designing Your Composition
Arranging pressed flowers is a gentle act of trial and patience. There are no hard rules, but a few principles can help you create a balanced, pleasing composition on your first try.
Start with a Focal Point. Choose one larger flower or a small cluster to serve as the anchor of your design.
Position it slightly off-center rather than dead center — this creates a more natural, dynamic composition that draws the eye across the whole piece.
A single large pansy or a cluster of three smaller flowers arranged in a loose triangle both work beautifully as focal points.
Build Outward. Once your focal point is in place, add smaller flowers, leaves, and ferns around it.
Think of building a gentle arc or a loose S-curve that flows across the page.
Leave some negative space — empty areas around your flowers give the eye a place to rest and prevent the composition from feeling crowded.
Layer Thoughtfully. Overlapping petals and leaves creates depth, but too many layers can make the arrangement feel flat in a different way — bulky and heavy.
Limit yourself to two or three layers of overlapping material. Use tiny flowers or single petals for the top layer and larger leaves or ferns for the bottom layer.
Work Without Glue First. Before you commit to adhesive, arrange your entire composition on the paper without glue.
Move pieces around, swap flowers in and out, and step back to look at the arrangement from across the room.
Take a photo with your phone so you can recreate the layout after you start gluing.
This rehearsal step saves you from the frustration of realizing halfway through that the ferns would look better on the other side.
Consider Symmetry and Asymmetry. Symmetrical arrangements — where the left and right sides mirror each other — feel formal and classic.
Asymmetrical arrangements feel more natural and modern, like a casual bouquet set on a table.
For your first project, try an asymmetrical layout with your focal point set to one side and smaller elements trailing toward the opposite corner.
It is the most forgiving approach and almost always produces a pleasing result.
Step-by-Step Assembly
When you are happy with your layout, it is time to assemble your piece permanently. Work on a clean, flat surface with good light, preferably near a window where you can see the natural colors of your flowers clearly.
Step 1: Prepare Your Frame and Paper. Remove the backing from your frame and set aside the glass and frame itself.
Cut your background paper to the correct size and place it on the frame's backing board.
If you are using a shadow box, make sure the paper lies flat inside the recessed area.
Step 2: Glue the Bottom Layer. Starting with your largest leaves and ferns, apply a small dot of glue to the back of each piece and press it gently onto the paper.
Hold it in place for a few seconds. Work from the bottom of the composition upward, so later layers overlap the glued ends of earlier pieces.
Step 3: Add Your Medium Flowers. Once the bottom layer is secure, add your medium-sized flowers.
Apply glue to the center of each flower's back — not the petals, which are too delicate to hold glue without tearing.
Press the flower in place by its center, using your tweezers or a soft brush to settle the petals into position.
Step 4: Place Your Focal Point. Your largest, most striking flower goes on last, after the surrounding elements are in place.
This way you can angle it to overlap neighboring flowers naturally, creating a sense of depth.
Apply glue to the center of the flower's back and lower it into position with tweezers.
Gently press the center to secure it, taking care not to touch the petals.
Step 5: Add Tiny Accents. Finish with the smallest flowers, single petals, and seed pods.
These are the details that make the arrangement feel intentional and complete. A single tiny violet placed at the tip of a fern frond, a few loose petals scattered along the bottom edge, or a sprig of lavender tucked into a corner — these small touches elevate the whole composition.
Step 6: Let the Glue Dry. Allow your completed arrangement to dry undisturbed for at least one hour. Do not rush this step — moving the piece before the glue is fully set can dislodge delicate petals and ruin the alignment.
Step 7: Assemble the Frame. Place the glass back into the frame, followed by your backing board with the pressed flower arrangement.
Secure the backing tabs, attach the hanging hardware, and your pressed flower art is complete.
Wipe the glass clean with a dry microfiber cloth to remove fingerprints and dust before hanging or gifting.
Caring for Pressed Flower Art
Pressed flowers are naturally fragile, but with reasonable care, your artwork can last for many years.
Display it away from direct sunlight, which will fade the colors over time — a north-facing wall or a shelf with indirect light is ideal.
Avoid hanging pressed flower art in bathrooms or kitchens, where humidity can cause the petals to reabsorb moisture and turn limp.
If you notice dust accumulating on the glass, clean it gently with a dry microfiber cloth.
Never spray cleaner directly onto the glass, as moisture can seep around the edges and damage the flowers inside.
With these simple precautions, your pressed flower arrangement will remain beautiful for five to ten years or longer, gradually taking on a softer, more antique appearance as it ages.
Project Ideas for Your Pressed Flowers
Once you have made your first framed piece, you will likely find yourself pressing flowers from every walk in the garden and every bouquet that comes into your home. Here are a few ways to use them beyond the classic framed arrangement.
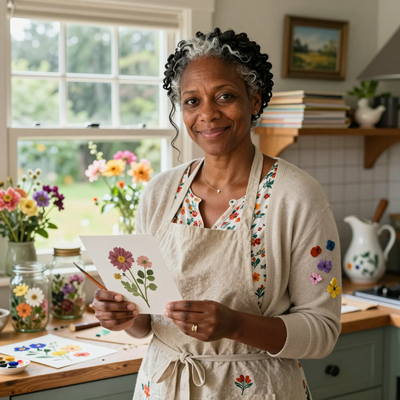
Greeting Cards. Pressed flowers make stunning handmade cards for birthdays, thank-you notes, and sympathy messages. Arrange the flowers on a blank card, glue them in place, and add a handwritten message inside. The recipient receives a card that is genuinely one of a kind.
Bookmarks. A simple bookmark decorated with a single pressed flower and a coordinating ribbon is a quick, satisfying project that uses very few materials. Laminate the bookmark or cover it with clear adhesive paper to protect the flower from wear.
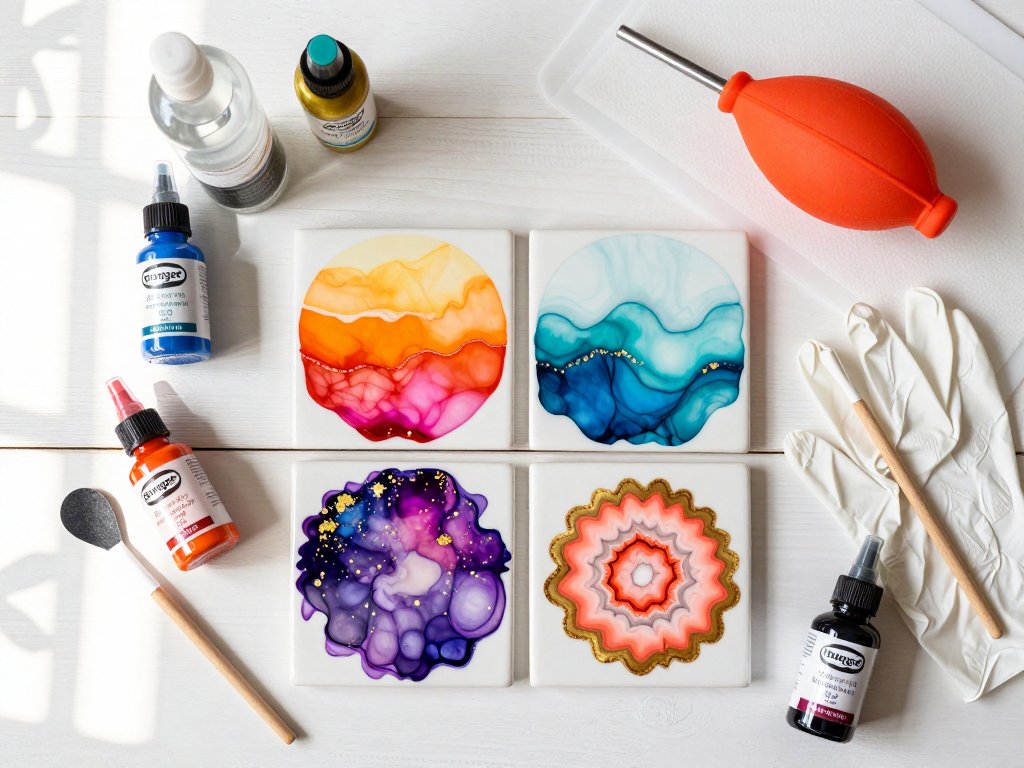
Resin Jewelry. Encapsulating pressed flowers in clear resin creates beautiful pendants, earrings, and keychains. This requires a few additional supplies — resin, molds, and mixing cups — but the results are stunning and make wonderful gifts.
Look for resin kits designed specifically for pressed flowers, which include detailed instructions and everything you need to start.
Shadow Box Memory Displays. Combine pressed flowers with other small keepsakes — a ticket stub from a concert, a pressed four-leaf clover, a lock of baby hair, or a piece of lace from a wedding dress — in a deep shadow box for a layered, meaningful display that tells a story.
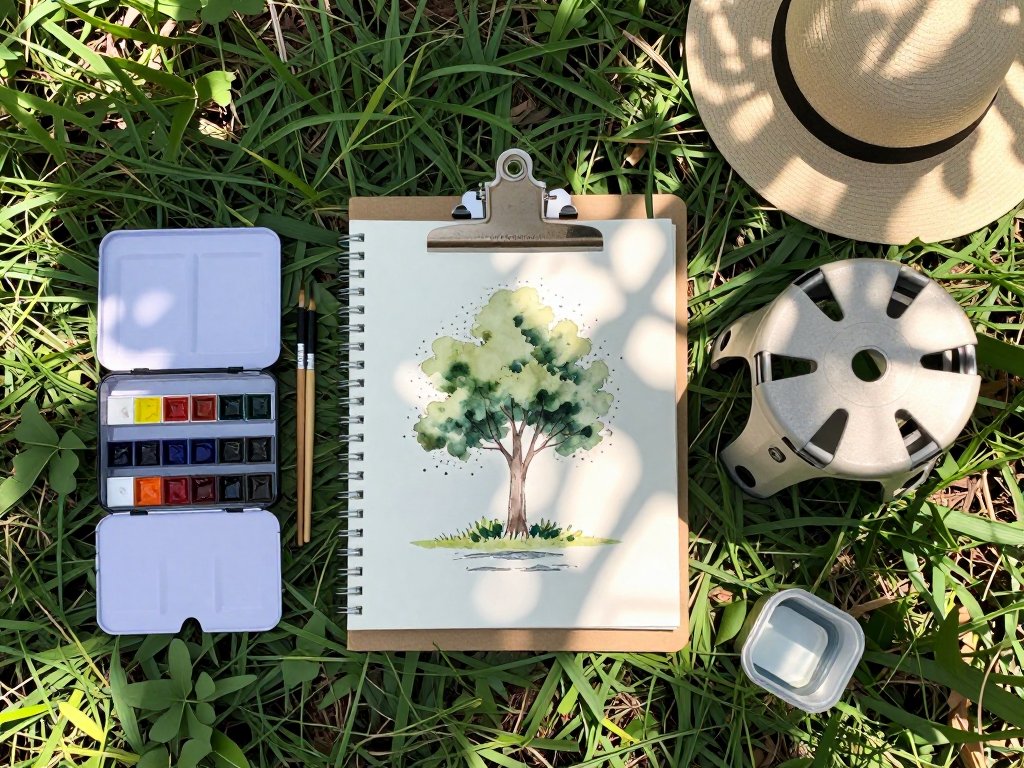
Nature Journal Pages. If you keep a nature journal or sketchbook, pressing flowers directly into its pages preserves your outdoor adventures in a tangible way. Note where you found each flower, the date, and any observations about the plant. Over time, your journal becomes a personal herbarium.
Final Thoughts
Pressed flower art is one of those rare crafts that asks for almost nothing and gives back so much.
It slows you down, invites you to notice the small beauties around you, and turns fleeting summer blooms into lasting treasures.
Whether you press a single perfect daisy from your child's first garden or build an elaborate botanical composition worthy of a gallery wall, the process itself is the real gift.
Pick a flower, open a book, and give yourself the quiet pleasure of preserving a moment in time.