Introduction
Leather tooling looks like drawing, but it behaves more like printmaking. You are not adding pigment to a surface. You are moving the fibres of a hide and setting them into a new position.
That is why two crafters working from the same pattern can produce wildly different panels. One has learned to read the leather; the other is still arguing with it.
Vocabulary matters here, because the trade uses two words loosely. Carving is the cut line made with a swivel knife. Stamping is everything struck with a mallet afterwards. A finished panel usually needs both.
At jewellery scale, the whole craft becomes portable. A cuff blank, a pendant disc, or a bookmark tag is small enough to tool in an evening and hold in the palm while you work.
This guide follows the real sequence: choosing a hide, casing it, transferring a pattern, cutting, beveling, stamping, and sealing. Nothing here needs a workshop.
Why Vegetable-Tanned Leather Is the Only Leather That Tools
Leather is preserved by one of two routes, and the route decides whether it can be tooled at all.
Chrome tanning stabilises the hide in a drum with chromium salts, usually within a day. The salts bond tightly to the collagen and lock the fibre structure in place.
The result is soft, water-resistant, and completely unwilling to hold an impression. Press a stamp into chrome-tanned leather and the surface springs back at you.
Vegetable tanning is slower. Hides soak for weeks in tannin drawn from bark, and the fibres keep their capacity for movement. Wet them and they swell. Push them and they stay pushed.
That capacity for permanent deformation is the entire craft. Without it there is no carving, no beveling, no shading — only a soft surface that resists every tool you own.
Recognising Veg-Tan Before You Buy
Shop by sight and by hand, not by label alone. A vegetable-tanned hide has a pale, even colour across the whole surface, somewhere between oatmeal and light honey.
Turn it over. The flesh side should look fibrous and faintly suede-like, with a dry, matte tooth. It should not feel slick or vaguely plastic under your thumb.
Chrome-tanned sides tend to run greyish or blue-grey through the middle, and their flesh side looks uniformly fuzzy, almost like felt. They also feel cooler and more pliable when handled.
Ask for tooling or carving leather, usually sold at three to four ounces for jewellery work. That weight is about 1.2 to 1.6mm thick — enough substance to bevel, thin enough to fold into a cuff.
Buy a small offcut before committing to a side. One scrap will tell you more about how a hide cases than any product description.
Casing: The Moisture Step Everything Depends On
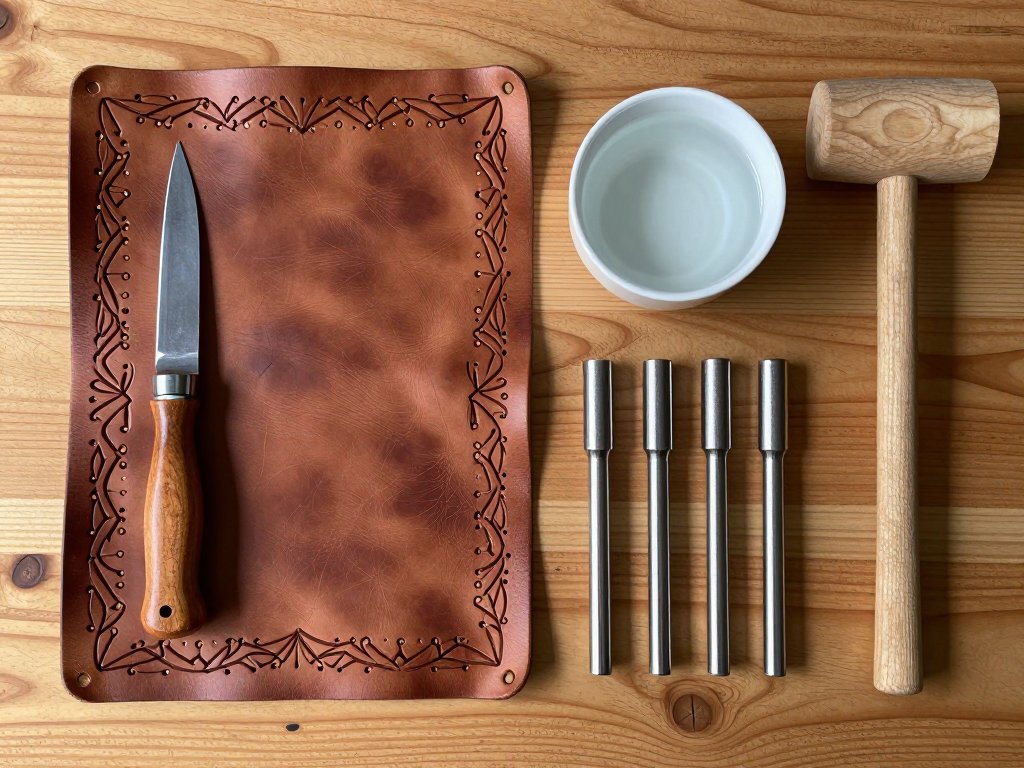
Casing is the real skill of this craft, and it happens before any tool touches the leather. Casing means wetting the hide evenly through its thickness, then letting the surface dry back to a workable state.
Dampen with a sponge, or dip the panel quickly and blot the excess. Then lay it flat and wait. The colour will darken immediately; you are waiting for it to lift again.
When the surface has returned to near its original shade — a trace darker, cool to the touch — it is close to ready.
Test it with a fingernail on a corner. Press a mark and release. It should hold with slight resistance, and the leather should feel cool rather than wet.
Humidity changes the timing more than anything else. In a dry room, re-dampen as you work; in a humid one, give the panel longer between wetting and cutting.
Case only what you can tool in one sitting. Leather left damp overnight will have dried unevenly by morning, and the surface will tell you so.
Casing has two failure modes, and both announce themselves once you know what to look for.
Over-wet leather feels spongy and looks uniformly dark. Water has filled the fibre structure and the hide has lost its memory. Cuts wander, and stamps push the surface into soft mush.
The pattern mushes because the fibres cannot resist displacement. Instead of compressing under the tool, they spread sideways and take the line with them.
Under-wet leather is the opposite: pale, dry, warm to the touch. The swivel knife skates across the top, cutting shallow, and stamps bounce instead of biting.
If the leather is under-cased, dampen again and wait fifteen minutes. Patience is always cheaper than a ruined panel.
If it is over-wet, stop. Lay it aside and let the surface come back. Working through a sponge is how beginners turn a good pattern into a blur.
Transferring the Pattern
Draw the design first, at full size, on tracing film or thin paper. Paper lets you erase, revise, and re-centre without ever touching the hide.
Tape the drawing to the damp panel and trace the lines with a stylus or a ballpoint pen. Light pressure only.
The traced line is a guide, not a drawing. It exists to tell the swivel knife where to begin and where to stop, and nothing more.
Two rules are absolute. No carbon paper on damp leather, because the transfer medium stains and will not come out. And no pencil, because graphite smears into the grain and greys the whole panel.
Keep the design inside the shape you intend to cut. A motif that runs off the edge of a cuff blank looks like an accident rather than a decision.
The Swivel Knife: Cutting, Not Carving
The swivel knife is the most misunderstood tool on the bench. It does not carve a groove. It cuts a shallow line that later tools will open into a channel.
The blade sits in a yoke that rotates freely, so the cutting edge turns with your wrist while the handle stays still. The blade carries a 45-degree bevel.
That bevel is the point of the design. It is ground so the blade enters at an angle and lifts one wall of the cut slightly, which is exactly what lets a beveler find purchase afterwards.
A sharp blade glides. A dull one demands force, and force is how panels get ruined.
Cut to roughly a third of the leather's thickness. Deeper and you weaken the panel; shallower and there is nothing for the next tool to grip.
Now the habit that separates clean work from ragged work: rotate the leather under the blade. Do not steer the knife.
Keep the blade pointed away from you, plant the tip, and turn the panel with your free hand. The line stays smooth because your wrist never changes angle mid-cut.
A good cut looks like a clean, slightly open V, with two crisp walls and no frayed edge. A bad cut looks like a ragged scratch — shallow, torn, with fibres pushed up along both sides.
Ragged cuts come from a dull blade, dry leather, or steering the knife. All three are correctable, and all three show up in the same place.
Beveling: Where Depth Begins
Beveling is what turns a cut line into the illusion of depth. The tool is walked along one side of the cut and tipped into it.
That tipping action presses the leather down on one side of the line. The other side stays level, and the line suddenly reads as an edge rather than a groove.
Strike with a mallet in light, repeated, even taps. Not one heavy blow. The beveler advances a short distance with each tap, following the cut like a footstep.
Walk the tool with the line and keep the angle identical throughout. A varying angle produces a wobbly wall that no amount of later shading will disguise.
Work the side that should recede. On a leaf, that is usually the outside of the shape, so the leaf itself stays raised and catches the light.
Go slowly the first time. Speed here only multiplies a mistake along the whole length of the line.
The Decorative Stamps and Their Jobs
Each stamp has one job. Using the wrong one for a task flattens the design instead of building it.
- Pear shader. A curved face that presses a soft, graduated depression. It creates shading and volume inside a shape.
- Backgrounder. A matting tool that flattens the area around a design so the design lifts above it.
- Figure carving stamps. Shaped faces for specific details — eyes, hooves, petals, hair — pressed where the drawing asks for them.
- Seed and stop stamps. Small round or oval faces that add texture and tidy the ends of cut lines.
- Border stamps. Repeating geometric or floral patterns, walked along the edge of a panel to frame it.
Buy four before you buy twenty. A shader, a backgrounder, a border, and one seed stamp will carry an entire first panel.
Handle shape barely matters; face condition matters enormously. A chipped or rusted face will print that flaw into every impression you make.
Why the Order of Operations Matters
The sequence is fixed: swivel cut, then bevel, then shader, then background, then border.
Each step depends on the surface the previous one left behind. The beveler needs the open V of a fresh cut. The shader needs the raised edge the beveler created.
The backgrounder needs the design already modelled, because its job is to matte down everything the design does not occupy.
Work out of order and you press down what should have stayed up. A shader applied before beveling fills the cut line, and that line never recovers its crisp wall.
Border comes last, always. A walked border is a frame, and a frame laid over unfinished work will not sit level.
Try the sequence once on scrap before you commit a pattern to a panel. Ten minutes on an offcut teaches the order faster than any description.
Stamping Technique and the Stamp-Only Shortcut
Stamping rewards consistency far more than strength. Hold the tool perfectly vertical — a tilted stamp leaves a lopsided impression that cannot be corrected.
Strike with even, controlled taps, letting the weight of the mallet head do the work. A wooden or rawhide mallet is kinder than a metal hammer, which bruises the leather.
Test every stamp on scrap first. An over-struck stamp leaves a permanent crater, because the leather has compressed past its ability to spring back.
To walk a border, overlap each impression by roughly a third. Overlap is what makes a repeating stamp read as a continuous line rather than a row of separate marks.
A whole panel can be built from stamps and a border alone, with no swivel-knife work at all. That makes a first cuff genuinely achievable in one evening.
Finishing: Oil, Seal, Antique Paste
Let the panel dry completely — overnight, in a room with moving air, away from direct heat. Forcing the drying curls the leather and dulls the tooling.
Then apply a light coat of neatsfoot oil or a leather conditioner, worked in with a fingertip or a soft cloth. Light means light: a thin sheen, never a soaking.
Once that has absorbed, seal the surface with resolene or a wax finish. The seal is what keeps the panel from darkening unevenly with handling.
Antique paste is optional and worth trying at least once. It settles into the recesses cut by the beveler and darkens them, so the pattern reads clearly from a distance.
Wipe it back before it dries. Left too long it stains the raised surfaces as well, and the contrast that made the tooling legible simply disappears.
If you plan to dye the panel, do it before the seal goes on.
Common Mistakes and Their Causes
Almost every fault on a first panel traces back to a cause you can name, which means most of them are preventable next time.
- Pattern mushing. Over-wet leather. The fibres are floating and cannot hold a shape.
- Cuts too shallow to bevel. A dull blade or too light a pass, so the beveler has nothing to tip into.
- A stamp crater. Over-striking. The leather has compressed past recovery and the mark is permanent.
- A wandering border. Not walking the stamp — each impression was placed individually instead of overlapped.
- Greasy dark patches. Too much oil, applied unevenly. The leather can only absorb so much.
Notice how many of these are moisture problems wearing a different costume. When something goes wrong, feel the leather before you change your technique.
Jewellery-Scale Projects
Panels become wearable objects quickly, because the shapes are small and tooling reads beautifully at close range.
The cuff. Measure the wrist, add about 25mm for overlap, and cut a strip 20 to 25mm wide in three-to-four-ounce leather. Tool the pattern, then close it with a buckle, a snap, or lacing.
Because a cuff curves, keep tooling away from the last 10mm at each end. Tight curvature distorts any impression struck right at the edge.
The round pendant. A 30 to 40mm disc of four-ounce leather, tooled with a single motif and hung from a jump ring through a hole punched 5mm in from the rim.
The bookmark tag. A strip roughly 150mm by 25mm, tooled with a walked border and a monogram. Punch one hole at the end and it becomes a pendant, a zip pull, or a gift tag.
Size down a pattern by redrawing rather than shrinking a photocopy. Fine lines vanish at 60 percent, and a stamp that fits a bag panel will overwhelm a pendant.
Conclusion
Tooling is a conversation about moisture. Everything else — the knife, the beveler, the stamps — is only vocabulary.
Your first panel will have one uneven bevel and a border that drifts near the end. That is normal, and it is how the hand learns the pressure.
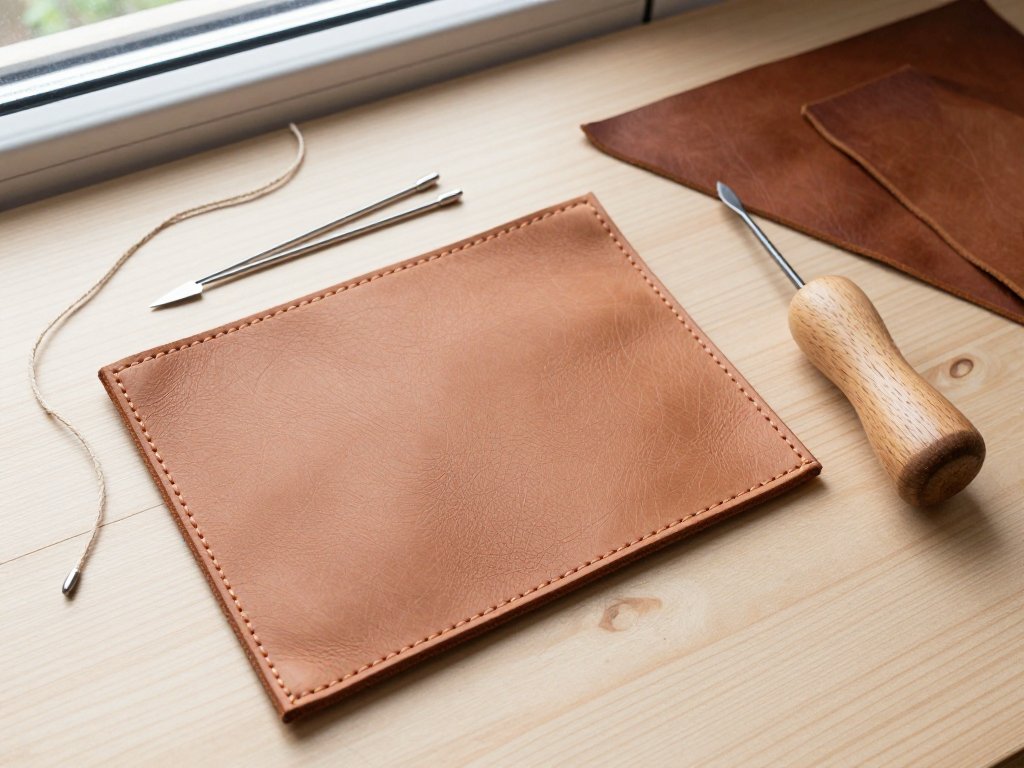
Once the panel is tooled, hand-sewing a pouch or a cuff closure is the next skill worth learning, and our guide to hand-sewing leather picks up exactly there.
Start with a scrap, case it properly, and cut a single line. The rest of the sequence follows in order, one tap at a time.