Introduction
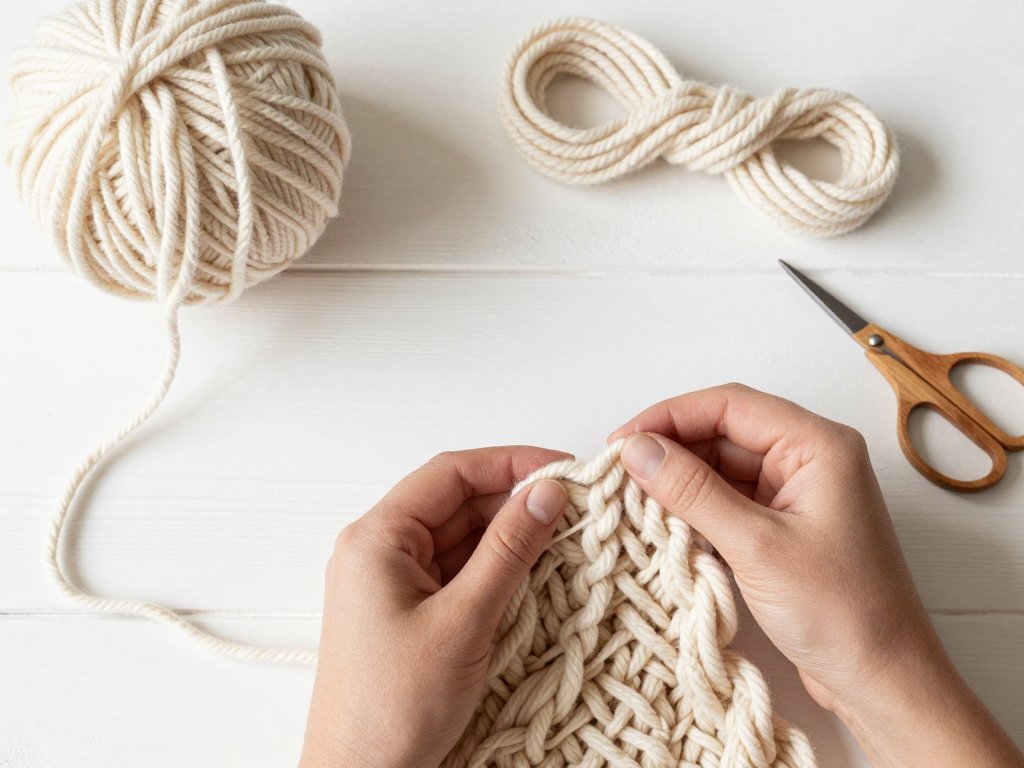
There is a particular quiet that arrives when your hands are busy and your mind is free. Loom knitting offers that quiet without asking you to juggle two needles at once.
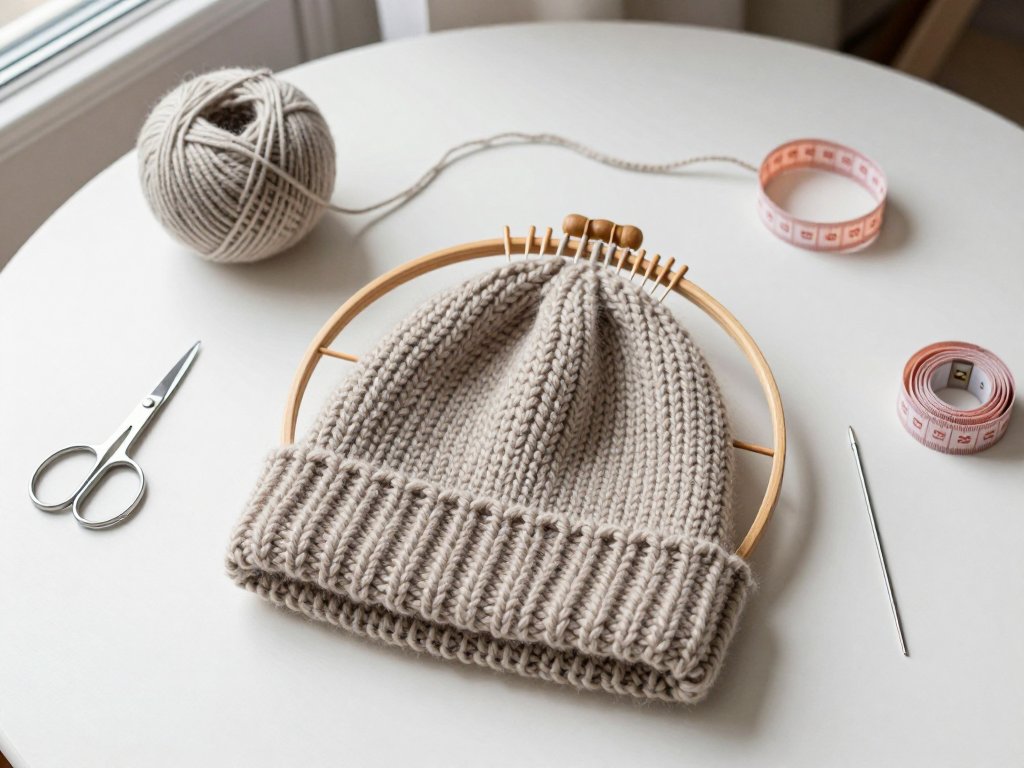
A round loom, one skein of worsted yarn, and an evening or two of gentle repetition will make a hat that actually fits a human head.
If knitting needles have always looked like a test you did not study for, you are in the right place. There is no exam here, and nothing to fail.
What a Knitting Loom Actually Is
A knitting loom is a frame of small upright pegs. You wrap yarn around those pegs, lift one loop over another, and fabric grows row by row.
The pegs do the work needles normally do. Instead of holding live stitches on a metal shaft, you park each stitch on a peg and let it wait there.
That single difference is why loom knitting suits interrupted afternoons. You can set the loom down mid-row, answer a question from a small person, and nothing unravels while you are gone.
Needle knitting asks you to hold an entire row in your hands at once. A loom holds it for you, which is why so many people find it gentler on wrists and on concentration alike.
Where Loom Knitting Comes From
Loom knitting is not a shortcut invented for crafters in a hurry. It is considerably older than most of us assume.
European household inventories from the sixteenth century list "knitting frames" and "stocking frames" beside spinning wheels and looms, suggesting pegged boards were ordinary working tools.
Fishing families in Britain and Scandinavia worked thick socks and nets on pegged rakes. The long, comb-like tool gave the technique its older name: rake knitting.
Some textile historians argue the peg-and-loop idea came before needle knitting, though the evidence is thin and the debate stays lively. Either way, you are joining a long line of hands.
Knitting boards survived in rural households for centuries precisely because they were forgiving. A dropped loop on a rake waits patiently for you to come back to it.
Choosing Your First Loom
Loom types look similar in photographs and behave quite differently in your lap. Two things matter: shape, and the spacing between pegs.
Round looms knit a seamless tube, which is exactly what a hat is. They are the natural first purchase for anyone whose goal is a cozy hat.
A 24-peg round loom is the friendliest entry point. Worked in bulky yarn it produces a snug adult hat; worked in worsted it lands at a generous child's size.
Large-gauge looms sit about an inch between pegs and make thick, quick fabric. Small-gauge looms sit roughly three-eighths of an inch apart and make finer, slower fabric closer to hand knitting.
Long and rectangular looms are flat rakes. They make scarves, blanket squares, and flat panels, and a double-sided rake can produce a tube as well.
Adjustable looms let you slide or add pegs, so one tool covers several gauges. They cost a little more and reward a careful hand with more flexibility.
Baby and preemie looms are simply smaller circles, usually 12, 18, or 24 pegs, sized for tiny heads and satisfying, quick finishes.
Choosing Yarn for a Loom Hat
Worsted or aran weight yarn, labeled number 4, is the easiest to learn on. It is thick enough to see every loop and smooth enough to slide off a peg without a fight.
Bulky yarn, number 5, works up faster on a large-gauge loom and makes a wonderfully dense winter hat for very little effort.
Fuzzy novelty yarns look inviting in the shop and hide everything on the loom. When you cannot read your stitches, you cannot catch a mistake before it becomes a hole.
An adult hat in worsted takes roughly 150 to 200 yards, about one standard skein. Bulky yarn needs closer to 100 to 120 yards.
Choose a light or medium color for your first hat. Dark yarn and busy variegation both make loops harder to see under a lamp at nine in the evening.
Smooth, plied yarn is kinder to beginners than single-ply. Single-ply splits on the hook, and a split loop looks untidy even when the stitch itself is correct.
The Small Tool Kit
None of this is expensive, and most of it you may already own. Gather it once and the project stops stalling.
- Loom hook. The pick-like hook that comes with most looms. It lifts the bottom loop up and over the peg.
- Yarn needle. A large, blunt-tipped tapestry needle for gathering the crown and weaving in ends.
- Stitch markers. Removable markers or small rubber bands that slide onto a peg to mark every tenth row.
- Measuring tape. Flexible, for checking circumference and hat length as you work.
- Scissors. Small and sharp, kept within reach so you are never tempted to bite yarn.
- Pom-pom maker. Optional, but a satisfying way to use up the last scraps of a skein.
Gauge and Fit Without Fuss
On a loom, peg spacing decides stitch size. You cannot change gauge with a needle swap, so the loom and the yarn make that decision together.
A useful rule of thumb: circumference is roughly the number of pegs multiplied by the space between them, minus a little for stretch.
Before committing hours to a hat, wrap every peg, knit four or five rounds, and slide the tube off onto scrap yarn or a long spare strand.
Measure across the flat tube. A hat should be about two inches smaller than the head it will sit on, because loom fabric relaxes and stretches with wear.
If the tube comes out far too wide, try thinner yarn on the same loom. Too narrow, and you move up to bulky yarn or a loom with more pegs.
Step-by-Step: Your First Loom-Knit Hat
Work through these in order, but read the whole list once before you begin. The rhythm matters more than any single step.
- Set up. Choose your round loom and yarn. Tie a slip knot and place that first loop over the anchor peg if your loom has one.
- E-wrap cast on. Working counterclockwise around the loom, wrap the yarn around each peg in a simple loop until every peg holds one.
- Wrap the second row. Without knitting off, wrap a second loop around every peg, sitting directly above the first.
- Knit the stitch. Take the hook, catch the bottom loop, and lift it up and over the top loop and off the peg. That is the knit stitch on a loom.
- Knit the round. Continue around, wrapping and lifting, until you complete a full circuit. One circuit is one row.
- Build the folded brim. Knit a plain tube three to four inches long. This unglamorous stretch of fabric becomes the inside of your brim.
- Fold and join. Fold the tube upward so the cast-on edge meets the working row. Lift each cast-on loop onto its peg and knit both loops off together.
- Work the body. Knit plain rounds until the hat measures about eight inches from the brim fold for an adult size.
- Count your rows. Slip a marker onto a peg every ten rows, or jot the number down. Counting beats guessing later.
- Close the crown. Thread a long tail through the final loops and pull tight, then secure it as described below.
Reading Rows as You Go
Every completed circuit leaves a visible ridge of V-shaped stitches climbing the fabric. Count those ridges instead of trusting memory.
If you lose your place, resist the urge to unravel. Find the ridge and count upward; the fabric is honest and will tell you the truth.
The Crown: Two Ways to Close a Hat
A loom-knit tube is open at the top, so the crown must be closed. There are two common approaches, and one is far kinder to beginners.
The gather method threads a long tail of yarn through every remaining loop, then pulls it shut like a drawstring. It takes two minutes and forgives nearly anything.
Decrease rounds knit two loops together at regular intervals over several rows, shaping a rounded dome. It looks lovely and demands accurate counting.
For a first hat, gather the crown. You will finish while your enthusiasm is still warm, and you can learn decreases on hat number two.
If the gathered top looks faintly puckered, that is completely normal. A pom-pom hides a world of small imperfections.
Binding Off and Weaving In Ends
The gather method is itself the bind-off. Once the tail is pulled tight, knot it gently and pass it to the inside of the hat.
Thread the tail onto your yarn needle and weave it through the bumps on the inside of the fabric for two or three inches, then clip.
Weaving rather than knotting keeps the inside smooth against a forehead. A lump at the crown is the first thing a wearer notices.
Treat the cast-on tail and any yarn joins the same way. Loom fabric is stretchy, so leave a generous tail — short ends work loose in the wash.
Adding a Pom-Pom or Tassel
Wrap yarn around a pom-pom maker or a notched piece of cardboard about forty to sixty times, depending on how plush you want the result.
Tie tightly around the middle before you cut the loops free. A loose tie is the reason so many pom-poms shed on the first wearing.
Leave two long tails from that tie, thread them through the crown with your yarn needle, and knot securely inside.
A tassel is even quicker: a small bundle of strands, folded in half and tied near the top. Either finish balances the rounded silhouette nicely.
Sizing Guide: Baby, Child, and Adult
Peg count and yarn weight decide the finished size together. Change one and you change the hat.
- Preemie: 12-peg loom, fine yarn, about nine to ten inches around.
- Newborn to six months: 24-peg small-gauge loom with worsted, about thirteen to fourteen inches.
- Toddler and child: 24-peg large-gauge loom or a 31-peg loom, about sixteen to eighteen inches.
- Older child and teen: 36-peg large-gauge loom, about nineteen to twenty inches.
- Adult: 41-peg large-gauge loom, about twenty-one to twenty-three inches, or a 24-peg loom in bulky yarn for a snug fit.
Length matters as much as width. A baby hat runs about five to six inches deep, a child's seven, and an adult's eight to nine, including the folded brim.
For a slouchy hat, add two or three inches of plain body before the crown. For a close beanie, stay with the numbers above.
If you would rather work on needles, the hooded cowl pattern for beginners uses the same yarn and the same patient pace.
Troubleshooting: Five Common Snags
Loops That Feel Too Tight
The e-wrap is usually the culprit. If you pull each loop snug against the peg, the next row cannot slide past it.
Wrap with the yarn resting lightly on the peg, no tug at all. The loop should sit high and relaxed rather than straining.
A Dropped or Fallen Stitch
A loop slips off when you lift the wrong loop or catch the working yarn by accident.
Reach in with the hook, catch the fallen loop, and remount it on its peg. If it has run down several rows, use a crochet hook to ladder it back up one rung at a time.
Uneven Tension and Laddering
Laddering appears as loose columns of stitches between the pegs. It comes from wrapping some pegs tightly and others loosely.
Wrap every peg first, then knit them all off in a second pass. That even rhythm does more for tidy fabric than any amount of practice.
A Hat That Is Too Loose or Too Tall
A too-wide hat usually means too few pegs for that yarn, or a yarn that is simply too thin. Fold the brim double for extra thickness and a snugger fit.
A too-tall hat is easier to correct. Unravel the crown rounds back to your chosen length, replace the loops on their pegs, and close again.
Yarn Splitting on the Hook
Splitting happens when the hook tip catches one ply of the yarn instead of the whole strand.
Check the hook tip for a rough edge and smooth it with fine sandpaper. Moving from single-ply to plied yarn solves it outright.
Caring for a Loom-Knit Hat
Wool and acrylic ask for different treatment, and knowing which one you used saves a hat from the dryer.
Wool is warm and breathable but dislikes agitation and heat. Hand wash it in cool water with a gentle wool wash, then press the water out — never wring.
Roll the wet hat in a towel, lay it flat, and shape it to its original measurements. Pin the brim if you want it to hold a crisp fold.
Acrylic is durable and machine friendly. Wash it on a gentle cold cycle and lay it flat to dry; a warm dryer can relax the stitches permanently.
Acrylic does not block the way wool does. If yours needs tidying, hold a steam iron a few inches above the surface rather than pressing down on it.
Store hats folded in a drawer rather than hung. Hanging stretches the crown, and a stretched crown never quite comes back.
Permission to Be Imperfect
Your first hat will have a slightly looser row in it somewhere. Every loom-knit hat in the world does.
Notice how much calmer your third round feels than your first. That is not luck; that is your hands learning the rhythm.
Ask yourself which part of your day could hold fifteen quiet minutes like this. Then take them, without earning them first.
Your Next Project
A hat is the perfect first loom project because it teaches the whole vocabulary: cast on, knit, folded brim, crown, finish. Everything after this is a variation.
Matching mittens use the same 24-peg loom and roughly half the yarn of an adult hat.
A long-loom scarf needs no shaping at all. Cast on, knit flat rows, and bind off whenever the scarf feels long enough.
A blanket square is simply a scarf you stopped early. Work several in the same yarn and join them later, one restful square at a time.
Conclusion
You do not need needles, perfect tension, or a free weekend to make something warm with your own hands.
You need a loom with pegs, one skein of worsted yarn, a hook, and the willingness to make a hat that is slightly uneven and entirely yours.
Start tonight with the cast-on. By the time the brim folds over, you will already be a loom knitter.