Introduction
Every summer, my grandmother would walk through her garden with a pair of scissors and a wicker basket, clipping the most perfect blooms.
Zinnias. Queen Anne's lace. A scattering of tiny blue forget-me-nots. She would bring them inside, arrange them in a heavy book, and set it on the kitchen windowsill where the afternoon sun could warm the spine.
Weeks later, she would open those pages to reveal flowers so flat and fragile they looked like they had always been paper.
She tucked them into letters, pressed them into scrapbook pages, and sometimes framed them as gifts.
I did not realize it then, but she was teaching me one of the gentlest crafts I have ever known.
Pressed flower art is exactly what it sounds like. You take fresh blooms, dry them flat under pressure, and arrange them into lasting works of art.
It is a slow, meditative process that captures a single moment of summer and holds it still.
And the best part for busy mothers? There is no rushing, no expensive equipment, and no way to do it wrong.
Whether you press petals from your own garden, gather wildflowers on a family hike, or clip a few blooms from the farmer's market, you are preserving something fleeting and turning it into something beautiful.
In this tutorial, I will walk you through everything you need to know to create your own pressed flower art.
We will talk about the best flowers to press, two different methods for drying them, how to arrange your pressed blooms into a composition you love, and how to display your finished piece.
By the end of a single afternoon, you will have a framed nature keepsake that brings the memory of summer into every season.
Choosing and Gathering Flowers for Pressing
The first step in pressed flower art is choosing the right flowers. This part is as much about observation as it is about gathering.
You want blooms that are fresh, dry, and at their peak. Flowers that have been sitting in a vase for a week or that are already wilting will not press well.
The petals become too soft and may turn brown during the drying process.
Look for flowers that are naturally flat or have thin petals. Pansies, violas, and daisies press beautifully because they have a single layer of petals.
Queen Anne's lace, fern fronds, and baby's breath are lovely for adding airy texture. Rose petals pressed individually can be arranged into soft romantic shapes.
Leaves of all kinds press well, especially ferns, ivy, and herb leaves like mint or sage.
If you are collecting wildflowers, look for specimens that are not wet from dew or rain.
Press them as soon as possible after picking, while they are still fresh and pliable.
For bold statement pieces, try pressing larger flowers like zinnias, cosmos, or black-eyed Susans. These have more substance and create a wonderful focal point in your composition.
Hydrangea florets pressed individually produce beautiful clusters of tiny four-petaled stars. And do not overlook the stems and leaves.
A well-placed stem can add elegant structure to your arrangement, like the stem of a stem of a fern or the curling tendril of a sweet pea.
If you do not have access to a garden, farmer's markets are excellent sources of fresh, affordable flowers.
A single bunch of mixed blooms costs a few dollars and provides enough material for several projects.
You can also forage mindfully in your neighborhood, taking only what you need and leaving plenty for pollinators.
Remember that the act of gathering is part of the joy. Let your children help choose flowers.
Let them feel the petals and smell the scents. These moments become part of the art itself.
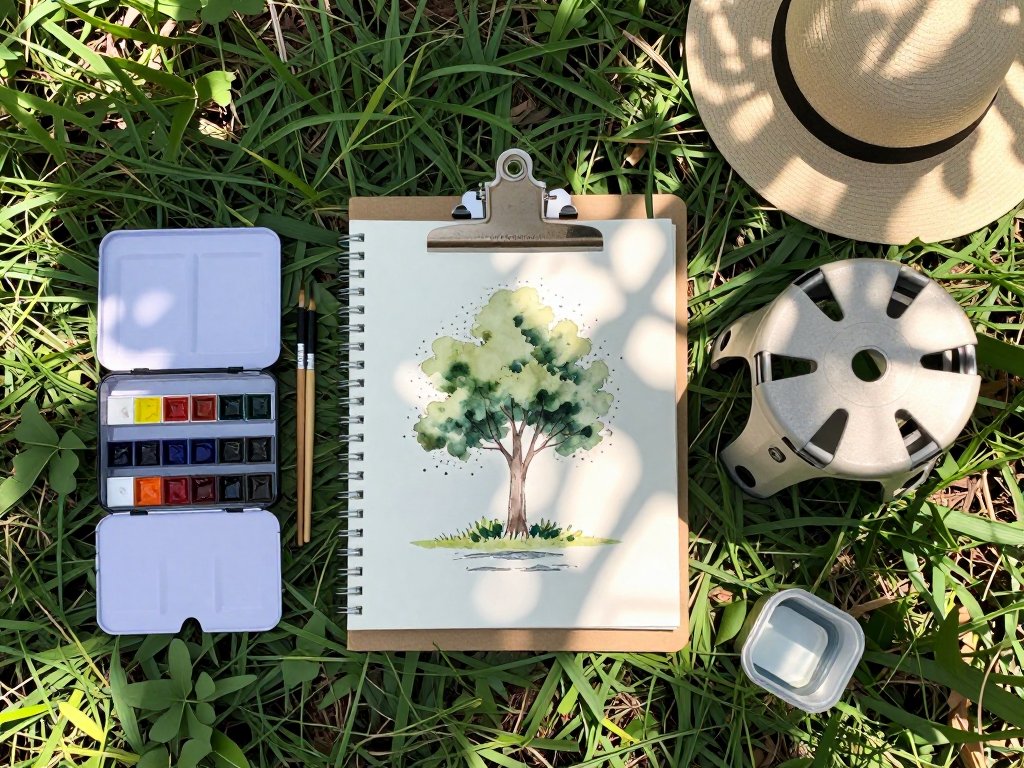
Method One: The Traditional Book Press
This is the method my grandmother used, and it remains the most accessible way to press flowers.
You do not need any special equipment, just a heavy book you are willing to sacrifice a few pages in.
I keep an old dictionary solely for this purpose. It has pressed flowers scattered through half its pages, a hidden garden of summers past.
Open your book to a section near the middle and line the pages with absorbent paper.
Plain printer paper, parchment paper, or unbleached coffee filters all work well. The absorbent layer draws moisture away from the flowers, preventing mold and helping them dry flat.
Arrange your flowers face down on the paper, making sure they do not overlap. Gently close the book and add weight on top.
More books, a stack of magazines, or a heavy cutting board all work. The weight keeps the flowers flat as they dry.
Leave the flowers undisturbed for one to two weeks. Check them after the first week.
If they feel papery and dry, they are ready. If they still feel soft or cool to the touch, give them more time.
Thicker flowers like zinnias may need up to three weeks. Once dry, carefully lift them with tweezers.
They will be fragile, so handle them gently. Store them between sheets of wax paper in a dry, dark place until you are ready to use them.
The traditional method requires patience, but that patience is part of what makes pressed flower art so rewarding.
You cannot rush the process. Each day you peek at the book, you will see the flowers transforming, losing their moisture and becoming delicate, papery versions of themselves.
It is like watching a memory form.
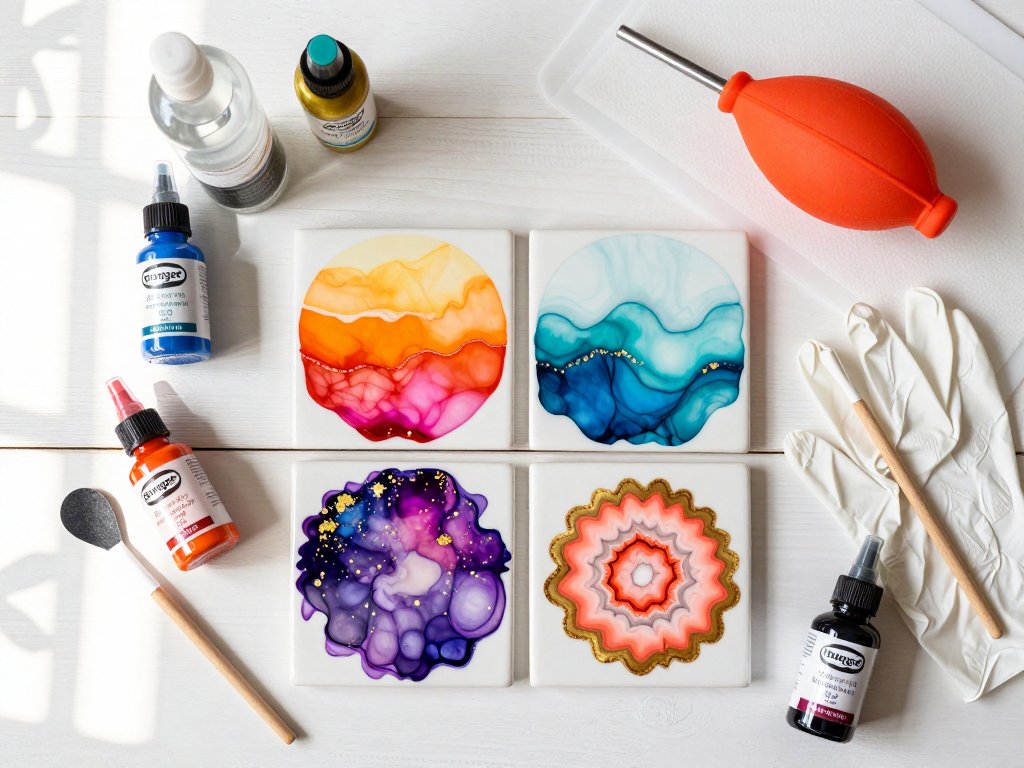
Method Two: The Microwave Press for Quick Results
If you are anything like me with young children and a schedule that leaves little room for patience, the microwave press method is a wonderful modern alternative.
It produces beautifully pressed flowers in just a few minutes instead of weeks. You can press blooms in the morning and frame them by afternoon.
You will need two flat ceramic tiles or two microwave-safe ceramic plates, two layers of absorbent paper or coffee filters, and your fresh flowers.
Place one tile on the counter, layer a paper on top, arrange your flowers face down, cover with another paper, and place the second tile on top.
Microwave on high for thirty seconds. Let the tiles cool completely before checking. If the flowers are not yet dry, microwave in ten-second bursts until they feel papery.
There are a few tricks to getting good results with the microwave method. Do not press flowers that are wet from rain or washing.
Pat them dry gently first. Place thicker blooms like rosebuds or zinnias near the center of the tile where the heat is most even.
Keep a close watch during the first few bursts. Every microwave is different, and you want to dry the flowers without browning them.
If you see any discoloration, reduce the time for the remaining bursts.
Microwave flower press kits are available from craft stores, but the tile method works just as well and costs next to nothing.
I have been using two plain white tiles from the hardware store for years. They have pressed hundreds of flowers between them.
The microwave method is perfect for last-minute projects, birthday gifts, or anytime you want to preserve a meaningful bloom without waiting weeks.
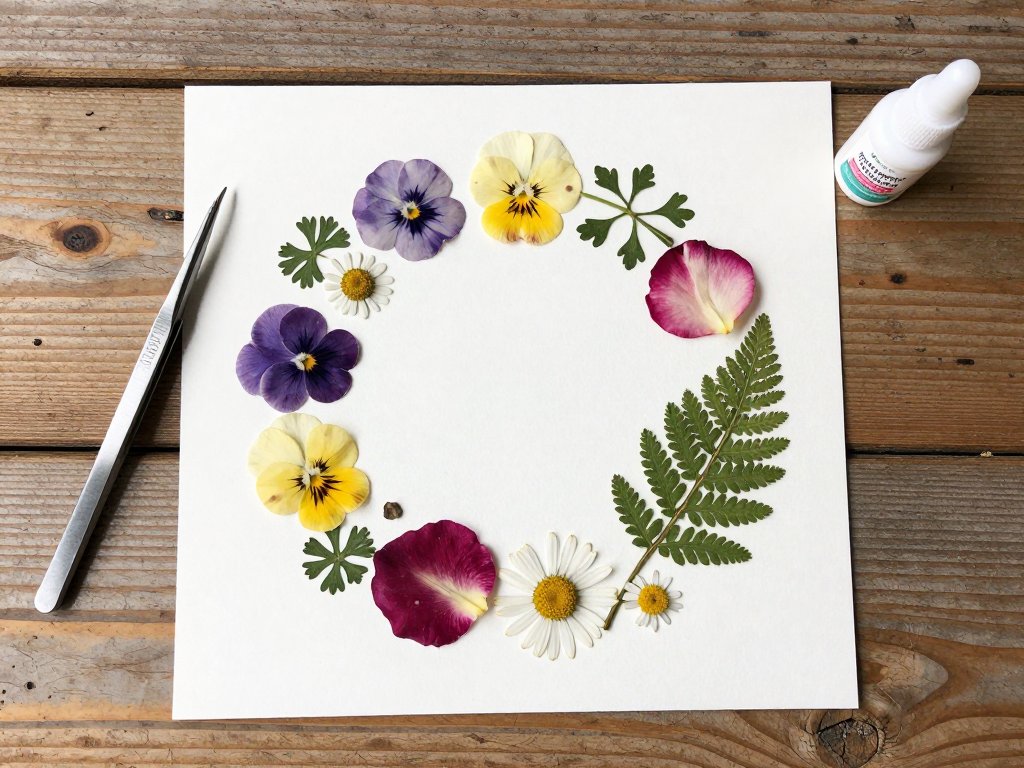
Designing Your Pressed Flower Composition
Once you have a collection of pressed flowers, the real artistry begins. Arranging them into a composition is a quiet, absorbing process.
I like to lay out all my pressed flowers on a clean white surface and simply look at them for a while.
I pick them up, turn them over, and imagine them in different positions. There is no rush.
The flowers will wait.
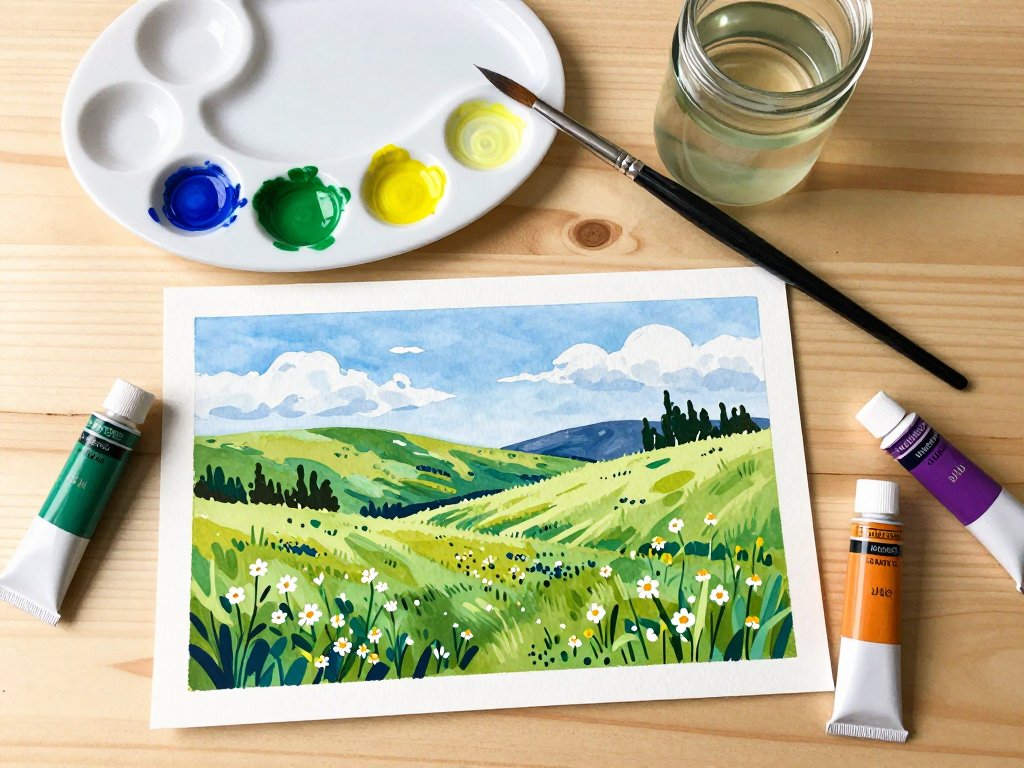
Start by choosing a background. White or cream cardstock is a classic choice that makes the colors of the pressed flowers pop.
Watercolor paper adds a subtle texture that complements the organic feel of the flowers. You can also use handmade paper, book pages, or even fabric as your base.
Whatever you choose, make sure it is acid-free so your artwork lasts for years without yellowing.
Begin your arrangement with the largest element as your focal point. A single large flower like a cosmos or zinnia works wonderfully.
Place it slightly off-center for a more dynamic composition. From there, build outward with smaller flowers, leaves, and stems.
Create a gentle curve or a loose circle. Let some elements extend beyond the edges of your frame if the composition calls for it.
Do not feel constrained by symmetry. Asymmetrical arrangements often feel more natural and organic, like a real garden.
Use tweezers to position delicate pieces. Move them around until the arrangement feels balanced. Step back from the table and look at it from a distance.
Does your eye travel naturally across the composition? Is there a clear focal point? Does any one area feel too crowded or too empty?
Trust your instincts. If something feels off, try swapping one flower for another or changing the angle of a stem.
A small dab of clear-drying glue on the back of each flower is enough to hold it in place.
A toothpick or fine-tipped applicator helps you apply just the right amount. Press each piece gently into place and let the glue dry completely before moving the artwork.
For a more secure hold, especially on projects that will be handled or shipped, apply a thin layer of decoupage medium over the entire composition.
Preserving and Displaying Your Artwork
Once your arrangement is complete and the glue has dried, you will want to protect your work.
Pressed flowers are delicate and can fade over time, especially in direct sunlight. The best way to preserve them is to frame them under glass using a frame with UV-protective glazing.
This shields the flowers from sunlight and dust while allowing you to enjoy them every day.
Deep frames with a spacer between the artwork and the glass prevent the flowers from getting crushed.
You can also use a shadow box frame for a subtle three-dimensional effect. If you are framing the piece yourself, clean the glass thoroughly before sealing the frame.
Dust trapped inside can settle on the flowers and be difficult to remove later.
There are many other ways to display pressed flowers beyond framing. Greeting cards with a pressed flower mounted on the front and a blank interior make thoughtful handmade gifts.
Bookmarks pressed between laminating sheets are practical and lovely. Resin jewelry that encases tiny flowers in clear pendants or rings has become very popular.
You can even press flowers into clear phone cases for a personal touch. Each display method captures the flowers in a different way, and each makes a beautiful gift.
Keep your finished pieces away from direct sunlight and high humidity. Bathrooms and kitchens are not ideal for pressed flower art because moisture can cause the petals to soften or mold.
A living room wall, a bedroom shelf, or a home office desk are all excellent locations where your artwork will stay beautiful for years.
Pressed Flower Project Ideas for Summer
Summer is the perfect season for pressed flower crafts because so many blooms are available.
Here are a few project ideas to inspire your next creation. A pressed flower family tree makes a beautiful heirloom piece.
Use a thin branch silhouette drawn in ink as the tree structure and add pressed flower blossoms as the leaves, labeling each with a family member's name.
Wedding and anniversary keepsakes are another wonderful use for pressed flowers. Preserve a bloom from a bridal bouquet, a boutonniere, or a corsage. Frame it with a photo or a handwritten note from the day. These pieces become treasured heirlooms that carry memories for generations.
Seasonal nature journals let you document the changing landscape throughout the year. Press flowers, leaves, and grasses from each season and arrange them in a journal with dates and notes.
Over the years, you will build a beautiful botanical record of the world around you.
It is a practice my grandmother would have loved.
Children's artwork made with pressed flowers is a sweet way to involve little ones in the craft.
Let them arrange flowers into simple shapes like butterflies, sunbursts, or letters of the alphabet.
The results may not be perfectly arranged, but they will be perfectly beautiful in a different way.
Frame their creations and date them on the back. You will smile at them years later, remembering small hands placing tiny petals.
Troubleshooting Common Pressing Challenges
My Flowers Turned Brown
Browning usually happens when flowers are pressed while still damp or when they are microwaved too long.
Always press flowers that are completely dry. If using the microwave method, reduce the time and check more frequently.
A little browning around the edges is natural and can even add a vintage look to your composition.
The Petals Are Sticking to the Paper
Delicate petals can sometimes fuse to the absorbent paper, especially if the flowers were slightly damp.
Prevent this by using wax paper or parchment paper as your pressing layer. If petals do stick, try gently peeling them away with tweezers.
You can also press them again with a fresh sheet of paper for another day or two, which often loosens the bond.
My Arrangement Looks Flat and Lifeless
Pressed flowers are naturally flat, but your composition does not have to be. Create depth by layering petals and leaves on top of each other.
Add a few small dried seed pods or thin twigs for texture. Use a tiny piece of foam tape under a single petal to lift it slightly off the background.
These small variations in height create shadows and give the arrangement a more dimensional feel.
The Colors Faded Quickly
Some flowers naturally retain their color better than others. Blue and purple flowers like violets and delphiniums tend to hold their color well.
Red and pink flowers can fade to softer tones. Yellow flowers often stay bright. To slow fading, always display your artwork away from direct sunlight and consider using UV-protective glass in your frame.
Conclusion
Pressed flower art is one of those crafts that feels like a pause button on a busy life.
It asks you to slow down, to notice the small beautiful things growing in your yard or along your walking path, and to preserve them with care.
The process is gentle and forgiving. Each flower you press carries a memory of the day you picked it.
The warm sun on your shoulders. The sound of bees. A child's hand reaching for a dandelion.
I hope this guide has given you the confidence to try pressing flowers for yourself.
Start with a few blooms from your garden or a single bunch from the market.
Use an old book or a pair of ceramic tiles. Arrange them in a way that pleases your eye.
Frame the result and hang it where you will see it every day. In the middle of winter, when summer feels impossibly far away, that small piece of pressed flower art will bring the warmth of July back into your home.