Introduction
There is a moment in hand-building when a damp pot stops being a shape and becomes a surface. The wall holds its form. The clay cools under your palm. For a few hours, it will take a line the way paper takes ink.
Mishima lives inside that window. It is a way of drawing on clay that survives the fire: you cut a line, fill it with another colour, and scrape the surface level again.
The finished pot looks expensive and faintly mysterious. It is neither. It is patience, a steady hand, and one piece of timing you can learn to read.
This guide walks through the whole method, from choosing the moment to fill the grooves to the day you unwrap the finished piece. Start on a tile rather than a teapot, and the learning curve stays kind.
What Mishima Is, and Where It Comes From
Mishima is a decorative inlay tradition. A design is incised or pressed into leather-hard clay, a contrasting slip is worked into the grooves, and the excess is scraped away so only the lines keep the new colour.
The technique is Korean in origin. It travelled to Japan with potters in the sixteenth century, where it acquired the name mishima and a devoted following among tea masters who admired its quiet, almost printed quality.
Its ancestor is buncheong, the Korean slip-decorated stoneware of the Joseon period. Potters there stamped and carved freely, then dipped whole pieces in white slip. Carved hollows caught the slip; flat clay shed it.
You can work the same way, with a brush and a little more control. The principle has not changed in six centuries: a recess holds colour that a flat surface refuses.
What makes mishima appealing now is how little it asks of you. No wheel, no glaze chemistry, no kiln of your own if you use a community studio. A slab, a stylus, and a jar of coloured slip are enough to begin.
How Mishima Differs from Sgraffito
These two techniques are cousins, and beginners often mistake one for the other. Both begin with a line cut into clay. Both reward a firm, unhurried hand.
Sgraffito carves a design and leaves the cut open. The line is a recess, and the exposed clay body becomes the drawing. Contrast arrives when light rakes across the grooves.
Mishima fills the line. The pattern becomes a different colour sitting level with the surface, so the drawing reads from across a room rather than only at an angle.
That single difference changes what each technique is good at. Sgraffito suits bold, calligraphic marks with a bit of swagger. Mishima suits fine repeat patterns, thin botanical lines, and borders meant to look almost printed.
It also changes the failure modes. A shaky sgraffito line looks hesitant. A shaky mishima line looks like a wobbling row of coloured dots, which is somehow more forgiving.
Finding the Leather-Hard Stage
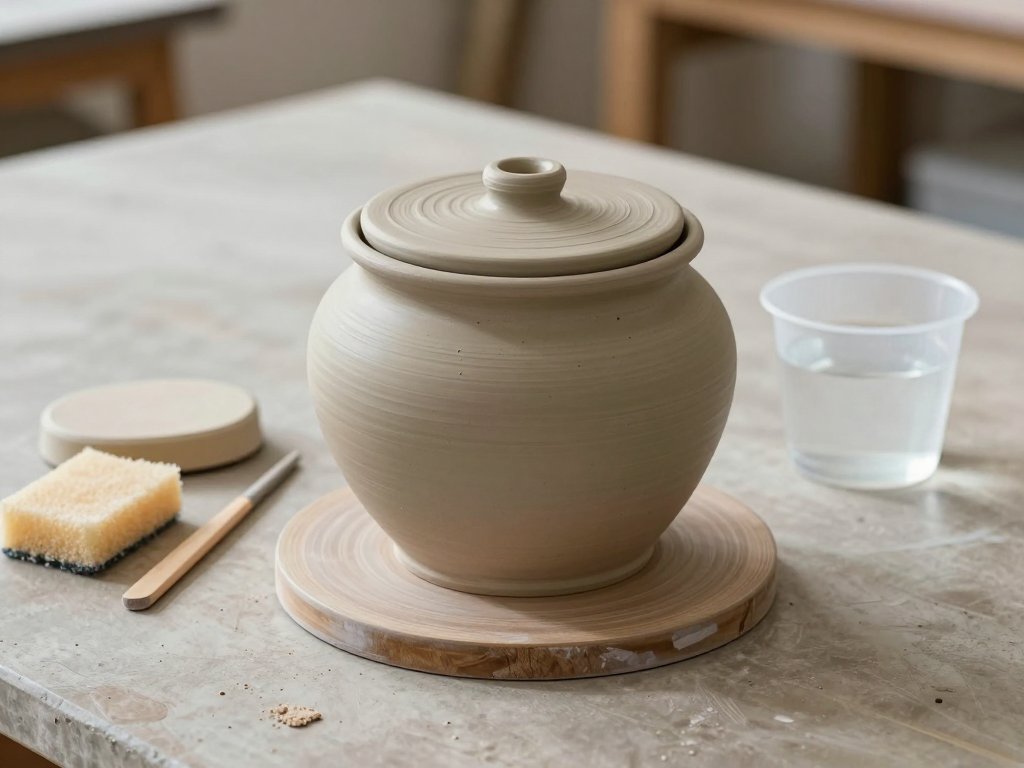
Everything in mishima depends on this one judgement. Leather-hard is the state where clay has released its plastic water but has not yet begun to dry pale.
Too wet, and the walls slump under your tool. The grooves close behind the stylus and the slip slides straight back out of them.
Too dry, and the lines crumble at the edges. Crumbs drop into the grooves, the cut surface goes dusty, and the slip cannot bond to it.
Test with a fingernail near the base, where clay dries last. A firm pale line should appear, and the clay should not deform under your thumb.
Then lift the piece an inch and set it down. If it holds its shape without a wobble, it is ready. If it flexes, give it another hour under plastic.
Weather matters more than clocks here. On a humid day a slab may stay soft for hours; beside a radiator it can pass through leather-hard in twenty minutes. Trust your fingernail, not the timer.
Tools and Supplies
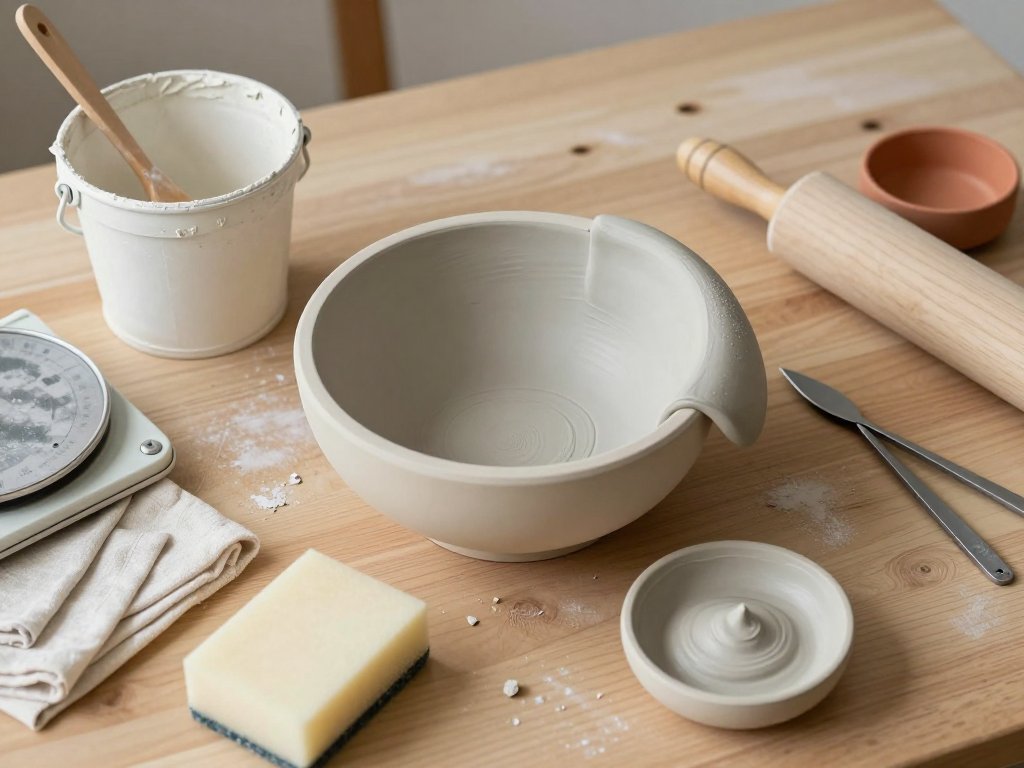
None of this is specialist equipment. Most of it is already in a kitchen drawer or a beginner's tool roll.
- A fine loop tool or ball stylus for cutting even grooves
- A dull pencil or wooden skewer for softer, pressed lines
- A small soft brush for clearing crumbs out of the grooves
- A small round paintbrush for filling slip into the lines
- A metal rib or metal kidney for scraping back
- A fine-grained sponge, kept barely damp
- Coloured slip at heavy-cream consistency
- A banding wheel, helpful but optional
A banding wheel is the one luxury worth having. Turning the piece toward your hand keeps the pressure even, and even pressure is most of what makes inlay look tidy.
Choose a filling brush with a springy tip and a fine point. A soft watercolour brush holds more slip but floods the line; a stiff synthetic brush gives you somewhere to stop.
Mixing a Contrast Slip
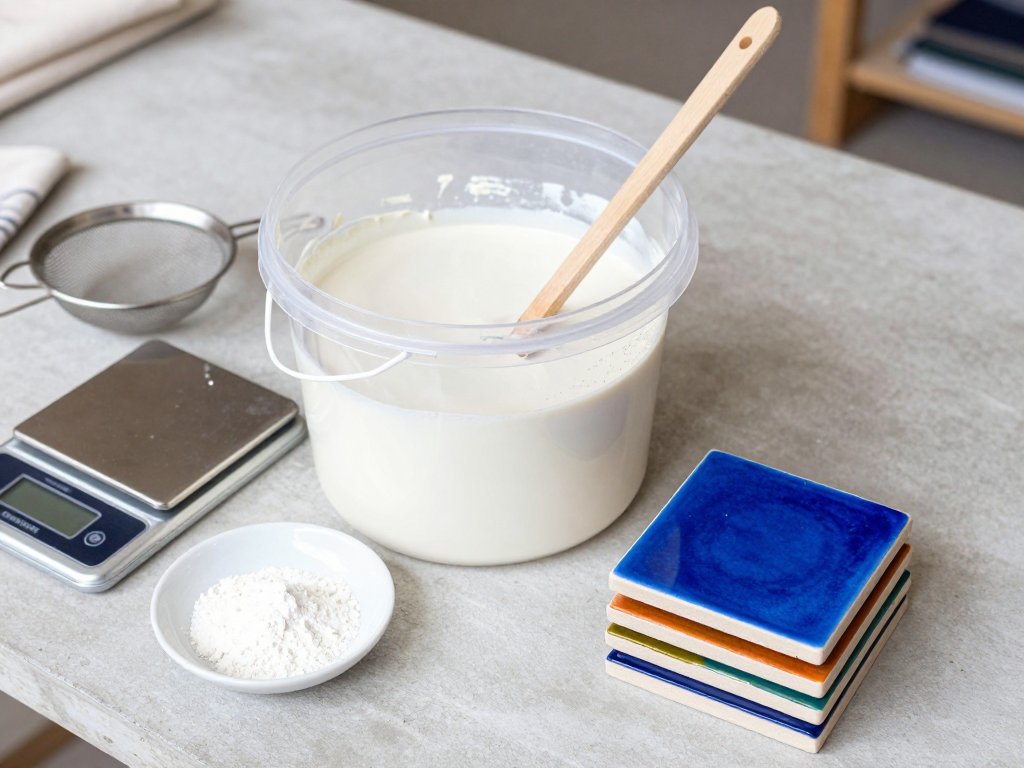
The slip is the colour of your drawing, so mix it deliberately. Begin with a white slip base, then add colour until the tone is clearly different from the clay body beneath.
Colour comes from a ceramic stain or a powdered coloured clay body. A stain is predictable and strong. A coloured clay is softer, more muted, and easier to live with.
Add water a spoonful at a time and stir until the slip holds a soft peak. It should pour slowly, like heavy cream, and coat the back of the spoon.
A drop of sodium silicate keeps it fluid without extra water, which matters because excess water weakens the bond. Sieve the slip if it looks lumpy.
Lumps become gaps. Thirty seconds through a fine sieve is the cheapest insurance in the entire process.
Why the Slip Holds
Slip stays in a groove for mechanical reasons, not magical ones. The clay particles in the slip key into the roughened walls of the cut, and both materials shrink together as they dry.
That is why a groove should never be polished smooth inside. The tool marks are grip. It is also why slip that is much wetter than the wall will crack: it shrinks more, and pulls away as it goes.
Aim for slip about the consistency of the clay it is joining. If it is wetter than heavy cream, let it stand and thicken rather than adding more clay.
The Mishima Process, Step by Step
The order matters more than the speed. Work through these seven stages and let each one finish before you begin the next.
- Smooth the leather-hard surface
- Plan and lightly mark the pattern
- Incise or press the lines to even depth
- Fill the grooves with slip
- Let the slip dry to a matte state
- Scrape back and wipe clean
- Tidy the edges and dry slowly
Step One: Smooth First
Every bump will show under the inlay, because the scraper crosses the high points first and shaves them bare. Run a damp fingertip or a soft rib over the whole face.
Pay attention to the rim. A rim that is slightly out of round looks worse once a border runs beside it.
Step Two: Plan the Pattern
Mark the design lightly with a pencil or a needle tool. Pressed marks are easier to correct than cut ones, and a light guide vanishes under the slip.
Choose something repeatable: a row of dashes, a vine, a spiral, a band of triangles. Repetition is what makes mishima look intentional rather than accidental.
Step Three: Cut to Even Depth
Hold the loop or stylus at a consistent angle and let the tool do the work. Aim for roughly one to two millimetres — deep enough to hold slip, shallow enough to scrape level.
Clear crumbs with the soft brush as you go. Do not blow them out; the moisture in your breath softens the groove walls you just cut.
Step Four: Fill the Lines
Load a small round brush and touch it into the groove, letting slip flow rather than pushing it. Work along the line in short sections.
Overfill slightly. A line filled exactly level will shrink as it dries and leave a shallow channel; a slight crown scrapes back to flush.
Step Five: Wait for Matte
This is the crux, and it is the step beginners rush. The slip must dry to a matte, leather-hard state before metal touches it.
Wet slip smears. Bone-dry slip chips and lifts at the edges. Matte slip cuts cleanly and holds its boundary, which is exactly what the scraper needs.
If you are unsure, touch an offcut of slip on the table. When it feels cool and firm, like a fresh bar of soap, it is ready.
Step Six: Scrape and Wipe
Hold the metal rib nearly flat against the surface and draw it in one direction, not back and forth. Let the edge shave the crown of slip away.
Then wipe with a sponge that is barely damp — squeezed until it feels almost dry. A wet sponge will lift the slip straight out of the lines.
Step Seven: Tidy and Dry
Clean the rim, soften any hard edges, and check the pattern under raking light. Small corrections are easy now and impossible after firing.
Cover the piece loosely with plastic for a day so it dries evenly. Fast drying is what warps a flat tile and cracks a thin wall.
Working on Curved Forms
A bowl behaves differently from a tile. The scraper must follow the curve, so shorten your stroke and turn the piece with your other hand.
On a narrow foot ring or a tall cylinder, support the wall from inside while you cut. Unsupported clay flexes, and a flexing wall closes the groove you just made.
Fill curved surfaces in the direction of the curve, not across it. Cross-strokes push slip over the edge of the line and leave a halo you will chase with the sponge.
Firing and Finishing
Fire the piece to bisque first, as you would any hand-built pot. The inlay is still raw slip at this stage, and bisque sets it into the body.
After bisque you have two reasonable choices. Glaze the interior and leave the outside bare, which keeps the inlay matte and quiet in the hand.
Or brush a clear glaze over everything. Clear glaze deepens the slip colour and makes the contrast look wet and saturated.
Either way, fire to the maturity your clay requires. Under-fired slip can stay powdery; over-fired, it may blur into the body.
Choosing Colours That Read
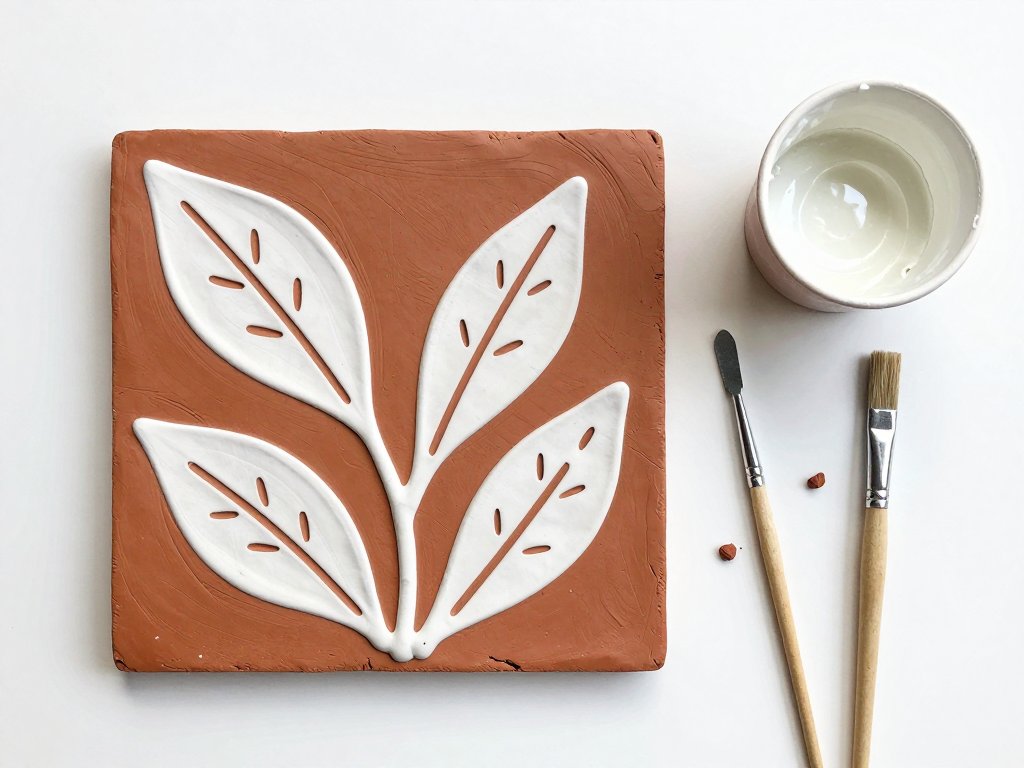
Inlay reads strongest when body and slip differ in value, not merely in hue. White slip on warm terracotta will always look crisper than cream on buff.
Squint at your test tile. If the pattern dissolves into an even tone, the value contrast is too close, and no amount of careful carving will save it.
Dark slip on a pale body works just as well and feels more graphic. Iron-rich slips can darken further in the kiln, so test before committing to a whole dinner set.
When It Goes Wrong
Most mishima failures come from timing rather than talent. Here are the four you are most likely to meet.
- Slip cracks out of the lines after firing. The slip was too thick, or the clay was too dry when you filled it. Thin the slip and work a little sooner.
- Lines disappear while wiping. You scraped too soon, or the sponge was too wet. Wait for matte and squeeze the sponge harder.
- The pattern looks grey instead of crisp. The slip was too thin, so the clay body shows through. Add more stain and apply a heavier coat.
- The piece warps. It was worked too wet, or dried too fast. Let it reach leather-hard properly and cover it while drying.
One more, less common: a groove that fills but will not stay filled usually has dust in it. Brush the groove out and dampen it with a fingertip before refilling.
The Underglaze Shortcut
If you have no coloured slip, underglaze will do the same job with slightly different manners. It is a pigment suspension that fires onto the surface rather than fusing into it.
Brush underglaze into the carved lines on greenware, let it dry, then scrape back with a metal rib. Two thin coats usually read better than one heavy coat.
Underglaze behaves differently in two ways. It stains the surrounding clay more readily, so wipe promptly and rinse the sponge often.
It also sits on the groove rather than bonding inside it. On a piece that will see hard daily use, slip remains the more durable choice.
Work underglaze on greenware that is still slightly damp if you can. On bone-dry clay it grabs and drags, and the edges of the line go furry.
Patterns That Suit Beginners
The best first pattern is one you can repeat without measuring. A field of short dashes, spaced by eye, teaches more than a complicated motif ever will.
Try a band of small triangles around a bowl's shoulder, or a single winding vine with leaves alternating left and right.
Spirals are forgiving because no two need to match. Rows of dots pressed with a skewer are more forgiving still.
Repetition looks better than a one-off design for an honest reason: the eye reads rhythm before it reads detail. A wobbly but consistent row of marks looks assured. A single ambitious drawing looks nervous.
Save the complicated design for your fourth piece, when your hand already knows the depth and your eye knows the timing.
A Small Tile to Start
Make the first one a tile. Roll a slab, let it stiffen, and give it one simple border and a row of leaves. Nothing you would mourn if the timing goes wrong.
Notice how the slip looks when it turns matte. Notice how the rib sounds as it crosses the surface. That small change in sound is your best guide, and it only takes a few pieces to learn.
If you find you love the carved line itself, mishima and sgraffito pottery are two halves of one conversation — one leaves the line open, the other fills it.
Then make a second tile and fill it with something braver. The technique rewards the potter who keeps showing up with wet hands and a little patience.
Set the tile where you will see it tomorrow. The pattern you thought was clumsy today will look like a decision by next week.