Introduction
There is a line no brush can make and no pencil can imitate: a raised seam of clay standing proud of a pot, a fat dot or a thin rope drawn across a bowl's belly.
This is slip trailing, and it may be the oldest decoration in the craft. You thin clay with water until it pours, fill a small bulb or bottle, and squeeze it out onto a damp pot.
Potters were trailing slip onto leather-hard vessels long before the wheel was refined and long before glazes were understood.
One rule carries from the first page to the last — the pot must be leather-hard. Nearly every failure in trailing is really a failure of timing.
What Slip Is, and How Trailing Differs from Painting
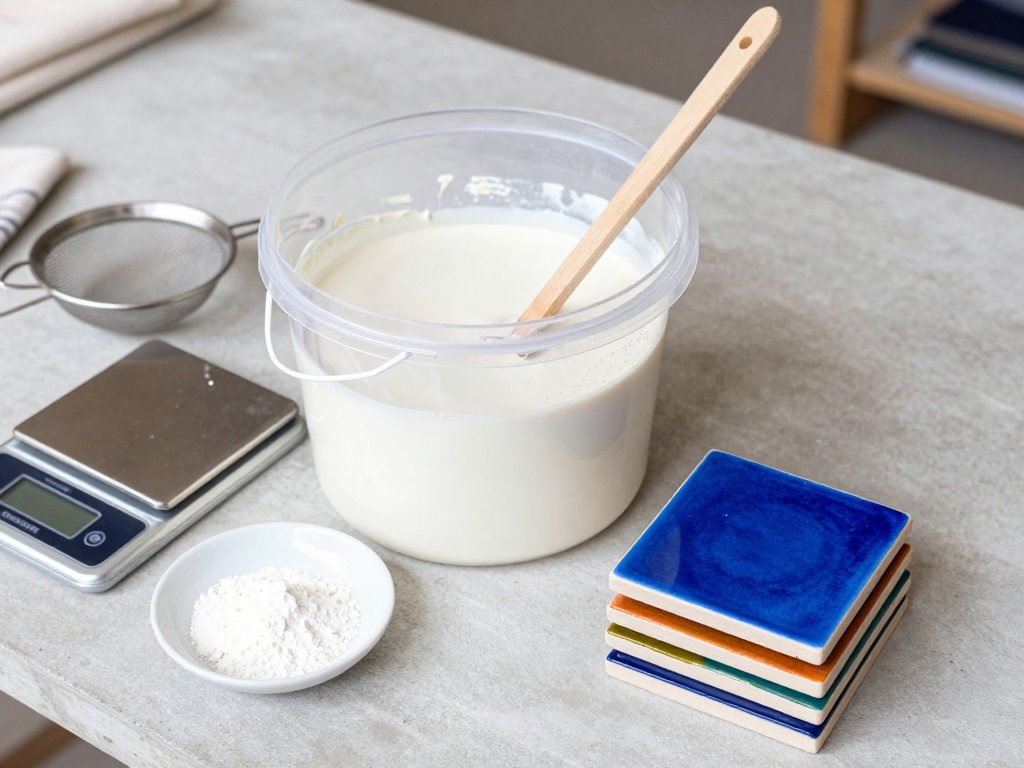
Slip is clay with water added until it becomes a thick liquid, often the same clay you are already building with, slaked down and stirred until it flows.
There are two kinds. The first is casting slip, a factory-made liquid clay that has been deflocculated.
Deflocculation means a little sodium silicate or soda ash has been added so the clay particles repel one another. The slip stays fluid while carrying very little water.
That low water content is why casting slip shrinks little and flows beautifully through a fine tip, which makes it popular for trailing.
The second kind you make yourself by slaking down trimmings. Save your leather-hard offcuts, let them dry, cover them with water, and leave them overnight.
Stir the result into a smooth cream and its shrinkage matches your body clay almost exactly — the property that matters most of all.
Now the distinction beginners find hardest. Slip trailing is not painting. Paint sits on the surface and stays there.
Trailed slip bonds with the pot. It is the same material, moistened, and it fuses to the wall in the firing until line and vessel become one.
Painting adds a layer; trailing adds a body. That is why a trailed line has a shadow, a ridge, and a texture all its own.
If it is flat color you want rather than relief, the gentler route is underglaze painting, which sits flush and calm beneath the glaze.
Why Leather-Hard Is the Only Real Window
Timing is the whole of slip trailing. If you take one idea from this article, let it be this: the pot must be leather-hard.
Leather-hard clay has dried enough to hold its shape, but it still carries moisture within. It feels cool and firm, and a thumbnail leaves only a shallow dent.
At that state the surface is still slightly open, so wet slip grips it and dries at nearly the same rate as the wall beneath. Line and pot shrink together.
Get the timing right and trailing feels effortless. Get it wrong and you will blame your hands for a problem that belongs to the clay.
Too wet: the slip sinks and slumps
On a pot that is too wet, the surface is soft and tacky. A trailed line simply sinks in.
The ridge slumps flat, the line spreads and blurs at the edges, and a dot swells into an uneven blob. No relief is left to catch the light.
The weight of fresh slip can even drag a soft wall out of shape. Pressing harder only makes it worse; cover the pot and wait.
Too dry: the slip flakes and lets go
Past leather-hard lies bone-dry clay: pale, light in the hand, and cold no longer.
Trail slip onto it and there is no bond. The wet slip dampens only the surface, so it dries as a separate skin resting on top of the wall.
That skin curls and flakes at the edges as it dries, or survives handling only to come off in the kiln, taking your pattern with it.
If the pot has gone dry, do not trail it. Sponge it, recycle it, or decorate it another way.
The fingernail test
There is a simple test. Press a thumbnail gently into the clay near the foot, where nobody will look.
On wet clay the nail sinks deep and leaves a shiny print. Wait. On leather-hard clay it leaves only a shallow dent and the surface feels cool and firm. This is the moment.
On bone-dry clay the nail barely marks it. Too late. Practise this on scraps until it becomes instinct, for it is the one skill that separates a satisfying trailed pot from a frustrating one.
The Tools That Earn Their Place
You need very little equipment for slip trailing. A handful of tools will carry a whole first piece.
- Slip trailer bulb — a soft rubber or plastic bulb with a fine metal tip. Squeeze gently and a bead of slip emerges; the tip diameter decides your line width.
- Squeeze bottle — a plastic bottle with a narrow cap, useful for bolder lines and larger areas. Cheap and easy to clean.
- Fine-tipped applicator — a small bottle with a needle-fine metal tip, excellent for dots, tight detail, and lettering.
- Banding wheel — a small rotating platform. Turn the pot instead of your wrist and your banding lines stay level.
- Soft damp sponge — for wiping drips, cleaning the tip, and easing a mistake before it sets.
- Small paintbrush — a fine soft brush for tidying edges and lifting stray beads while the slip is still wet.
Choose your tip width before you begin, and stick with it. Mixing widths at random makes a pattern read as accidental even when the thinking was sound.
Mixing Slip to the Right Consistency
Consistency decides how a trailed line behaves, so mix deliberately rather than by guess.
Too thick and the slip will not flow. It clogs the tip, sputters, and drops in clumsy lumps instead of a steady line.
Too thin and it runs. The line spreads, sags to one side, and leaves a pale, watery ridge that may not bond well.
The target is something like heavy cream: thick enough to hold a shape, thin enough to pass a fine tip under a gentle squeeze.
The ribbon test
Lift a spoonful of slip and let it fall back into the jar. If it drops in a smooth, unbroken ribbon that coils a little as it lands, it is about right.
If it plops off in a single heavy lump, thin it with a few drops of water and stir. If it trickles and splashes, it is too thin, so leave it uncovered to thicken.
A dripping test on the jar rim gives the same answer: a slow, reluctant drip is good, a quick run is too thin, and no drip at all is too thick.
Add water a few drops at a time. A spoonful of water, or the drop of sodium silicate that stiff homemade slip often needs, changes consistency more than you expect.
Loading the Trailer and Practising on a Scrap Slab
Loading the trailer badly is the most common cause of sputtering, and beginners nearly always rush it.
Filling without bubbles
Stir the slip first to break up settled lumps, then spoon or pour it in through the widest opening you have.
Fill no more than two-thirds full. Slip needs room to move, and an overfull bulb is hard to control.
Tap the filled trailer against the table, or roll it between your palms, to bring trapped air to the top.
Let it stand a moment, then squeeze a little out onto a scrap until it runs smooth. The last bubbles are gone.
Wipe the tip with the damp sponge whenever it starts to crust. Never stir a loaded trailer, for you will only whip in fresh air.
The practice strokes
Before you touch a pot, cut a small scrap slab tile at leather-hard and use it as your practice ground.
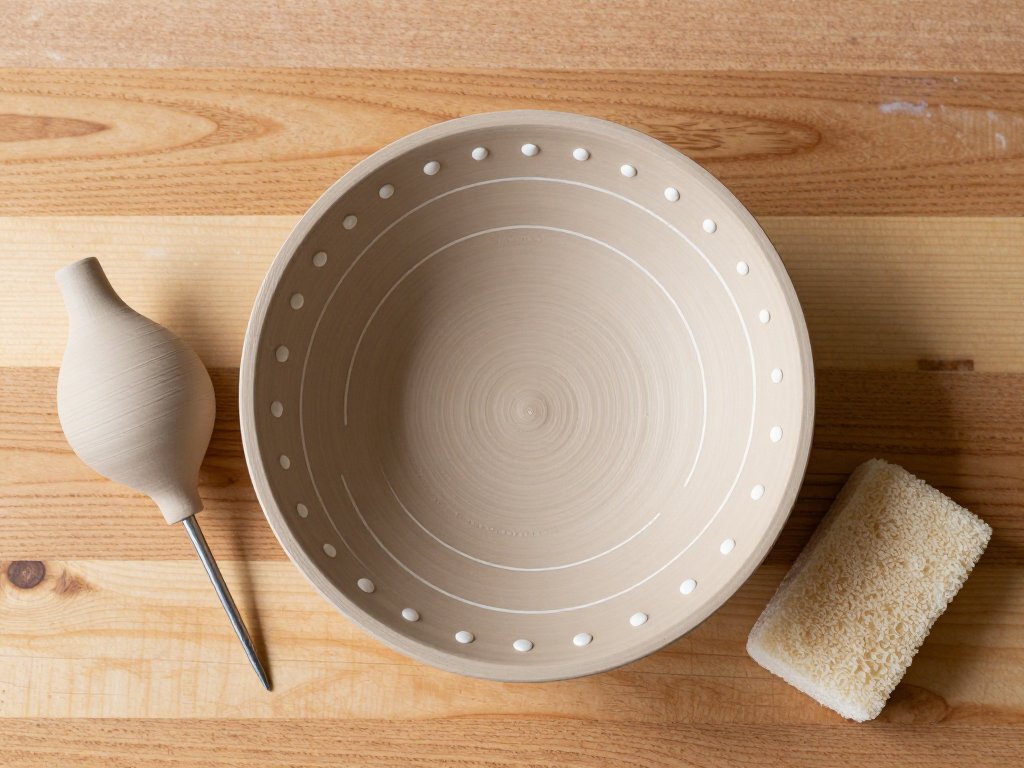
Begin with dots: squeeze briefly, release, and lift the tip at the same instant. Aim for even size and spacing.
Then straight lines. Rest the tip on the clay and pull steadily toward you, squeezing in an even rhythm and letting the whole arm move.
Next, loops — connected circles, the way a child practises handwriting. These teach you to keep slip flowing through a change of direction.
After that, spirals, tight in the center and opening outward, or the reverse. Spirals show instantly whether your pressure is even.
Finally, combine them: a line with dots above it, a spiral inside a square, a loop under a band. Do the set three times, and by the third pass your hand has learned what your eyes already know.
Pressure, Speed, and the Even Line
A trailed line is drawn by pressure, which makes your hand the whole instrument. Everything shows.
Squeeze steadily, move steadily, and never stop one without the other.
Start moving, then begin to squeeze; stop squeezing just before you lift the tip. Starting or stopping mid-line leaves a fat blob or a thin tail.
Where the pot allows, turn the banding wheel with your free hand as you trail. The line comes out level without your wrist doing anything clever.
Speed and pressure must rise and fall together. Push faster and you must squeeze a little harder; slow down and ease off, or the line will swell.
Spacing and rhythm
Even dots are a matter of rhythm, not measurement. Once you find the tempo, your hand repeats it almost on its own.
Count under your breath, dot, dot, dot, and let the count set the spacing rather than your eye. Rest the tip the same instant each time.
When a row starts to drift, stop and reset rather than fighting to correct it. Place the next dot where it belongs and carry on from there.
Designs, Old and New
Trailed slip has decorated pots for thousands of years, and the vocabulary it produced is still wonderfully usable today.
Traditional designs are simple, repeated, and confident; modern potters borrow the same marks but often play with scale and color.
SIP patterns and slipware
Slip trailing's most famous patterning is slipware, where bold trailed lines divide a pot into panels filled with dots, dashes, and wavy lines.
Traditional English work of this kind is sometimes shortened to SIP — sharp, inlaid, and patterned. A thick rim band, a wavy line below, and dots filling the ground between.
Dots and dashes
Nothing is easier to trail than a dot, and nothing looks more deliberate in a row.
Combine dots with short dashes for texture; a field of staggered dots reads as a rich pattern with almost no skill required to place them.
Banding lines
Banding lines are the backbone of a trailed pot. They circle the form, catching light on a raised edge.
Use the banding wheel at a steady pace. A horizontal line that meets itself cleanly at the join is the mark of steady work.
Feathering while wet
Feathering is a small magic trick, and it must happen while the slip is still wet.
Draw a row of parallel lines, then pull a fine needle or skewer straight across them, perpendicular or at an angle.
The wet slip drags with the needle, opening soft plumes between the lines. Work fast, for once the slip skins over the needle tears instead of draws.
The Raised Bump: Drips, Tips, and Keeping It Moving
The whole charm of trailing is the bump, and the bump is also its chief nuisance.
Because the line stands proud, gravity works against you. On a curved wall, slip runs downhill if it is too thin or too heavy.
Trail from the top of the pot downward, or sideways along a band, rather than fighting gravity uphill where you can avoid it.
Catch drips early with the corner of a damp sponge; once a drip dries, it leaves a streak you cannot hide.
Wipe the tip often, especially in warm, dry air. A crusting tip lays a ragged edge and then lets go entirely.
Keep it moving. A tip held still floods that spot; a tip travelling at an even pace deposits an even bead.
If a bump goes wrong, let it firm a little, then lift the excess with a soft dampened brush rather than scraping it while wet.
Drying, Firing, and Glazing Over Trailed Slip
Once trailed, the pot needs patience. Those raised beads are the most fragile part of the piece until the kiln makes them permanent.
Why trailed slip is fragile before the bisque
Freshly trailed slip is wet clay sitting on drier clay, and greenware is brittle at the best of times.
A raised bead has no support beyond its own grip on the wall, so a careless knock can shear it clean off.
Handle the pot by the base and the rim, never the decorated wall, and set it on something soft.
Dry it slowly and evenly, loosely wrapped in plastic at first, then uncovered. Fast drying is what cracks the join between slip and pot.
Once the piece is bone dry it goes through the bisque fire, usually to around cone 04, which hardens clay and slip without melting them.
After the bisque the trailed design is no longer fragile. It is ceramic, and it is here to stay.
How glaze pools over the raised line
Where the surface is flat, glaze sits in a thin, even film. Where the slip is raised, it flows off the peaks and pools in the hollows beside them.
That pooling is pure gift. It thickens the color in the recesses and thins it over the ridges, so the glaze draws a quiet second version of your design.
A semi-matte or a reactive glaze that breaks over edges celebrates raised slip; a stiff, flat glaze blunts it.
Apply it thin and even so the relief reads clearly. A heavy coat buries the lines under a dome of glass.
Any food surface must be fully covered by a food-safe glaze, and the slip, body, and glaze pairing should be tested on a tile fired in the same load.
Troubleshooting: When the Slip Misbehaves
Most trouble with slip trailing has a nameable cause, which means it can be fixed the next time around.
- Slip sputters and skips. Air is trapped in the bulb. Stir, refill, tap out the bubbles, and purge onto a scrap first.
- The line keeps breaking. Slip too thick or the tip partly clogged. Thin it slightly, wipe the tip, and retest.
- Lines spread and blur. Slip too thin, or the pot too wet. Thicken the slip and let the pot firm to leather-hard.
- Decoration fell off after the bisque. The pot was too dry, or the slip shrinks differently. Trail at leather-hard and use your own clay.
- Bumpy, uneven surface. Pressure varied, or the tip rested in one place. Begin moving before you squeeze and keep the pace even.
- Fine cracks at the line. The piece dried too fast. Slow it under loose plastic, away from drafts and heat.
- Design lost under the glaze. Too much glaze, or a running glaze. Apply thinner and choose one that breaks over edges.
Keep every failed tile and write on the back what went wrong. In a season you will have a firing record worth more than any chart.
Your First Project: A Trailed Mug or Small Dish
Here is a small project that puts all of it into practice: a trailed-dot mug, or a small dish if you would rather start on a flat surface.
Use a leather-hard mug or dish you have made, or buy a greenware blank. Have your slip mixed, your trailer filled, and your sponge damp first.
Give yourself about an hour and a half for the trailing itself, plus drying and firing time on top. The decorating is the short part.
- Check the fingernail test. If the pot dents deeply or feels tacky, cover it and wait; if it barely marks, it is too late to trail.
- Wipe the surface with a soft damp sponge, then let it dry back to the touch.
- Set the pot on the banding wheel and mark light guide lines where the main bands will sit.
- Load the trailer two-thirds full, tap out the bubbles, and purge onto a scrap until the line runs smooth.
- Trail the main horizontal bands first, turning the wheel steadily and squeezing evenly.
- Add a wavy or looped line beneath the top band, working from the top down so drips fall away from finished work.
- Place the dot rows next, counting a steady rhythm so the spacing stays even around the pot.
- Wipe the tip and catch drips with the corner of the damp sponge as you go.
- Tidy loose edges with the fine brush while the slip is wet, then stop and resist the urge to fidget.
- Dry slowly under loose plastic, then unwrapped, until it is bone dry.
- Bisque fire to around cone 04, glaze thinly and evenly, and glaze fire to your glaze's recommendation.
That is the whole of it: one quiet afternoon, a little wet clay, and a pattern that will outlast every paper sketch you made.
Slip trailing rewards an unhurried hand more than a talented one. The pot does not mind if your first dots are a little uneven, and neither does the kiln.